
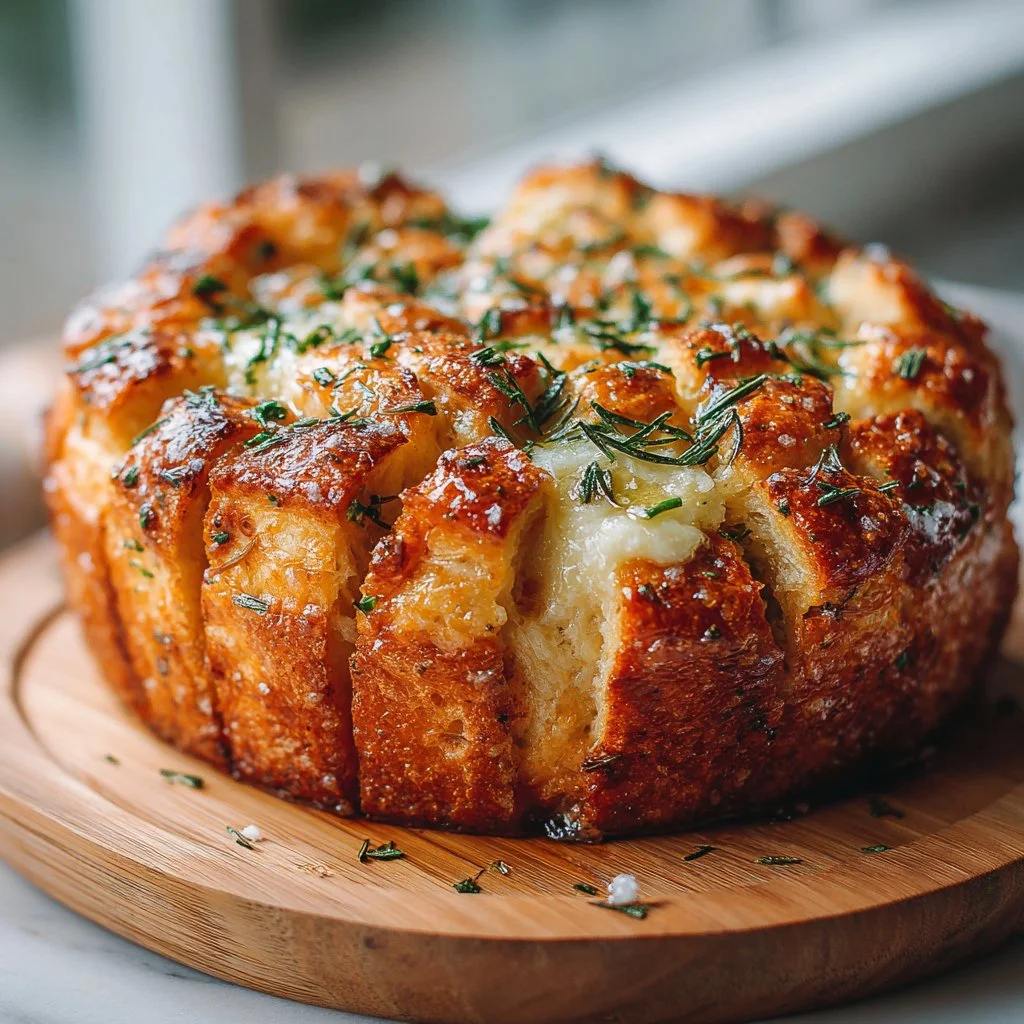
The aroma of warm rosemary and roasted garlic pulling apart into soft, buttery pieces is impossible to resist.
This pull-apart loaf is showy but forgiving, and it’s the kind of bread people sneak bites of before dinner.
Make it for weeknight dinners, holidays, or lazy weekends; it elevates simple meals.
I often pair a loaf with soups or salads, and it disappears fast.
If you love hands-on baking that rewards you quickly, this is the recipe to try.
For a different pull-apart spin, see a playful sweet version like my buttery shortbread sprinkle bites when you want something dessert-like.
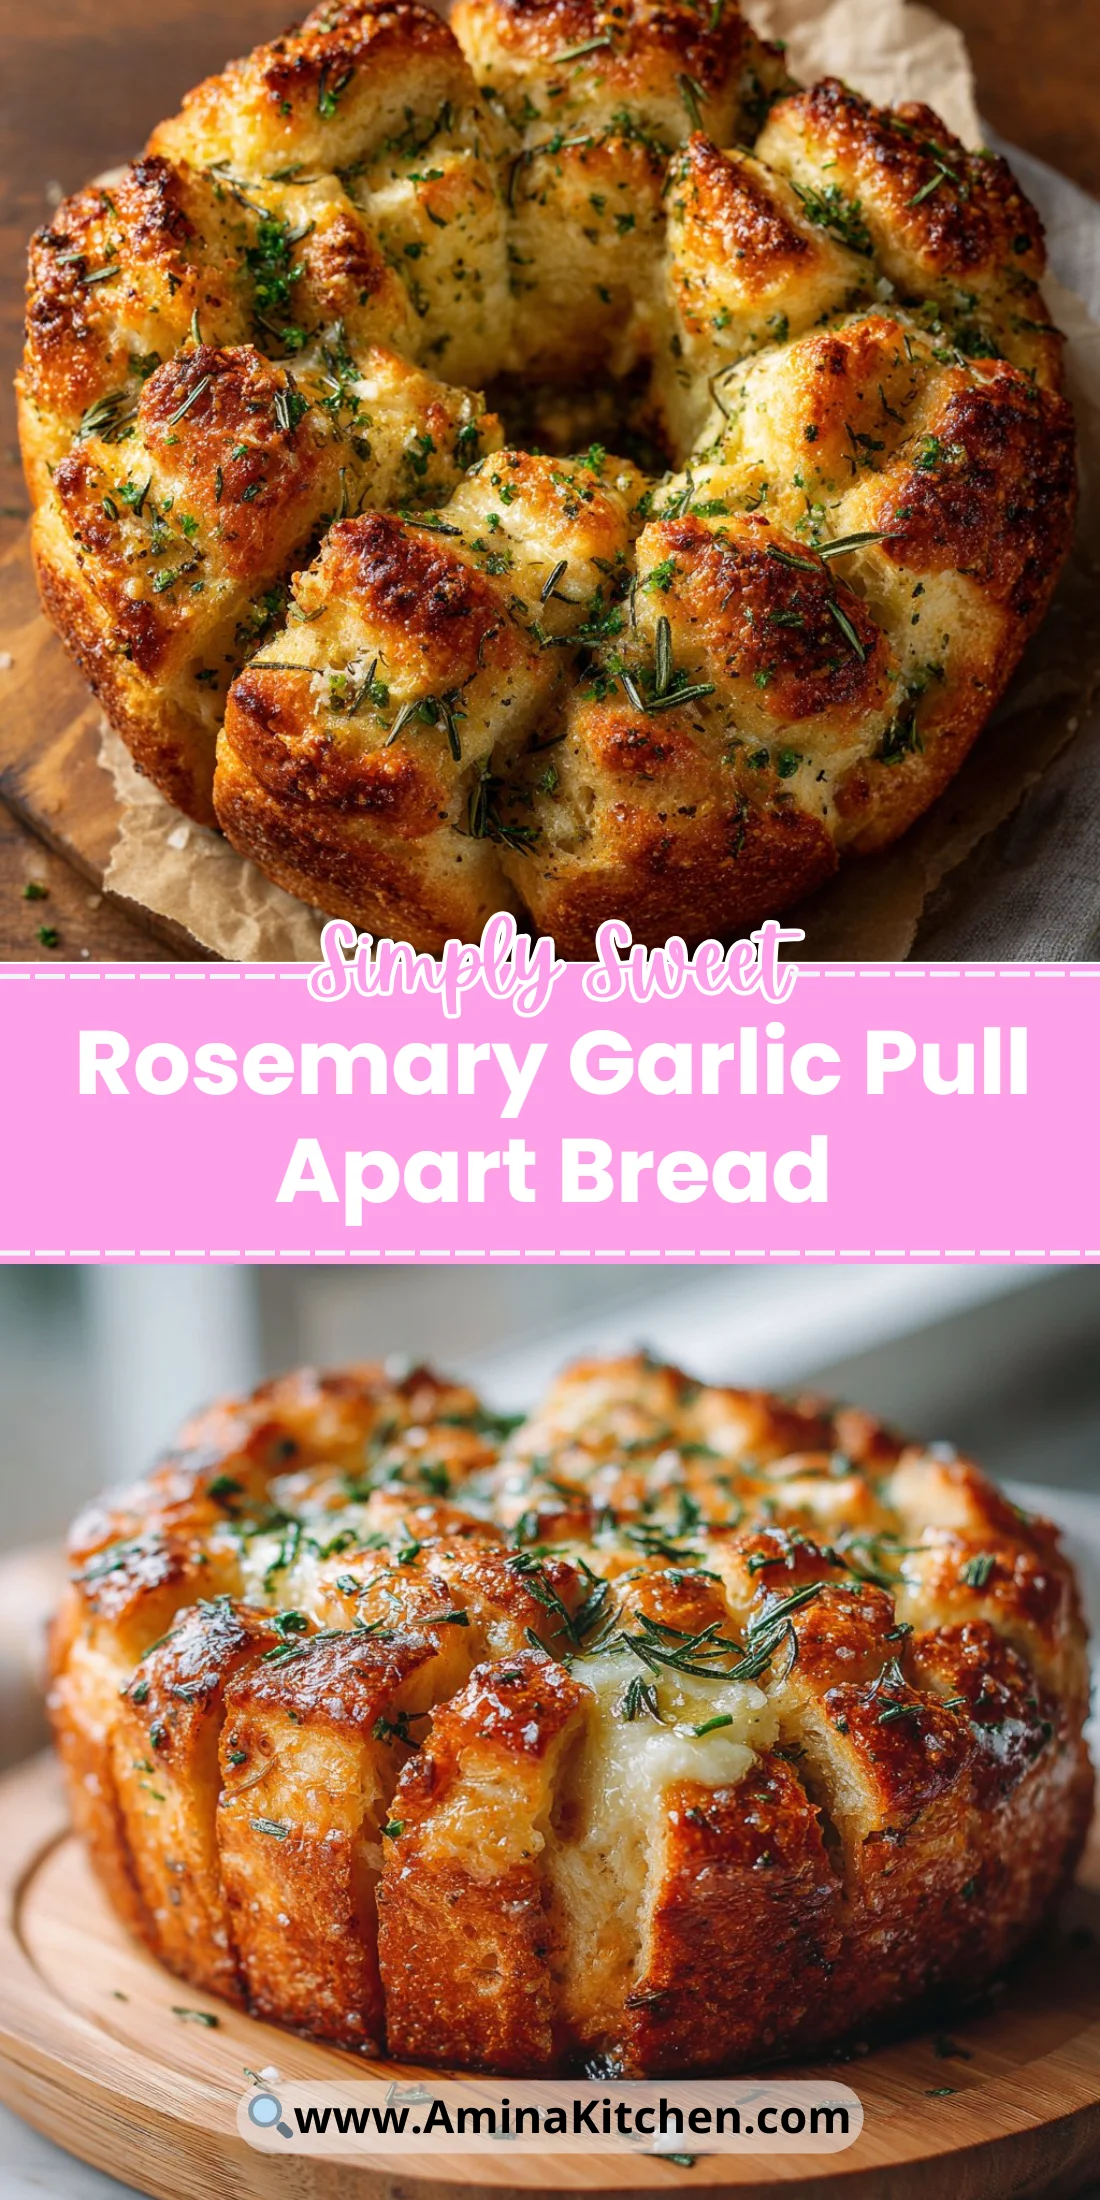
Why You’ll Love This Rosemary Garlic Pull Apart Bread
- Soft, pillowy pull-apart pieces that everyone can share.
- Deep garlic and herb aroma that fills the kitchen.
- Buttery, golden crust with tender crumb.
- Great for meal prep and parties — tear-and-share format.
- Simple pantry ingredients with one rise and a quick second proof.
- Versatile: add cheese, spices, or sweet twists easily.
The flavor is savory and aromatic, with warm garlic notes and bright rosemary cutting through the richness. Texture-wise the interior is soft and slightly stretchy from good gluten development while the outside bakes to a satisfyingly tender crust. It pairs with stews, makes sandwiches, and is excellent served warm for dipping.
★★★★★ “We served this at Sunday dinner and every last piece was gone. The butter-rosemary glaze smells heavenly and the crumb was soft yet structured. Simple, impressive, and repeat-worthy.” — Claire M.
Key Ingredients for Rosemary Garlic Pull Apart Bread
Choose ingredients carefully; they determine texture, rise, and flavor.
All-Purpose Flour
All-purpose flour provides a balanced protein level that yields tender crumb yet enough structure for pull-apart pieces. Buy a fresh bag from a reputable brand and store it in a cool, dry place; older flour can taste stale. Substituting with bread flour will make the loaf chewier and taller, while using cake flour will make it too fragile and prone to collapsing.
Instant Yeast
Instant yeast gives a reliable, fairly quick rise without needing to proof in water first. Choose active, tightly sealed packages and check the expiration date for potency. Substituting with active dry yeast requires a short rehydration step and may add a few minutes to rise times; use the right conversion and expect slightly different timing.
Fresh Rosemary
Fresh rosemary infuses bright, piney herbal notes that pair perfectly with garlic and butter. Buy sprigs that are green and fragrant; avoid brown, woody stems which are bitter. Dried rosemary can be used but is much stronger per weight and lacks the fresh aroma; reduce quantity and crush it before mixing.
Melted Butter (with Garlic)
Butter gives the bread its rich flavor, golden color, and tender crumb when brushed on the dough pieces. Use unsalted if you prefer to control salt levels, or good-quality salted butter for extra flavor. Replacing butter with oil will remove that buttery flavor and change the mouthfeel; olive oil can work for a lighter, Mediterranean-style version.
Full Ingredient List for Rosemary Garlic Pull Apart Bread
– 3 cups all-purpose flour
– 2 teaspoons instant yeast
– 1 teaspoon salt
– 1 tablespoon sugar
– 1 cup warm water
– 2 tablespoons olive oil
– 3 cloves garlic, minced
– 2 tablespoons fresh rosemary, chopped
– 1/4 cup melted butter
Step-by-Step Instructions for Rosemary Garlic Pull Apart Bread
Step 1: Mix the dry ingredients
In a large bowl, combine the flour, instant yeast, salt, and sugar until evenly distributed. This initial blend ensures consistent rise and even salt distribution across the dough.
Pro Tip: It should look uniformly pale with no visible clumps of yeast or salt.
Step 2: Add warm water and olive oil
Pour in the warm water and olive oil, then stir until a rough dough forms and there are no large dry patches. Aim for water around 100–110°F (38–43°C) to activate the yeast without killing it.
Pro Tip: The dough will look shaggy and slightly sticky before kneading.
Step 3: Knead the dough
Turn the dough onto a lightly floured surface and knead for about 5–10 minutes until smooth and elastic. Feel for a slight springback and a surface that stretches without tearing immediately.
Pro Tip: The dough should feel tacky but not cling to your hands.
Step 4: First rise until doubled
Place the dough in a lightly oiled bowl, cover with a damp towel or plastic wrap, and let it rise in a warm spot until doubled in size, about 1 hour. Ideal proofing spots include an oven with the light on or a sunny windowsill.
Pro Tip: The dough should be noticeably larger and hold a gentle indentation when poked.
Step 5: Preheat the oven
Preheat your oven to 375°F (190°C) while the dough is finishing proofing the second time. A well-heated oven ensures even browning and proper oven spring during baking.
Pro Tip: The oven should feel hot and steady at temperature before the loaf goes in.
Step 6: Punch down and divide the dough
Gently punch down the dough to release large air bubbles, then divide it into small, even pieces — roughly ping-pong to golf-ball size depending on your pan size and desired pull-apart bite.
Pro Tip: The dough should be relaxed and easy to shape after punching down.
Step 7: Shape and dip in butter-garlic-rosemary
Roll each piece into a smooth ball, then dip or brush each ball with the melted butter mixed with minced garlic and chopped rosemary. Ensure each ball is well coated for maximum flavor infusion.
Pro Tip: The butter should be warm and aromatic; the balls should glisten after dipping.
Step 8: Arrange in a greased pan
Place the buttered balls side-by-side in a greased baking pan, leaving tiny gaps for expansion. Pack them in snugly so they rise into one pull-apart loaf rather than separate rolls.
Pro Tip: The pan should look evenly filled but not overcrowded.
Step 9: Second rise for 30 minutes
Cover the pan loosely and let the dough rise again for about 30 minutes until puffy. This second proof produces the soft interior and helps final crumb structure.
Pro Tip: The balls will swell and press slightly against one another.
Step 10: Bake 25–30 minutes until golden
Bake in the preheated oven for 25–30 minutes, or until the top is golden brown and an instant-read thermometer in the center registers around 190–200°F (88–93°C). Rotate the pan halfway if your oven has hot spots.
Pro Tip: The crust should be deep golden and sound hollow when tapped lightly.
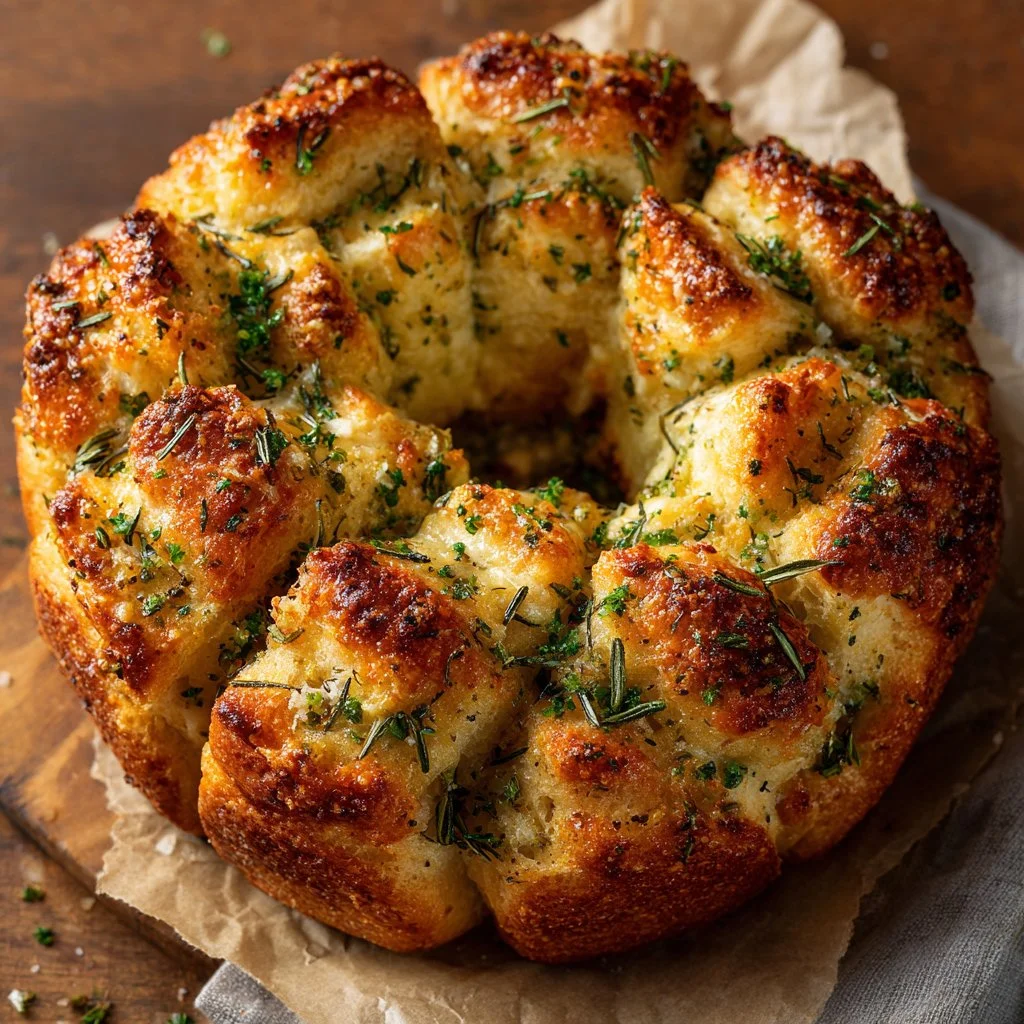
Step 11: Serve warm
Allow the loaf to cool for 5–10 minutes, then serve warm and pull apart. The butter and herb aroma will be strongest right out of the oven. Enjoy with soups, salads, or as a centerpiece for the table.
Pro Tip: The interior should be soft and slightly moist; the pieces should tear cleanly without crumbling.
Expert Tips for Rosemary Garlic Pull Apart Bread
- Use a digital thermometer to check water temperature and dough internal temperature for consistent rises.
- If the dough is sticky, add flour a tablespoon at a time; avoid over-flouring which yields a dense crumb.
- For a taller pull-apart loaf, use slightly warmer proofing (not above 110°F) and a snug pan to encourage upward expansion.
- To bolster garlic flavor without burning, sauté minced garlic briefly in the butter then cool slightly before brushing.
- Use a stand mixer with a dough hook for faster kneading and consistent gluten development when making large batches.
- Avoid overproofing; if dough triples and collapses, it will deflate and produce an overly dense loaf.
- If you want a crispier crust, brush with melted butter after baking instead of before, or bake on a lower rack for longer.
- Common mistake: using water that’s too hot kills yeast; check with a thermometer or aim for lukewarm.
You can find visual dough-handling guides to help with kneading and shaping similar to my approach for sticky, sweet bakes like monkey bread.
Storage & Freezing for Rosemary Garlic Pull Apart Bread
Fridge storage: Wrap cooled bread tightly in plastic wrap or place in an airtight container. Store up to 4 days in the refrigerator for best texture.
Freezer storage: Individually wrap chilled pieces or the whole loaf in plastic wrap and then aluminum foil, or store in a freezer-safe bag. Freeze up to 3 months.
Thawing: Thaw overnight in the refrigerator or at room temperature for 2–4 hours for smaller pieces.
Reheating: Warm in a 350°F (175°C) oven for 8–12 minutes, or microwave individual pieces for 12–20 seconds for quick service. Use an oven to refresh crust and aroma.
Variations & Substitutions for Rosemary Garlic Pull Apart Bread
- Cheesy Rosemary Garlic Pull Apart: Add 1–1½ cups shredded mozzarella or fontina to the butter dip and sprinkle between layers. The result is gooey, melty pockets and a richer savory flavor.
- Lemon-Rosemary Twist: Add 1 teaspoon grated lemon zest to the melted butter and reduce garlic to 1 clove. The citrus brightens the rosemary and gives a fresher profile.
- Spicy Garlic Pull Apart: Mix ½–1 teaspoon crushed red pepper flakes into the butter-garlic mixture and use smoked paprika on top. Expect a warm, slightly smoky heat that complements the herbs.
- Sweet-Herbed Variation: Brush with honey-butter after baking and sprinkle coarse sea salt; swap half the rosemary for finely chopped thyme. This yields a sweet-salty finish that’s great with cheese boards and pairs well with fruity spreads. For a fully sweet pull-apart, see a lighter loaf like strawberry bread for inspiration on complementary textures and moisture.
Frequently Asked Questions About Rosemary Garlic Pull Apart Bread
Q: Can I use active dry yeast instead of instant yeast?
A: Yes. Dissolve active dry yeast in the warm water with a pinch of sugar and let it sit 5–10 minutes until foamy before mixing into the dough. Expect a slightly longer first rise and keep an eye on proofing times as ambient temperature will affect activity.
Q: How do I know when the dough has risen enough?
A: The dough should roughly double in volume and hold a gentle indentation when poked with a finger. The timing can vary by temperature; in a cool kitchen it may take longer, and in a warm oven it will be faster.
Q: Can I make this with whole wheat flour?
A: You can substitute up to half the all-purpose flour with whole wheat for added flavor and nutrition. For 100% whole wheat, add extra hydration and expect a denser crumb; additional kneading helps develop the stronger gluten structure.
Q: Why is my bread dense or heavy?
A: Common causes are under-kneading, inactive yeast, too much flour, or underproofing. Check yeast freshness, avoid adding excess flour, and knead until the dough is elastic. Ensure adequate rise time in a warm, draft-free spot.
Q: How do I prevent the garlic from burning in the oven?
A: Mix fresh minced garlic into melted butter and brush onto dough; the surrounding butter insulates garlic a bit. To reduce risk of bitter, burnt garlic, briefly sauté garlic in butter until fragrant but not browned, then cool slightly before brushing.
Final Thoughts on Rosemary Garlic Pull Apart Bread
This Rosemary Garlic Pull Apart Bread is simple to make and impressive to serve, with buttery, herby layers everyone will reach for.
If you enjoyed it, please leave a star rating in the recipe card below or pin it to Pinterest.
Conclusion: Rosemary Garlic Pull Apart Bread
For additional inspiration and variations on this style of bread, see Sally’s detailed take in Rosemary Garlic Pull Apart Bread – Sally’s Baking Addiction which dives into visual steps and plating ideas.
If you want a slightly different roll format with a similar flavor profile, Kroll’s Korner offers a practical variation in Rosemary Garlic Pull Apart Rolls – Kroll’s Korner.
For yeast-focused troubleshooting and professional pointers, the Red Star® Yeast guide How to Make Rosemary Garlic Pull-Apart Bread – Red Star® Yeast is a helpful resource.
Rosemary Garlic Pull Apart Bread
Ingredients
Method
- In a large bowl, combine the flour, instant yeast, salt, and sugar until evenly distributed.
- Pour in the warm water and olive oil, then stir until a rough dough forms, ensuring no large dry patches remain.
- Turn the dough onto a lightly floured surface and knead for about 5-10 minutes until smooth and elastic.
- Place the dough in a lightly oiled bowl, cover, and let it rise until doubled in size, about 1 hour.
- Preheat your oven to 375°F (190°C).
- Gently punch down the dough and divide it into small pieces.
- Roll each piece into a ball, then dip each ball in the melted butter mixed with garlic and rosemary.
- Arrange the balls in a greased baking pan, allowing for expansion.
- Cover loosely and let it rise for another 30 minutes.
- Bake for 25-30 minutes, until the top is golden brown and an instant-read thermometer reads 190-200°F.
- Allow to cool for 5-10 minutes before serving warm.