
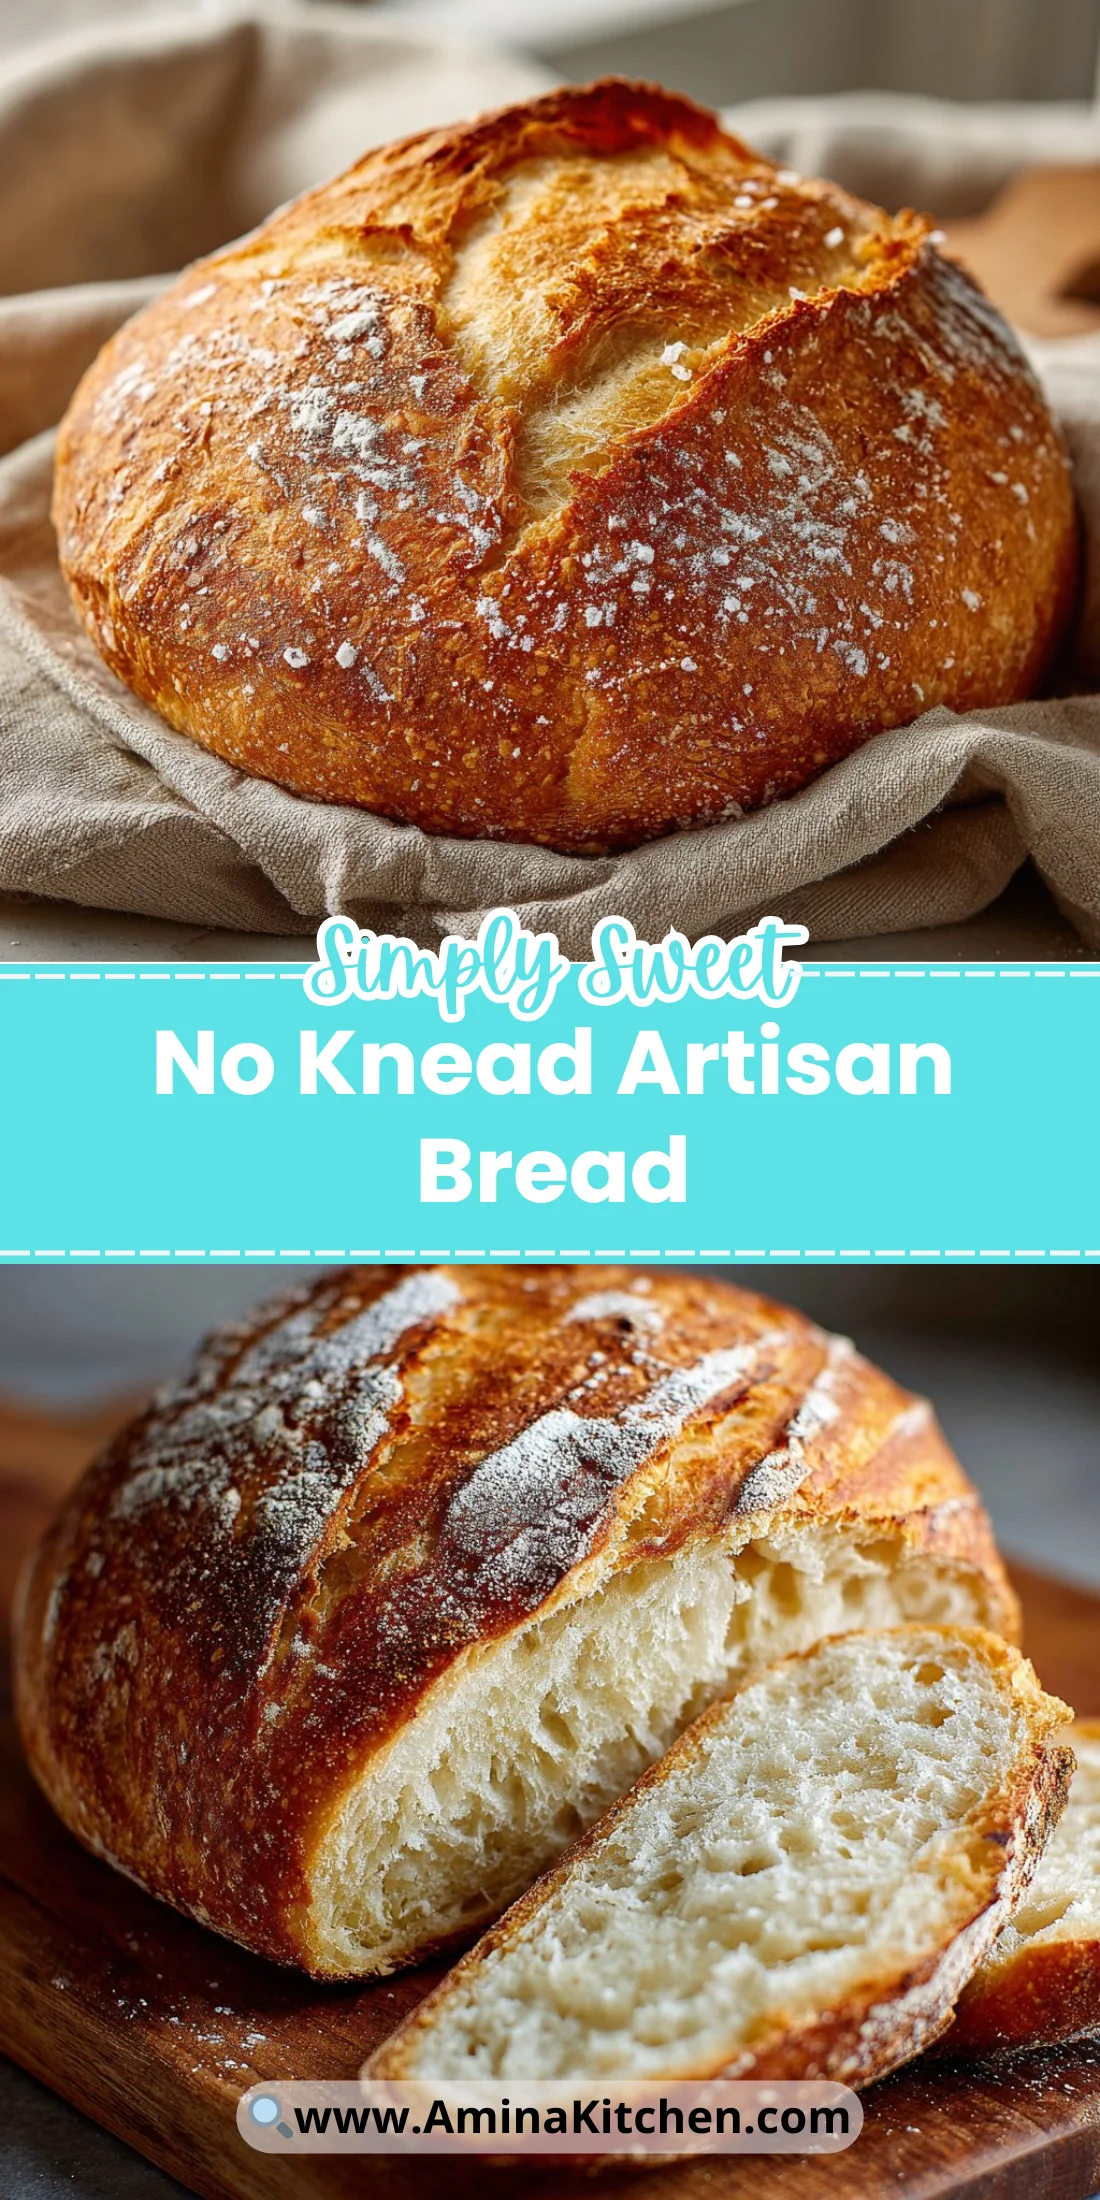
Warm flour, bubbling crust, and a loaf that tastes like it came from a bakery—without kneading for an hour. This no-fuss method is perfect for busy mornings, slow weekends, or anyone intimidated by traditional bread baking.
You only need a few pantry staples and some patience while the dough does the heavy lifting. The result is a glossy, blistered crust and an open, chewy crumb that’s hard to resist.
Keep this recipe on repeat and pair it with soups, salads, or a smear of butter and jam. For a sweet finish tonight, try a light dessert like a 3-ingredient no-bake strawberry cloud cake after your bread is cooling.
Why You’ll Love This No Knead Artisan Bread
- Only four ingredients, minimal hands-on time.
- No kneading required—dough develops gluten slowly.
- Big bakery-style crust from a home oven.
- Open, airy crumb ideal for toasting and sandwiches.
- Very forgiving—easy for beginners to master.
- Makes a beautiful centerpiece loaf for entertaining.
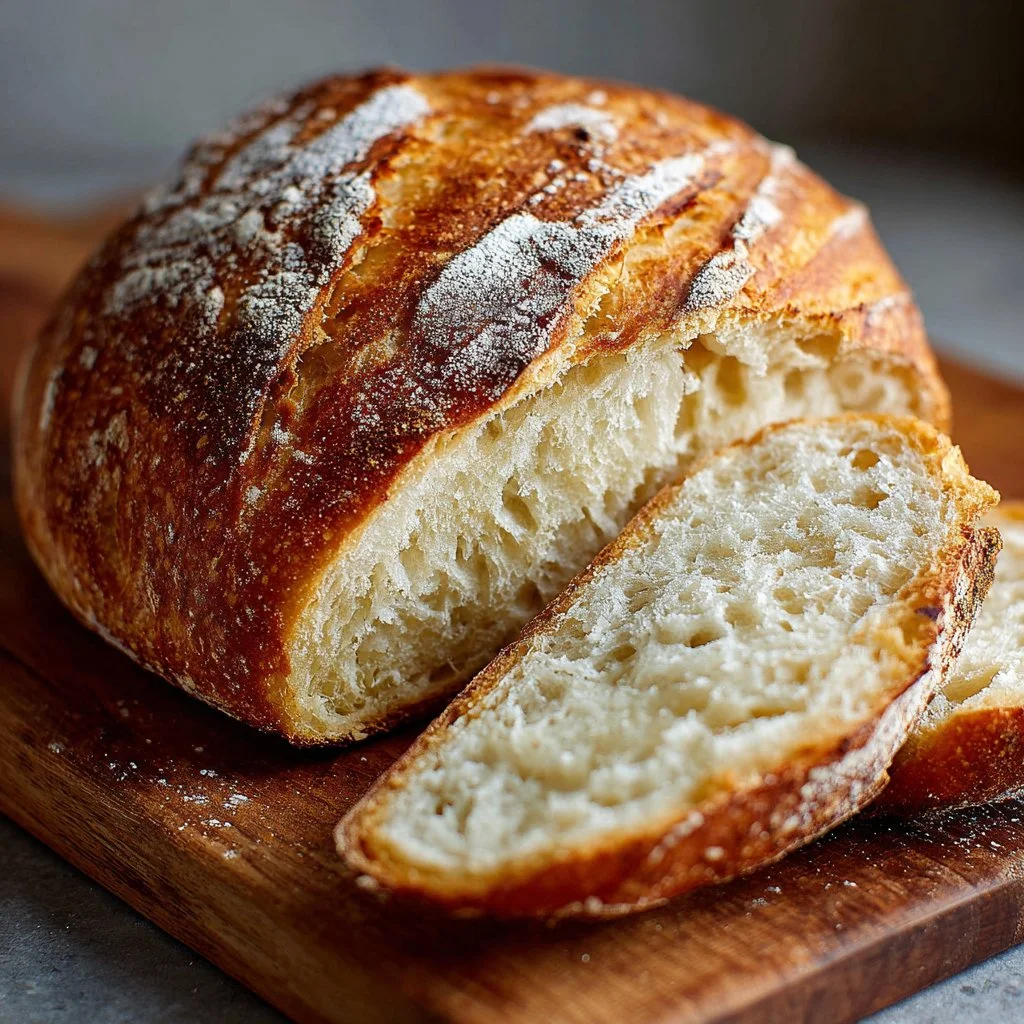
This bread delivers a thin, crackling crust and a soft, moist interior with irregular holes. The flavor is slightly nutty and wheaty from long fermentation, with a fresh-baked aroma that fills the kitchen.
“I was amazed—so simple and so good. The crust was insanely crisp and the inside was light and chewy. Five stars!” — A satisfied reader
Key Ingredients for No Knead Artisan Bread
Flour — All-purpose flour gives this loaf structure and an approachable chew. Choose a brand you trust; higher protein AP flour (11–12%) yields better gluten strength and more open holes. If you use bread flour, expect a slightly chewier crumb; if you use lower-protein pastry flour, the loaf will be softer and denser.
Salt — Salt seasons the dough and regulates yeast activity during the long fermentation. Use fine sea salt or table salt and measure carefully; too little yields bland bread, too much slows fermentation and tightens the crumb. If substituting coarse kosher salt, weigh it or adjust volume because granule size changes salinity.
Instant yeast — A small amount of instant yeast kickstarts fermentation without proofing. Instant yeast mixes directly into dry ingredients and tolerates long, cool rises. If substituting active dry yeast, dissolve it in warm water first and expect a slightly different rise time.
Water — Warmish room-temperature water hydrates the dough and sets the hydration level that creates the open crumb. Aim for about 75% hydration (1 1/2 cups water to 3 cups flour in this recipe); less water gives a tighter crumb, more water makes a wetter, stickier dough that yields bigger holes but is harder to shape.
Full Ingredient List for No Knead Artisan Bread
- 3 cups all-purpose flour
- 1 1/2 teaspoons salt
- 1/2 teaspoon instant yeast
- 1 1/2 cups water
Step-by-Step Instructions for No Knead Artisan Bread
Step 1: Combine the dry ingredients
In a large mixing bowl, whisk the flour, salt, and instant yeast until evenly distributed. This ensures the salt and yeast won’t sit together in pockets and that the dough hydrates uniformly.
Pro Tip: The mixture should look like dry, pale sand with no streaks of salt or yeast visible.
Step 2: Add water and form a shaggy dough
Pour in the water and stir with a wooden spoon or spatula until a rough, sticky, and shaggy dough forms. Don’t overwork it—just mix until everything is incorporated.
Pro Tip: The dough should look wet and gnarled, with loose strands and a sticky surface that clings to the spoon.
Step 3: Bulk ferment at room temperature for 12–18 hours
Cover the bowl tightly with plastic wrap and leave it on the counter at room temperature. Fermentation time depends on your kitchen temperature; warmer rooms shorten the ferment, cooler rooms lengthen it.
Pro Tip: After 12 hours the dough should be puffy and dotted with bubbles across the surface; it may have increased by about 50–100%.
Step 4: Turn, shape, and rest while you preheat
Generously flour a work surface and turn the dough out. With floured hands, fold the dough onto itself a couple of times to form a tight round, then let it rest while you preheat the oven with a Dutch oven inside to 450°F (230°C).
Pro Tip: The shaped ball should hold some tension and feel soft and pillowy; if it deflates completely it was over-handled.
Step 5: Bake covered, then uncovered
Carefully remove the hot Dutch oven, place the dough inside (seam-side down), cover with the lid, and bake for 30 minutes. Remove the lid and bake another 15 minutes until the crust is deeply golden.
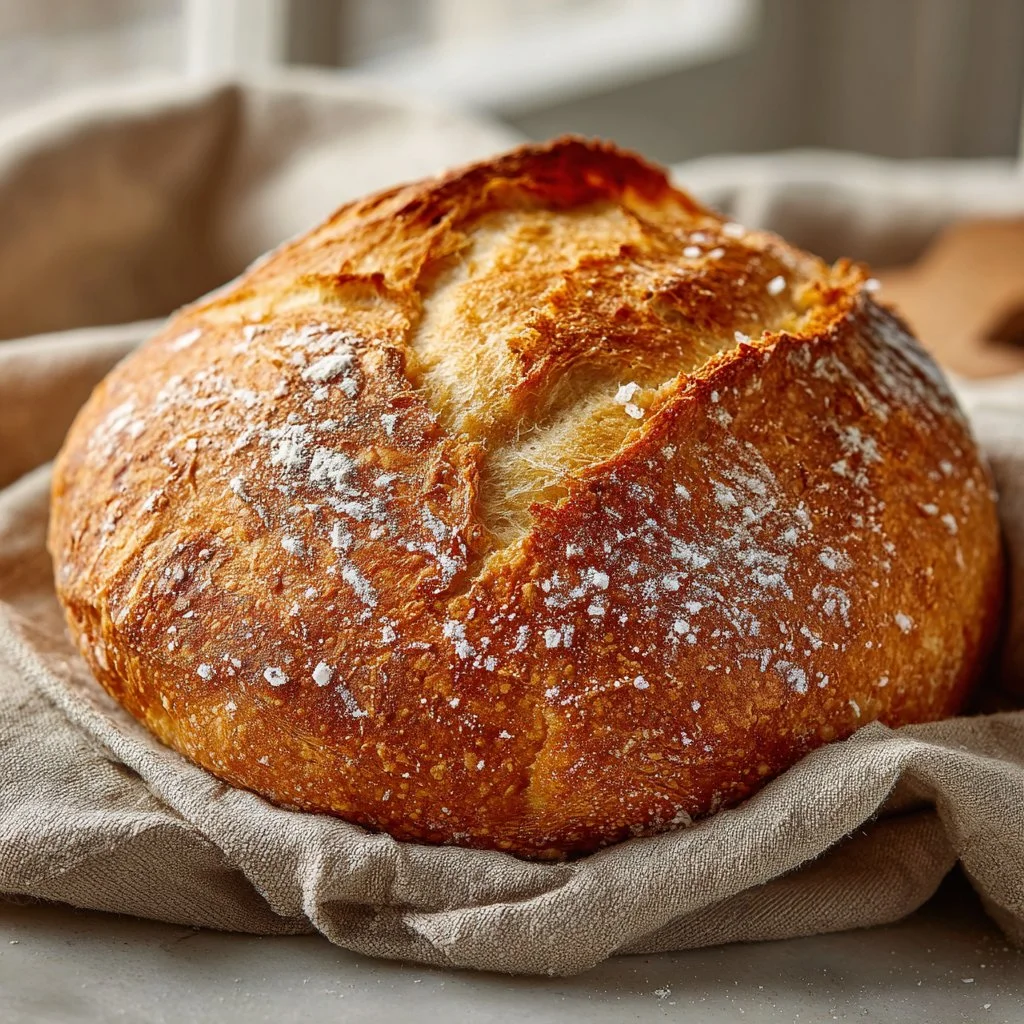
Pro Tip: While covered, the dough should steam and rise slightly; once uncovered the crust should blister and develop a rich brown color with audible crackles as it cools.
Step 6: Cool completely before slicing
Transfer the loaf to a rack and let it cool for at least an hour. Cooling finishes the crumb structure and prevents a gummy interior when you slice too soon.
Pro Tip: The loaf should sound hollow when tapped on the bottom and feel firm—not squishy—once fully cooled.
Pro Tip: For serving ideas and a bright dessert pairing, consider a chilled sweet ending like creamy no-bake pistachio pie after your bread cools.
Expert Tips for No Knead Artisan Bread
- Use a heavy Dutch oven with a snug lid for best steam retention and a crisp crust.
- Aim for 450°F (230°C) for the initial bake; lower temps yield paler crusts and less oven spring.
- If the crumb is too dense, increase hydration slightly (add 1–2 tablespoons more water) next time.
- For a chewier crust, bake uncovered for an additional 3–5 minutes, watching closely.
- Avoid overhandling during shaping; the dough needs surface tension to hold its shape.
- If your kitchen is cold, place the dough in a slightly warmed (but turned-off) oven for part of the ferment.
- Common mistake: adding too much flour while shaping—dust lightly to prevent a tight crumb.
- Use a bench scraper to handle sticky dough; it preserves the dough’s structure and keeps your hands cleaner.
For a practical comparison to loaves with different flour types, you can read a quick guide to similar home breads like Irish soda bread to understand texture differences.
Storage & Freezing for No Knead Artisan Bread
Room temperature: Store the cooled loaf in a paper bag or bread bag at room temperature for up to 2 days. Paper allows the crust to breathe and preserves the crisp exterior longer.
Fridge: Refrigeration dries bread quickly; avoid the fridge unless your kitchen is very humid. If refrigerated, keep bread in an airtight container for up to 5 days but expect a firmer crumb.
Freezer: Slice the cooled loaf and freeze in an airtight freezer bag or vacuum-sealed bag for up to 3 months. Wrap slices or the whole loaf in plastic wrap, then foil, to prevent freezer burn.
Thawing & reheating: Thaw slices at room temperature or toast directly from frozen. For whole loaves, thaw overnight in the fridge then warm in a 350°F (175°C) oven for 10–15 minutes to refresh the crust.
Variations & Substitutions for No Knead Artisan Bread
Whole-grain swap: Replace up to 50% of the all-purpose flour with whole-wheat flour. Expect a nuttier flavor and denser crumb; increase hydration by 1–2 tablespoons if the dough feels stiff.
Herbed olive oil loaf: Fold in 1–2 tablespoons chopped fresh herbs and a tablespoon of olive oil after the initial mix. The crust will brown more deeply and the crumb shows aromatic flecks of herb throughout.
Seeded crust: Sprinkle a mix of sesame, poppy, and flax seeds on the shaped dough before baking. The seeds add crunch and visual appeal and a nutty, toasted flavor to the crust.
Olive or sundried tomato variation: Fold in 1/2 cup chopped olives or finely chopped sundried tomatoes after turning out the dough. This yields a savory, Mediterranean-style loaf perfect for sandwiches and cheese boards; see a quick comparison with enriched doughs like Irish soda bread with currants for texture contrasts.
Frequently Asked Questions About No Knead Artisan Bread
Q: How long should I let the dough rise for No Knead Artisan Bread?
A: Plan on 12–18 hours at room temperature. Cooler kitchens (below 68°F/20°C) need the longer end of that range; warmer kitchens (above 75°F/24°C) may be ready in 12 hours. Look for a visibly puffy dough dotted with bubbles rather than relying on a strict time.
Q: Can I make No Knead Artisan Bread faster?
A: You can shorten the ferment by increasing the yeast slightly and using a warmer spot, but the flavor and open crumb develop best with a long, slow ferment. For a quicker loaf, allow 4–6 hours at a consistently warm temperature, but expect a tighter crumb and milder flavor.
Q: Why is my bread dense or gummy in the center?
A: Common causes are underbaking, insufficient cooling, or too little fermentation. Make sure the Dutch oven is fully preheated, bake until the crust is deeply golden, and cool the loaf at least one hour before slicing to let the crumb set.
Q: Do I have to use a Dutch oven for No Knead Artisan Bread?
A: No, but a Dutch oven mimics a steam-injected professional oven. If you don’t have one, bake on a preheated baking stone or sheet and add steam by placing a pan of hot water in the oven or spraying the oven walls with water at the start of baking.
Q: Can I scale this recipe up or down for different loaf sizes?
A: Yes. Keep the hydration ratio the same (about 75%), and adjust baking time based on loaf size—smaller loaves bake faster, larger loaves take longer. Use an instant-read thermometer; the loaf is done when the internal temperature reaches about 200–210°F (93–99°C).
Final Thoughts on No Knead Artisan Bread
This No Knead Artisan Bread is a reliable, delicious loaf you can make on repeat with little fuss and big rewards. Leave a star rating in the recipe card below and pin this recipe to Pinterest to save it for busy baking days.
Explore similar no-knead techniques and variations with recipes like World’s Easiest Yeast Bread recipe – Artisan, NO KNEAD crusty bread or try another Dutch oven take at Dutch Oven No Knead Bread (with perfect crusty crust!), and find a vegan spin on this method at No Knead Artisan Bread Recipe – Vegan Huggs.
No Knead Artisan Bread
Ingredients
Method
- In a large mixing bowl, whisk the flour, salt, and instant yeast until evenly distributed.
- Pour in the water and stir with a wooden spoon or spatula until a rough, sticky, and shaggy dough forms.
- Cover the bowl tightly with plastic wrap and leave it on the counter at room temperature for 12-18 hours.
- Generously flour a work surface and turn the dough out. With floured hands, fold the dough onto itself to form a tight round.
- Carefully remove the hot Dutch oven, place the dough inside (seam-side down), cover with the lid, and bake for 30 minutes.
- Remove the lid and bake another 15 minutes until the crust is deeply golden.
- Transfer the loaf to a rack and let it cool for at least an hour before slicing.