
These easy cookie butter bites are built for speed and maximum indulgence.
Ready in under an hour with no oven required, they’re perfect for last-minute guests or a stress-free holiday tray.
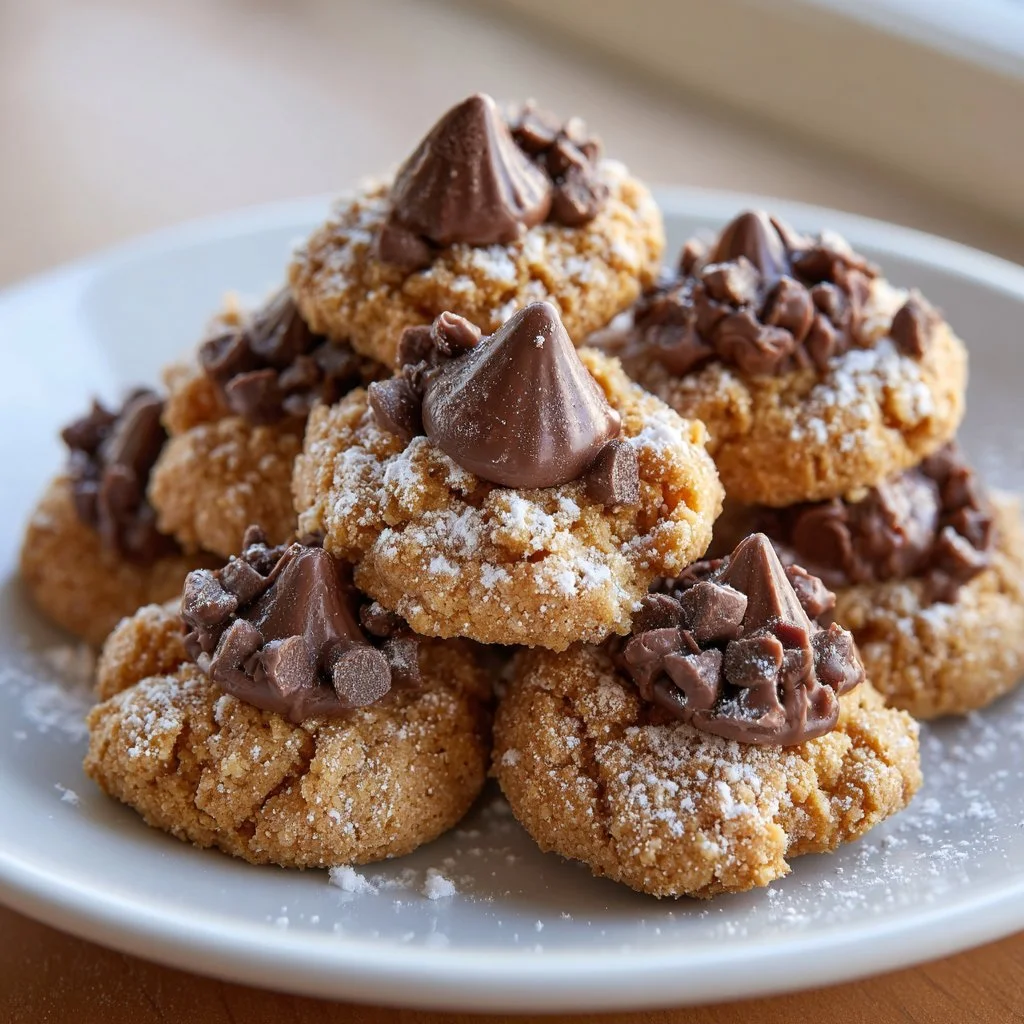
The texture is buttery, slightly crumbly, and melts into a soft ganache around the chocolate center.
Make a double batch and stash extras — they disappear fast.
Why You’ll Love This No-Bake Cookie Butter Blossoms
- Quick no-oven recipe: ready in about 30–45 minutes including chilling.
- Minimal equipment: just a bowl, spoon, and baking sheet.
- Crowd-pleasing flavor: cookie butter and chocolate is universally loved.
- Portable and giftable: they travel well in a lined tin or box.
- Kid-friendly assembly: rolling and pressing are fun for helpers.
- Customizable: swap toppings or add mix-ins to vary texture.
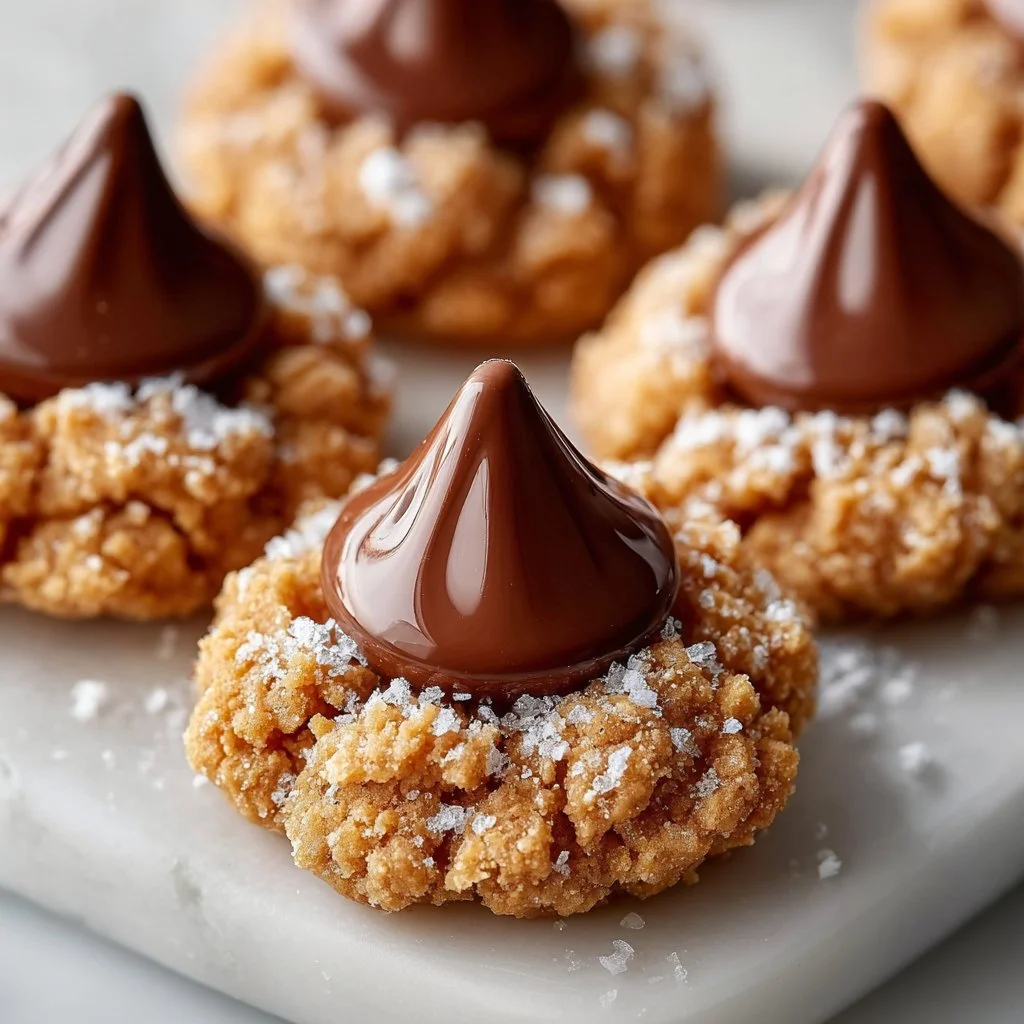
These No-Bake Cookie Butter Blossoms marry the spiced, biscuity depth of cookie butter with a crisp graham undertone and a soft, chocolate-topped center. The exterior holds together like a soft truffle, while the chocolate kiss creates a classic blossom finish and an extra hit of sweetness.
“5 stars — I made these for a bake sale and sold out in 20 minutes. So easy and addictive!” — Jamie M.
Learn more about how I test and share recipes
Key Ingredients for No-Bake Cookie Butter Blossoms
Cookie butter matters. Use a smooth, spreadable cookie butter (speculoos-style) for the right balance of spice and sweetness. If you substitute peanut butter or nut butter, expect a completely different flavor and slightly firmer texture because nut butters hold less moisture than cookie butter.
Graham cracker crumbs provide structure and a toasty note. Buy finely ground crumbs or blitz whole crackers in a food processor for even texture. Substituting with cookie crumbs (like vanilla wafers) will work, but the flavor will shift; use finely ground crumbs to avoid gritty bites.
Powdered sugar stabilizes and sweetens without grainy texture. It dissolves into the mixture, giving the blossoms a smooth finish and helping them hold shape. If you use granulated sugar, the mixture will be grainy and less cohesive.
Butter (melted) binds and adds richness. Use unsalted butter for better flavor control; melted butter integrates quickly and helps the mixture set when chilled. If you use margarine or coconut oil, expect a softer set and possibly an oily mouthfeel when warmed.
See my note on ingredient swaps and food safety
Full Ingredient List for No-Bake Cookie Butter Blossoms
- 1 cup cookie butter
- 1 cup graham cracker crumbs
- 1/2 cup powdered sugar
- 1/4 cup butter, melted
- 1/2 teaspoon vanilla extract
- Chocolate kisses or other chocolate candies for topping
Step-by-Step Instructions for No-Bake Cookie Butter Blossoms
Step 1: Combine the wet and dry base
In a mixing bowl, add the cookie butter, graham cracker crumbs, powdered sugar, melted butter, and vanilla extract. Use a sturdy spoon or a rubber spatula to fold everything until it forms a uniform, slightly sticky dough. If your cookie butter is very firm, warm it briefly (5–10 seconds) in the microwave to soften for easier mixing.
Pro Tip: The mixture should look cohesive and slightly glossy, and feel soft but not liquid — like a pliable cookie dough.
Step 2: Shape the mixture
Scoop small portions (about 1 tablespoon each) and roll them between your palms to form smooth balls. Place the balls on a baking sheet lined with parchment or silicone, spacing them about 1 inch apart to avoid sticking. If the dough sticks to your hands, chill it for 5–10 minutes or lightly dust your palms with powdered sugar.
Pro Tip: Each ball should hold its shape with no loose crumbs clinging — the surface will be smooth and slightly tacky.
Step 3: Add the chocolate center
Press a chocolate kiss or small chocolate candy into the center of each ball, pressing gently so the chocolate indents but does not sink through. If your chocolate is very firm, press more firmly or allow the cookie butter ball to warm slightly in your hands before pressing. Arrange the finished blossoms nicely on the sheet.
Pro Tip: The chocolate should sit snugly in a shallow well, with the surrounding cookie butter forming a neat collar.
Step 4: Chill and set
Refrigerate the baking sheet for at least 30 minutes to let the mixture firm up and the chocolate set in place. For firmer bites, chill up to 2 hours. After chilling, transfer the blossoms to an airtight container for serving or gifting.
Pro Tip: After chilling, blossoms should feel firmly set to the touch — cool, slightly dense, and no longer tacky.
Check my storage notes while the treats cool
Expert Tips for No-Bake Cookie Butter Blossoms
- Chill time matters: always refrigerate at least 30 minutes; shorter times yield softer, less stable blossoms.
- Texture troubleshooting: if the mixture is too sticky to work with, add 1–2 tablespoons more graham cracker crumbs and chill briefly.
- If mixture is crumbly, add a teaspoon of melted butter or a scant tablespoon of cookie butter to hydrate.
- Temperature tip: work in a cool room; warm hands will melt the butter and make rolling messy.
- Equipment tip: use a small cookie scoop for uniform sizing and a silicone mat for easy release.
- Common mistakes: overpacking the mixture makes centers dense; keep pressure gentle when rolling.
- Visual cue: finished blossoms should be matte on the surface (not greasy) and hold the kiss without collapsing.
- Serving tip: let blossoms sit 5 minutes at room temperature before serving for a softer bite.
Learn how I test texture and temperature
Storage & Freezing for No-Bake Cookie Butter Blossoms
Refrigerator storage: place blossoms in a single layer or with parchment between layers inside an airtight container. Store for up to 1 week. Keep them chilled until serving for best texture.
Freezer storage: flash-freeze blossoms on a baking sheet until firm (about 1 hour), then transfer to a freezer-safe container or zip-top bag with parchment between layers. Freeze up to 3 months. Thaw in the refrigerator overnight before serving to avoid condensation making them soggy.
Thawing and reheating: thaw in the fridge for several hours, then bring to room temperature for 10–15 minutes before serving if you prefer a softer bite. Do not microwave frozen blossoms directly or the chocolate may bloom and the texture will soften unevenly.
Containers: use airtight plastic or glass containers for fridge storage; for the freezer, use rigid containers to prevent crushing. Label with date for best freshness.
Variations & Substitutions for No-Bake Cookie Butter Blossoms
Chocolate-dipped edges: After chilling, dip half of each blossom into melted dark or milk chocolate and place back on parchment to set. This adds a crisp chocolate shell for contrast and makes them look upscale.
Nutty crunch: Fold 2 tablespoons of finely chopped toasted pecans or almonds into the dough before shaping. The result is a pleasantly crunchy contrast to the silky cookie butter base.
Spiced boost: Add 1/4 teaspoon ground cinnamon and a pinch of nutmeg to the mixture for deeper warmth. This will amplify the speculoos-style spice notes and pair beautifully with dark chocolate toppings.
Salted caramel twist: Drizzle a little salted caramel over the toppled kisses after chilling, or sandwich a tiny caramel square under the kiss before pressing. This creates a luxurious sweet-salty dynamic and more complex mouthfeel.
Frequently Asked Questions About No-Bake Cookie Butter Blossoms
Q: Can I make these without butter?
A: Yes, you can substitute melted coconut oil (use refined for neutral flavor) in a 1:1 ratio. Expect a slightly softer set and a faint coconut flavor. Chill longer to firm up, and avoid warm rooms where coconut oil might soften.
Q: Will these hold together for gifting at room temperature?
A: For short trips (1–2 hours) they’ll be fine at cool room temperature. If it’s warm or the destination is outdoors, keep them in a cooler with an ice pack. For longer travel, package chilled blossoms in an insulated bag.
Q: Can I use store-bought graham cracker crumbs, or is fresh better?
A: Store-bought crumbs are fine if they’re finely ground and dry. Freshly processed crackers can provide a brighter toasted flavor. Either works; avoid any crumbs with added oils or high moisture.
Q: How do I prevent the chocolate from sweating after chilling?
A: Allow the blossoms to come to room temperature slowly by transferring them from fridge to a cool spot for 10–15 minutes before serving. Rapid temperature changes cause condensation. Use high-quality chocolate that’s properly tempered for the best appearance.
Q: Can I make mini or jumbo sizes?
A: Absolutely. For minis, use 1/2 teaspoon portions and chill less; for jumbo, use 1½–2 tablespoons and increase chill time to ensure the centers set. Adjust chilling times and packing density on the tray to avoid sticking.
{image_template}
Final Thoughts on No-Bake Cookie Butter Blossoms
If you love effortless sweets, these No-Bake Cookie Butter Blossoms are a must-try — fast, flexible, and delightfully addictive.
Please leave a star rating in the recipe card below and pin this to Pinterest for later.
For a similar no-bake idea, I recommend checking No Bake Peanut Butter Blossoms (+Video) – Gluesticks Blog for a peanut-butter twist.
For another nut-free take on cookie butter treats, see Cookie Butter Blossoms {Nut-Free} – Yellow Bliss Road.
If you want a more elaborate version with tips on presentation, try Deluxe Cookie Butter Blossoms – JavaCupcake.
No-Bake Cookie Butter Blossoms
Ingredients
Method
- In a mixing bowl, add the cookie butter, graham cracker crumbs, powdered sugar, melted butter, and vanilla extract. Mix until a uniform, slightly sticky dough forms.
- Scoop small portions (about 1 tablespoon each) and roll them into smooth balls. Place the balls on a baking sheet lined with parchment paper, spacing them about 1 inch apart.
- Press a chocolate kiss into the center of each ball, making sure it sits snugly.
- Refrigerate the baking sheet for at least 30 minutes to firm up the mixture. For firmer bites, chill for up to 2 hours.