
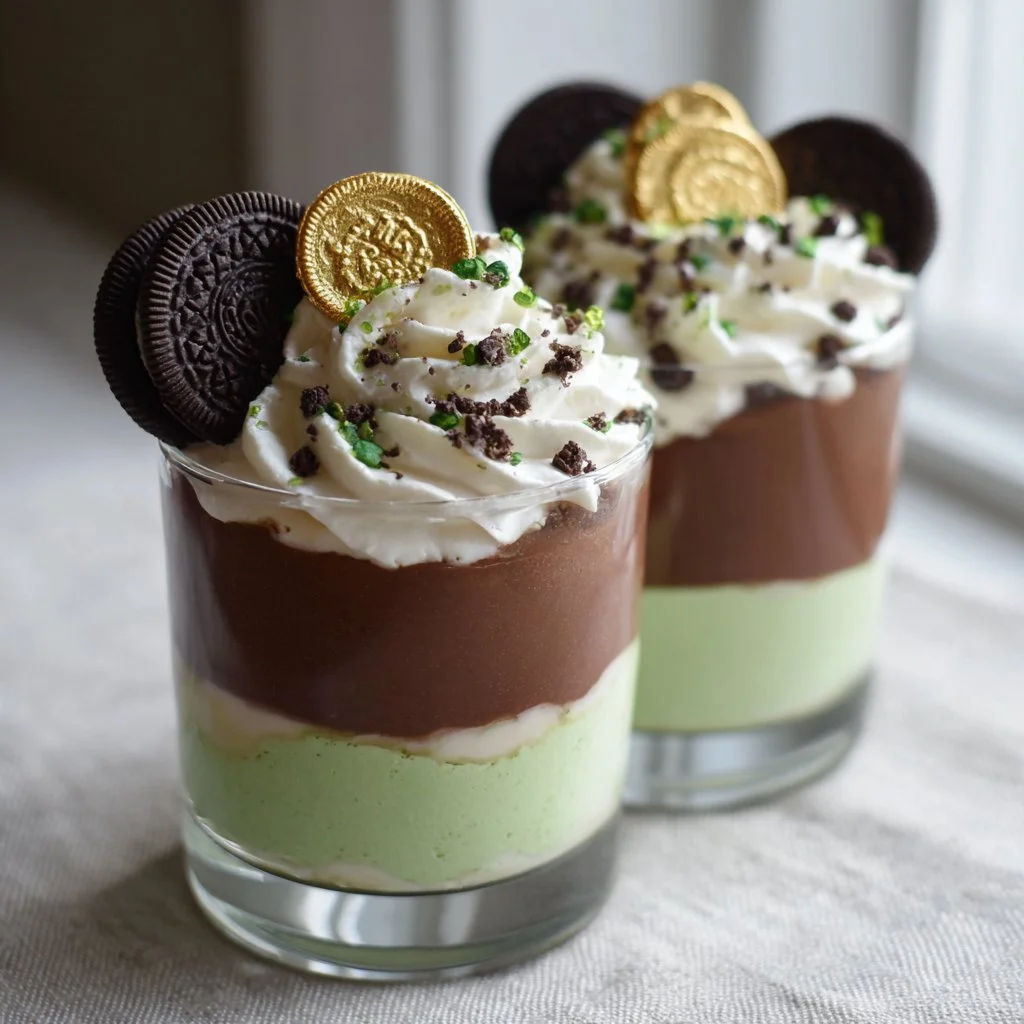
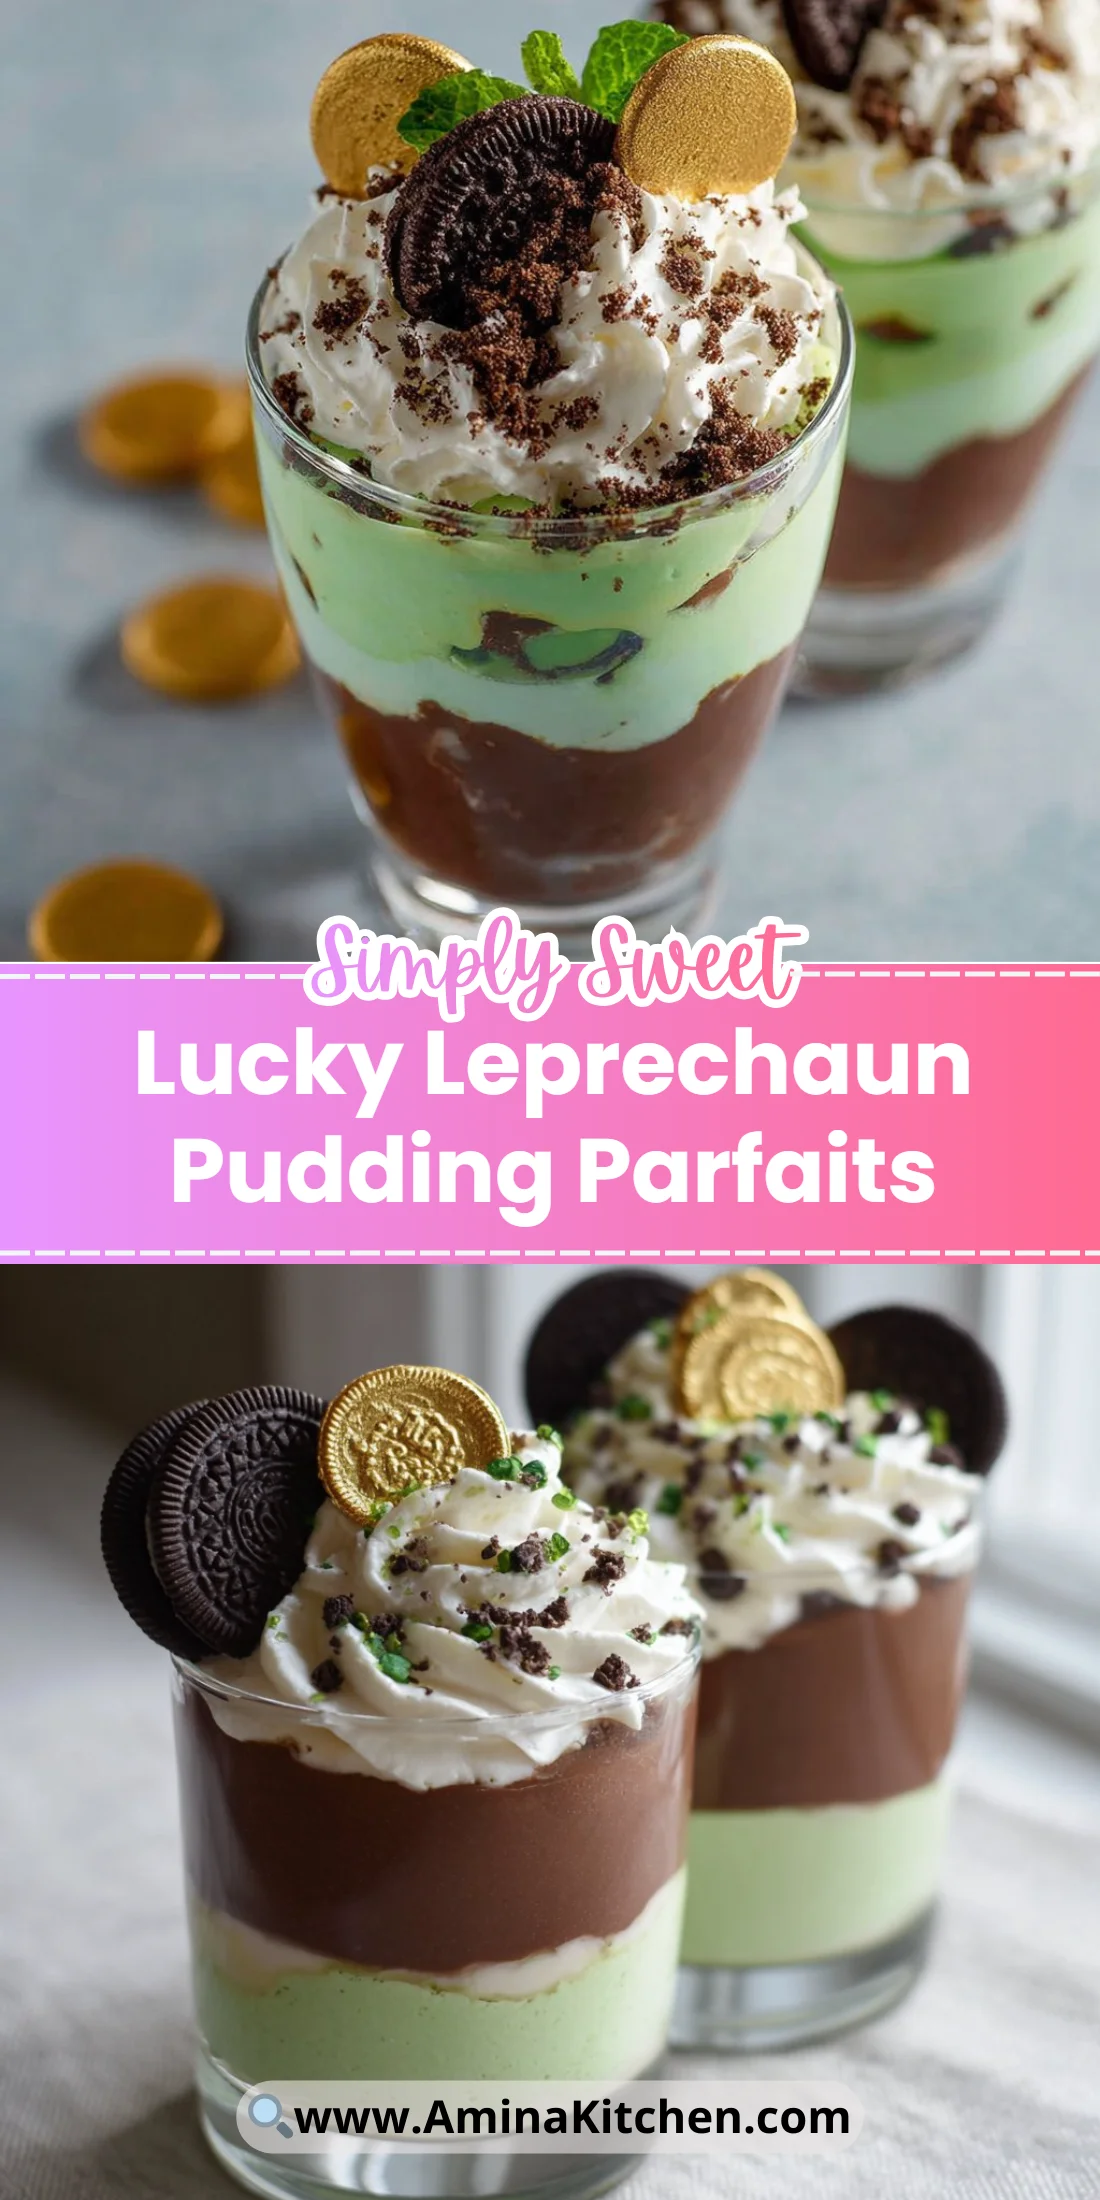
Start with a bright burst of green and a chocolatey smile—these Lucky Leprechaun Pudding Parfaits are the easiest way to make St. Patrick’s Day feel playful and indulgent.
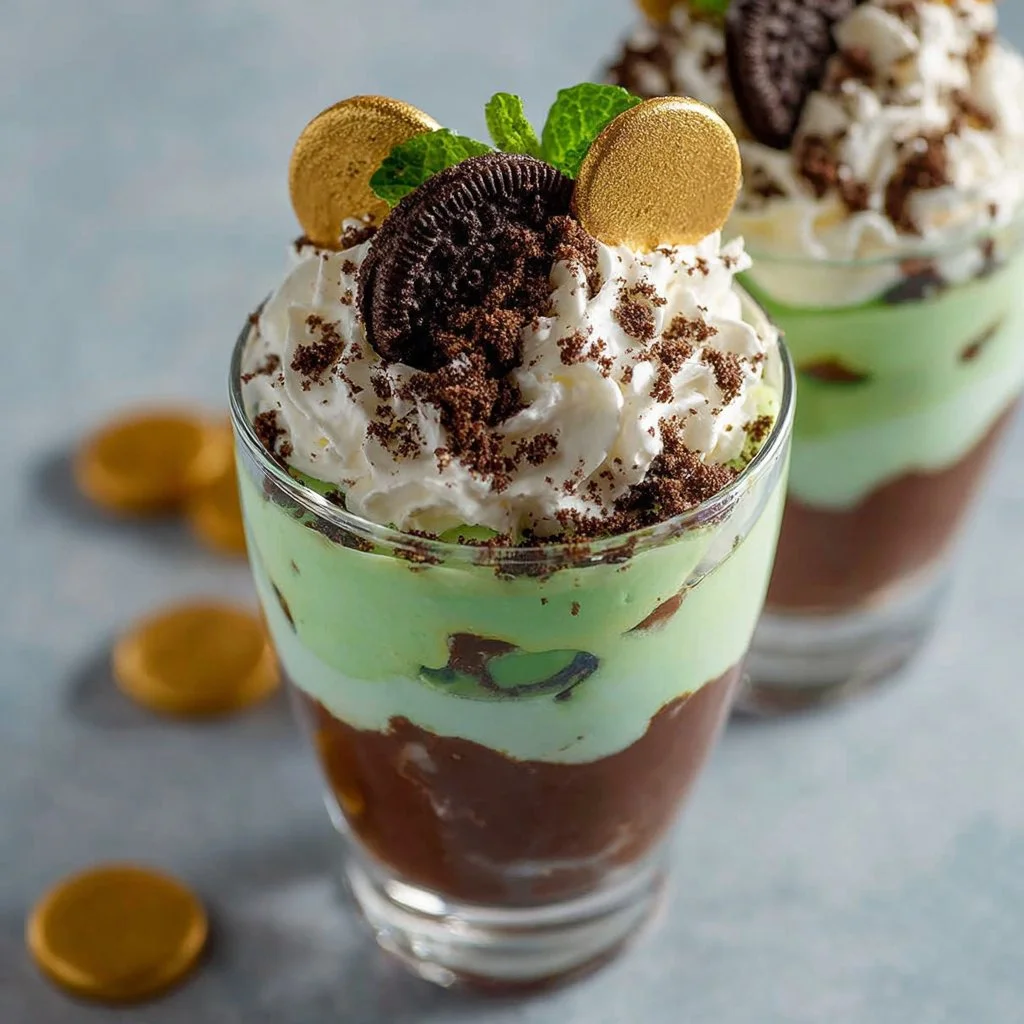
Layers of chocolate pudding, mint-scented green whipped pudding, crunchy Oreo crumbs, and shiny chocolate coins make a dessert that looks like a party in a glass.
They come together fast with pantry staples and a hand mixer, so you can serve them the same day you build them.
Try one and then double the batch—guests will ask for the recipe.
Why You’ll Love This Lucky Leprechaun Pudding Parfaits
– Fast no-bake recipe perfect for busy hosts.
– Kid-friendly assembly that still looks gourmet.
– Bright, eye-catching green for holiday tables.
– Balanced textures: silky pudding, airy whipped layer, crunchy cookie crumb.
– Minimal equipment: no oven required.
– Highly customizable for flavors and garnishes.
– Makes 4 elegant individual servings for easy portion control.
The taste is a playful mix of deep chocolate and cool, minty-vanilla sweetness with a luxuriously creamy mouthfeel.
Textures alternate so every spoonful delivers silky pudding, fluffy green whipped pudding, and satisfying cookie crunch.
"Absolutely adorable and delicious—my family devoured these! Chocolate, mint, and Oreos was a winning combo. Five stars!" — A delighted reader
Try a matching green pastry for a themed brunch pairing that guests will remember.
Key Ingredients for Lucky Leprechaun Pudding Parfaits
Instant chocolate pudding mix (3.9 ounce).
Instant chocolate pudding gives you immediate, reliably thick chocolate layers without cooking.
Buy a name-brand mix for consistent gelatin strength; cheap off-brand blends can set softer.
If you substitute with homemade chocolate pudding, cook it slightly thicker and chill well so it layers cleanly.
Instant vanilla pudding mix (3.9 ounce) used to create the green whipped pudding.
Vanilla mix stabilizes the whipped cream and adds body so the green layer holds peaks.
Choose a true vanilla pudding for a neutral, sweet backdrop; French vanilla will add extra richness.
If you swap for instant butterscotch or other flavors, expect different color contrasts and a sweeter profile that may overpower the chocolate.
Heavy cream (2 cups).
Heavy cream whips to light, airy peaks that lift the vanilla pudding and create a mousse-like layer.
Look for cream labeled 36%+ fat for best whipping volume and stability.
If you substitute with half-and-half or lighter creams, the green layer will be loose and won’t hold shape—consider adding a stabilizer like gelatin or using all whipped topping instead.
Crushed Oreo cookies (8 cookies).
Oreos add texture and a chocolate-cookie flavor that echoes the chocolate pudding.
Buy fresh cookies for crisp crumbs; stale cookies can taste flat and won’t add as much crunch.
You can substitute with graham crackers or chocolate wafer cookies for a different texture and sweetness level.
Full Ingredient List for Lucky Leprechaun Pudding Parfaits
– 3.9 ounce instant chocolate pudding mix
– 2 cups milk
– 3.9 ounce instant vanilla pudding mix
– 2 cups heavy cream
– 1/2 teaspoon vanilla extract or mint extract
– Green food coloring
– 8 Oreo cookies, crushed
– 8 oz whipped topping
– Chocolate gold coins (for garnish)
Step-by-Step Instructions for Lucky Leprechaun Pudding Parfaits
Step 1: Make the chocolate pudding
In a medium bowl, whisk 2 cups of cold milk with the 3.9 ounce instant chocolate pudding mix until smooth.
Beat with a hand mixer on low speed for 2 minutes to ensure the mix fully hydrates and thickens.
Refrigerate the chocolate pudding for 5 minutes to let it set slightly and reach a spoonable consistency.
Pro Tip: The chocolate layer should be glossy and spreadable, not runny; it will smell like rich cocoa and hold a gentle mound.
Step 2: Whip the green vanilla pudding base
In a separate bowl, combine the heavy cream with the 3.9 ounce instant vanilla pudding mix. Start beating at low speed to moisten the powder, then increase to high until the mixture is light, fluffy, and holds soft peaks.
This step creates the mousse-like green layer that gives the parfait body and a whipped texture.
Pro Tip: When you lift the beaters, the green whipped pudding should form peaks that fold slowly—if it collapses, it needs a few more seconds on high.
Step 3: Flavor and color the whipped layer
Fold in 1/2 teaspoon of vanilla extract or mint extract to taste. Add green food coloring a few drops at a time and gently fold until you reach your desired shamrock green shade. Avoid overmixing to keep the airiness.
Pro Tip: The whipped pudding should have an even green color with no streaks and smell faintly of mint or vanilla depending on your extract choice.
Step 4: Layer the parfaits
Spoon a layer of the chilled chocolate pudding into the bottom of four glasses. Press lightly to level the layer. Top with a thick layer of the green whipped vanilla pudding, spreading it evenly to create a clear separation of layers.
Pro Tip: The chocolate base will be visibly darker and satiny; the green whipped layer should sit above it with a clean, horizontal line.
Step 5: Add the cookie and whipped topping layers
Sprinkle a generous layer of crushed Oreo cookies over the green layer. Dollop or pipe a layer of whipped topping on the cookie crumbs for a smooth, bright white contrast that helps the final green dollop pop.
Pro Tip: The cookie layer should be coarse crumbs—not powder—so you still feel crunch when you spoon through.
Step 6: Finish and garnish
Top each parfait with a small dollop of the remaining green pudding. Press a chocolate gold coin into the top and scatter a few cookie crumbs for visual interest. Chill for at least 15 minutes before serving to let flavors settle.
Pro Tip: The final parfait should look layered with a visible chocolate bottom, thick green middle, a dark cookie band, and a pristine white topping with a gleaming gold coin.
Expert Tips for Lucky Leprechaun Pudding Parfaits
– Temperature tip: Use cold milk and chilled bowls for fastest thickening; warm ingredients slow down setting.
– Texture troubleshooting: If the green layer becomes too loose, fold in a tablespoon of instant powdered sugar or chill the mixture 10–15 minutes to firm it.
– Equipment tips: A hand mixer is ideal; a stand mixer works too. Use a silicone spatula for gentle folding to keep air in the whipped layer.
– Common mistakes: Overbeating the heavy cream turns it grainy or into butter—stop as soon as it forms soft to medium peaks.
– Layering visuals: Use a piping bag or gallon bag with the corner snipped to pipe neat layers for consistent presentation.
– Flavor balance: If using mint extract, start with less than 1/2 teaspoon—mint concentrates quickly and can dominate the chocolate.
– Make-ahead planning: Assemble up to 6 hours ahead and keep chilled; finish garnishes and coins just before serving for the best shine and texture.
Pair with a no-bake Lucky Charms dessert for a playful dessert table.
Storage & Freezing for Lucky Leprechaun Pudding Parfaits
Fridge storage: Store assembled parfaits in an airtight container or cover glasses tightly with plastic wrap. They keep well in the refrigerator for up to 48 hours. For best texture, consume within 24 hours—cookie crumbs soften over time.
Freezer storage: Parfaits with whipped components do not freeze well if fully assembled. If you must freeze, omit the whipped topping and cookie layer; freeze the chocolate pudding in a shallow airtight container for up to 1 month.
Thawing and reheating: Thaw frozen pudding in the fridge overnight. Stir gently before using; it may be slightly softer so chill to firm. Do not microwave the whipped components; instead, rewhip chilled heavy cream if needed.
Best containers: Use clear, lidded parfait glasses or small mason jars for presentation and airtight lids. If transporting, place the jars in a shallow tray and cover with a lid or plastic wrap.
Use airtight jars like these for easy storage and transport.
Variations & Substitutions for Lucky Leprechaun Pudding Parfaits
Mint-chocolate deluxe: Swap the vanilla extract for 1/2 teaspoon peppermint extract and add a tablespoon of cocoa to the whipped layer for an intensified mint-chocolate profile. The green color will be slightly darker, and the flavor will be more adult-forward.
Lucky Charm twist: Fold crushed cereal like Lucky Charms into the whipped topping instead of Oreos for a sweeter, whimsical crunch that kids will love. Expect a slightly less chocolatey finish and more cereal sweetness.
Boozy adult parfaits: Add 1–2 tablespoons of Baileys or crème de menthe to the chocolate pudding before chilling for a subtle liqueur warmth. Reduce milk by the same amount to keep thickness consistent.
Lightened parfaits: Use whipped topping in place of some heavy cream and choose low-fat milk for the chocolate pudding. You’ll lose some richness and stability, so assemble shortly before serving to maintain texture.
Frequently Asked Questions About Lucky Leprechaun Pudding Parfaits
Q: Can I make Lucky Leprechaun Pudding Parfaits ahead of time?
A: Yes. Assemble up to 6–24 hours ahead and keep covered in the refrigerator. Wait to add delicate garnishes like chocolate coins until just before serving to preserve shine. If your cookie layer is thick, place a paper liner between the cookie and whipped topping to slow sogginess when making very early.
Q: Can I use cool whip instead of whipped cream for the green layer?
A: You can substitute whipped topping for heavy cream to simplify the process. The texture will be sweeter and less aerated; to maintain firmness, fold in the vanilla pudding mix carefully and chill for 20–30 minutes before layering.
Q: How do I prevent the green color from bleeding into the white whipped topping?
A: Use a stable, chilled whipped layer and pipe or spoon the white topping on gently. Chill between layers for 10 minutes to set each layer slightly. Also avoid watery food coloring—gel colors provide vibrant shades with minimal liquid.
Q: Can I make these in larger trifle bowls instead of individual glasses?
A: Absolutely. Scale up the layers proportionally in a trifle bowl. Be aware that the trifle will be harder to serve with perfectly clean layered portions, but it’s great for large gatherings and dramatic presentation.
Q: What can I use instead of Oreos for the cookie crumb layer?
A: Swap Oreos for graham crackers, chocolate wafer cookies, chocolate hazelnut cookies, or even crushed pretzels for a salty-sweet contrast. Each will change the texture and sweetness—graham crackers are milder, wafers are lighter, and pretzels add salty crunch.
Final Thoughts on Lucky Leprechaun Pudding Parfaits
These Lucky Leprechaun Pudding Parfaits are a fast, festive dessert that balances creamy, crunchy, and chocolaty elements in every spoonful.
If you loved this recipe, please leave a star rating in the recipe card below and pin it to Pinterest to save it for the next celebration.
For more St. Patrick’s Day parfait inspiration see St. Patrick’s Day Pudding Parfait Cups with Lucky Charms.
Want a different take on layered treats? Try Lucky Leprechaun Parfaits – Jessica Weible Blogs for another layered idea.
For an easy, family-friendly recipe comparison view Easy St. Patrick’s Day Parfait Recipe – {Not Quite} Susie Homemaker.
Lucky Leprechaun Pudding Parfaits
Ingredients
Method
- In a medium bowl, whisk 2 cups of cold milk with the instant chocolate pudding mix until smooth. Beat with a hand mixer on low speed for 2 minutes and refrigerate for 5 minutes to let it set slightly.
- In a separate bowl, combine the heavy cream with the instant vanilla pudding mix. Beat at low speed, then increase to high until light and fluffy.
- Fold in vanilla or mint extract and add green food coloring until desired shade is achieved.
- Spoon a layer of chilled chocolate pudding in glasses, top with green whipped pudding, and level.
- Sprinkle crushed Oreos over the green layer, followed by a layer of whipped topping.
- Top each parfait with additional green pudding and a chocolate gold coin. Chill for at least 15 minutes before serving.