
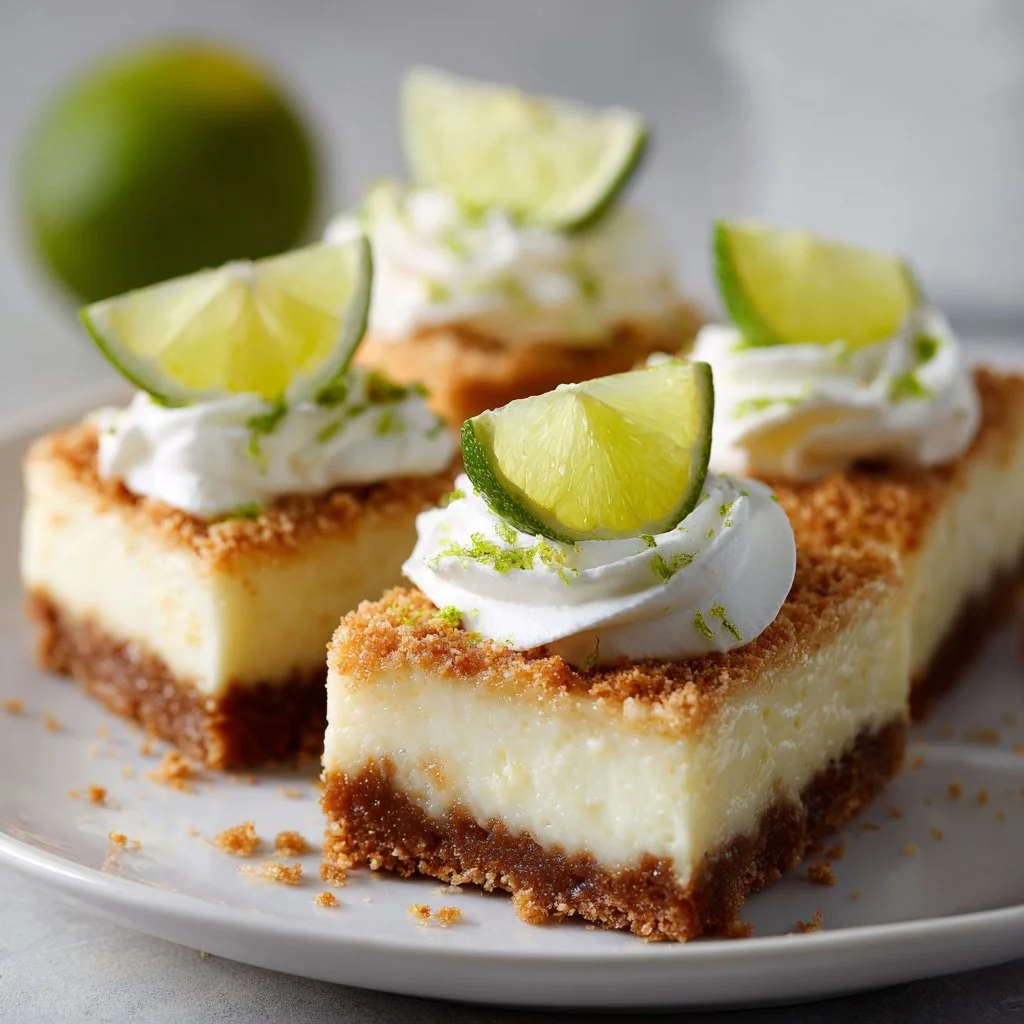
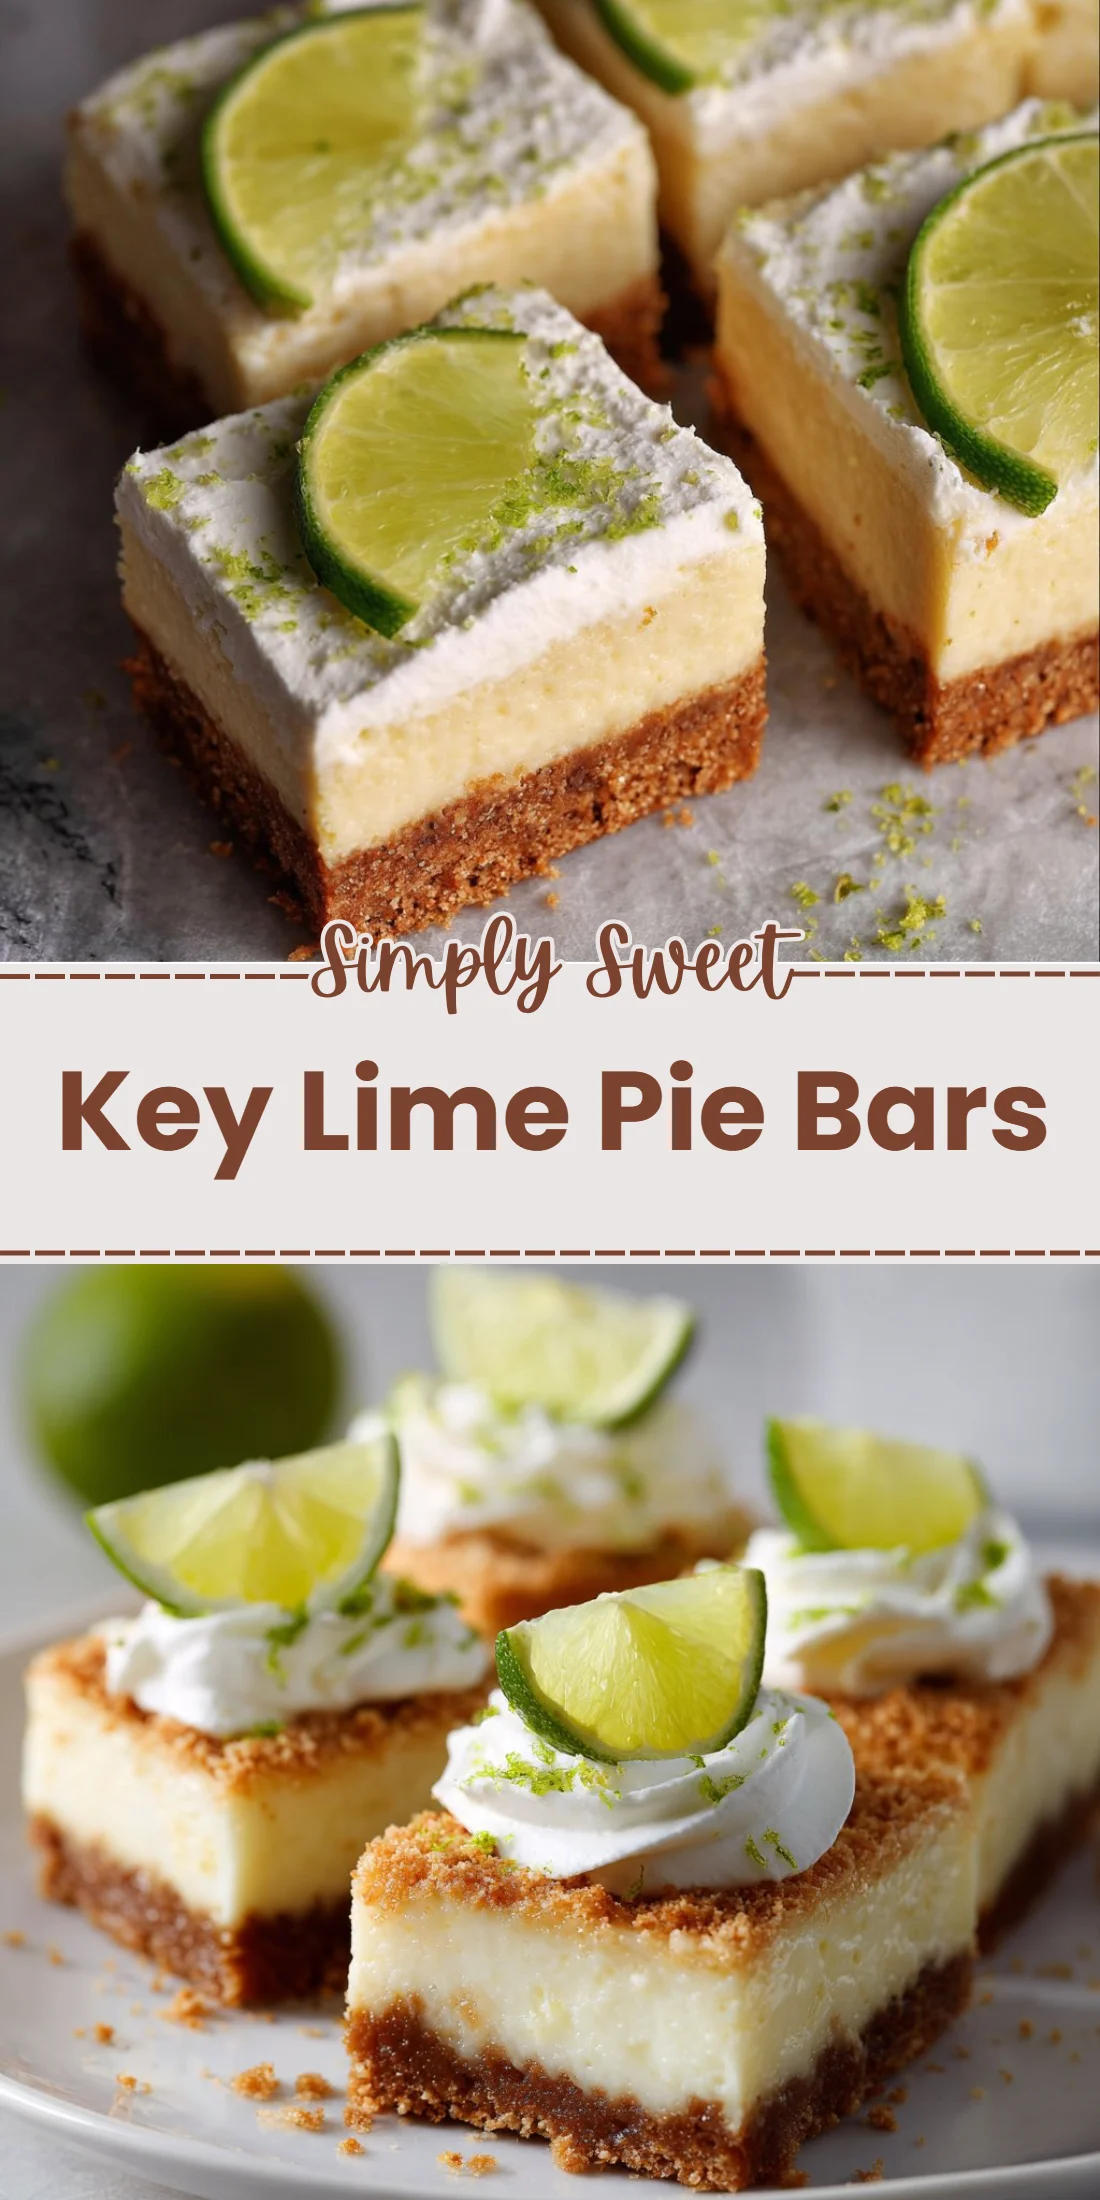
Bright, tart, and impossibly creamy — these Key Lime Pie Bars are the shortcut to citrus bliss when you want dessert without a fuss.
They come together with pantry staples and a few fresh limes, and they chill into a silky slice that’s easier to share than a whole pie.
This compact recipe is ideal for weeknight desserts, summer parties, or when you want a portable treat that stays perfectly sliceable.
If you like lime desserts, you might also enjoy a lighter, airy option such as this creamy lime jello mousse for a different texture and presentation.
Why You’ll Love This Key Lime Pie Bars
– Fast, ready in under an hour plus chilling time.
– Minimal equipment: one bowl for filling, one for crust.
– Bright, refreshing citrus flavor with smooth, custardy texture.
– Portable and easy to serve at parties or potlucks.
– Pantry-friendly — most ingredients are staples.
– Great make-ahead dessert; it improves after a few hours chilling.
– Versatile: easily dressed up with whipped cream or toasted coconut.
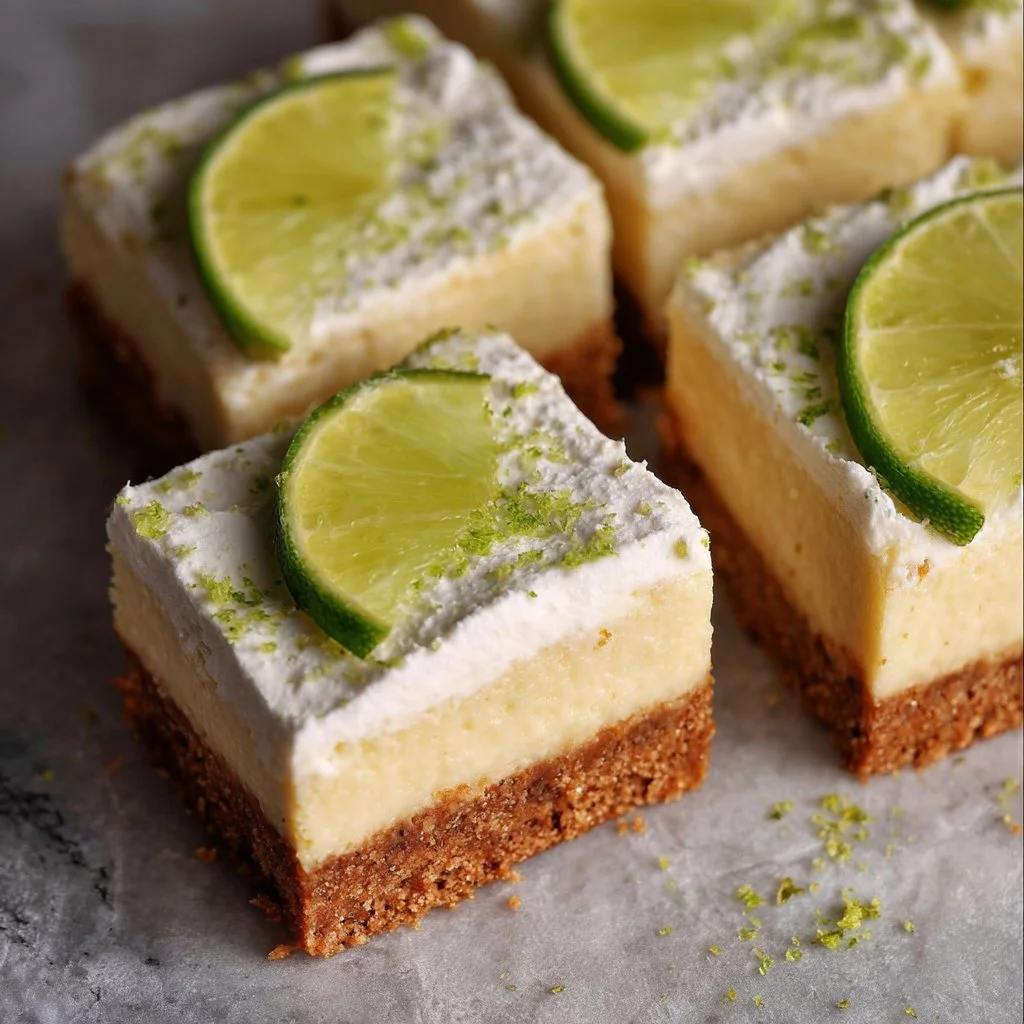
These bars balance bright key lime acidity with the sweet, dense richness of sweetened condensed milk for a creamy, custard-like filling. The graham crust provides a buttery, slightly crunchy base that contrasts the silken lime layer, giving each bite a clean citrus snap followed by a smooth, melt-in-your-mouth finish.
“Absolutely perfect — tangy but not too sharp, and the texture is like a hybrid between cheesecake and pie. Made these for a picnic and everyone asked for the recipe. 5/5!”
Key Ingredients for Key Lime Pie Bars
– Graham cracker crumbs: The crumbs form the structural base. Choose finely crushed crackers for a compact crust that presses firmly and bakes evenly. If you substitute with digestive biscuits, expect a slightly different flavor and a crumblier texture; you may need an extra tablespoon of melted butter to bind.
– Unsalted butter, melted: Butter provides richness and sets the crust when chilled. Use real unsalted butter for a clean flavor and control salt levels. Substitute with melted coconut oil for a dairy-free option, but the crust will be firmer when chilled and have a mild coconut note.
– Sweetened condensed milk: This ingredient sweetens and stabilizes the custard while contributing to the silky mouthfeel. It reacts with the acidic key lime juice to slightly thicken the filling; using evaporated milk instead will require added sugar and may yield a thinner, less glossy filling.
– Key lime juice: The star flavor — key limes are more floral and tangy than ordinary limes. If you can’t find fresh key limes, bottled key lime juice works in a pinch, though fresh will provide brighter aromatics. Regular Persian lime juice will work but the final flavor will be less aromatic and slightly sweeter.
Full Ingredient List for Key Lime Pie Bars
– 1 cup graham cracker crumbs
– 1/3 cup sugar
– 1/2 cup unsalted butter, melted
– 1 cup sweetened condensed milk
– 1/2 cup key lime juice
– 3 large eggs
– 1 tablespoon lime zest
– Whipped cream (for topping)
– Lime slices (for garnish)
Step-by-Step Instructions for Key Lime Pie Bars
Step 1: Preheat the oven to 350°F (175°C).
Preheating ensures the crust starts setting immediately when it goes in, which helps the texture stay crisp and prevents the filling from overbaking. Use the oven’s center rack for even heat distribution.
Pro Tip: The oven should feel steady when you open the door; preheated air will be warm and dry, not fluctuating.
Step 2: Combine graham cracker crumbs, sugar, and melted butter and press into a greased baking dish.
Mix the crumbs and sugar thoroughly so every particle is coated with butter; this creates a glued, compact base. Press firmly into the bottom of a lightly greased 8×8-inch pan (or similar). Use the bottom of a measuring cup to press the crust flat and even.
Pro Tip: The crust should be compact and hold together when tapped; you should see a uniform, golden-brown surface after pressing.
Step 3: Whisk together the condensed milk, key lime juice, eggs, and lime zest until smooth.
Whisk just until homogeneous — you want a smooth, glossy mixture with no streaks of egg white. The acid in the lime juice will slightly thicken the sweetened condensed milk, so whisk gently and avoid aerating too much.
Pro Tip: The filling should look silky and uniform, with tiny streaks of zest and no large bubbles on the surface.
Step 4: Pour the lime mixture over the crust.
Pour in one smooth stream to avoid disturbing the crust. If bubbles rise to the top, use a spoon to pop them; large pockets of air can cause cracking during baking.
Pro Tip: The surface should be flat and glossy before baking, with no dry crust showing through.
Step 5: Bake for 15-20 minutes or until set.
Bake just until the filling is set around the edges and slightly jiggly in the center — similar to a firm custard. Overbaking causes curdling and cracks; underbaking leaves the center too loose after chilling.
Pro Tip: When you lightly nudge the pan, the edges will be firm and the center should wobble slightly like gelatin.
Step 6: Allow to cool, then refrigerate for at least 2 hours.
Cooling at room temperature briefly avoids thermal shock, then refrigerate uncovered or lightly covered until fully chilled. Chilling completes the set and makes slicing easier.
Pro Tip: After chilling, the surface should be smooth and matte, with the filling holding a clean edge when nudged.
Step 7: Cut into bars and serve topped with whipped cream and lime slices.
Use a sharp knife dipped in hot water and wiped between cuts for clean slices. Garnish with a dollop of whipped cream and a thin lime slice for a fresh presentation.
Pro Tip: Clean edges and neat garnishes signal a perfectly set bar; the cut should reveal a distinct crust-to-filling contrast and no crumbs smooshed into the filling.
Expert Tips for Key Lime Pie Bars
– Temperature tips: Let eggs and condensed milk come slightly closer to room temperature before mixing to ensure smooth emulsification; avoid cold eggs straight from the fridge that can create streaks.
– Baking temperature trick: If your oven runs hot, reduce to 325°F and extend baking time slightly; aim for a gently set center to avoid cracks.
– Texture troubleshooting: If the filling is curdled or grainy, it was likely overwhisked or overbaked; try whisking gently and bake until just set next time.
– Equipment tips: Use an 8×8-inch light-colored metal or glass baking dish for even heat; dark pans cook faster and can overbake edges.
– Knife-cleaning tip: For clean slices, warm and dry a thin-bladed knife between cuts; a serrated knife will tear the filling.
– Crust firmness: Press the crust firmly and bake the crust 5 minutes blind if you prefer extra crunch; this prevents a soggy bottom.
– Common mistakes: Avoid excessive air in the filling — large bubbles lead to cracks; pop bubbles with a toothpick before baking.
– Serving tip: Chill at least 2 hours, ideally 4–6, for the best sliceability and flavor melding; the lime flavor sharpens as it rests.
Storage & Freezing for Key Lime Pie Bars
Refrigerator storage: Store bars in an airtight container or wrapped in plastic wrap for up to 4 days. Keep whipped cream separate until serving to prevent sogginess.
Freezer storage: Wrap bars tightly in plastic wrap and then foil or place in a freezer-safe container. Freeze for up to 2 months for best texture.
Thawing: Thaw overnight in the refrigerator for best results. Avoid thawing at room temperature to prevent condensation that can make the crust soggy.
Reheating: These are best served cold; if you want slightly softened bars, let them sit at room temperature for 10–15 minutes before serving. Do not microwave as it will change the texture.
Variations & Substitutions for Key Lime Pie Bars
– Coconut Graham Crust: Replace half the graham crumbs with toasted shredded coconut and add a teaspoon of coconut oil to the melted butter. This yields a tropical flavor and a slightly chewier crust.
– Lime Cheesecake Bars: Fold 4 ounces of softened cream cheese into the filling for a denser, tangier bar similar to cheesecake. Expect a richer texture and slightly longer baking time to fully set.
– Gluten-Free Crust: Use gluten-free graham or crushed gluten-free cookies. Press and bake as directed; the texture will be similar but sometimes more brittle — press firmly and chill longer.
– Key Lime Meringue Bars: Whip a small meringue topping (egg whites and sugar) and brown briefly under a broiler for toasted meringue bars. This adds sweetness and a toasty top that balances the tart filling.
Frequently Asked Questions About Key Lime Pie Bars
Q: Can I use bottled lime juice instead of fresh key limes?
A: Yes, bottled key lime juice works when fresh key limes are unavailable. Choose a high-quality bottled key lime juice to preserve the floral, aromatic notes. If using bottled regular lime juice, add a touch of lime zest to compensate for lost aromatics.
Q: Why did my filling crack or curdle while baking?
A: Cracking usually means the filling was overbaked or baked at too high a temperature. The proteins in the eggs tighten and squeeze out moisture. To prevent this, bake until the edges are set and the center jiggles slightly, then remove immediately and cool gently.
Q: How do I get clean slices every time?
A: Chill the bars thoroughly for at least 2 hours, ideally longer. Use a sharp, thin knife warmed under hot water and wiped between each cut. This prevents dragging and gives crisp edges between crust and filling.
Q: Can I make these bars ahead of time for a party?
A: Absolutely. These bars hold up well and often taste better after a few hours in the fridge. Make them up to 2 days in advance (without whipped cream), store covered, and add toppings just before serving.
Q: Is there a way to make this dairy-free or vegan?
A: For a dairy-free crust, substitute melted coconut oil for butter and use dairy-free sweetened condensed milk alternatives. Vegan egg substitutes are trickier because eggs contribute to the filling’s structure; aquafaba or commercial egg replacers can work but will alter texture. Expect a softer, more set-gel finish rather than a custard.
Final Thoughts on Key Lime Pie Bars
These Key Lime Pie Bars are a small-lift, big-reward dessert that combines zesty citrus with creamy, custard-like texture and a buttery crust. They’re forgiving, portable, and a perennial favorite for summer gatherings.
Conclusion
For recipe inspiration and variations, I cross-referenced classic versions like Easy Key Lime Pie Bars – Sally’s Baking Addiction to refine baking times and texture. For tips on balancing tartness and sweetness, this take from Easy Key Lime Pie Bars – Tastes Better From Scratch is a useful comparison. If you want a rustic, approachable version with step-by-step photos, see Easy Key Lime Pie Bars Recipe | Girl Versus Dough for guidance.
Please leave a star rating in the recipe card below and pin this recipe to Pinterest if you enjoyed it.
Key Lime Pie Bars
Ingredients
Method
- Preheat the oven to 350°F (175°C).
- Combine graham cracker crumbs, sugar, and melted butter in a bowl and press into a greased 8x8-inch baking dish.
- Whisk together the sweetened condensed milk, key lime juice, eggs, and lime zest until smooth.
- Pour the lime mixture over the crust.
- Bake for 15-20 minutes or until the filling is set.
- Allow to cool, then refrigerate for at least 2 hours.
- Cut into bars and serve topped with whipped cream and lime slices.