
A crackling crust, tangy crumb, and the slow satisfaction of a loaf made with your hands — sourdough rewards patience with flavor. This Homemade Sourdough Bread recipe is approachable, forgiving, and perfect for everyday baking.
You don’t need commercial yeast, fancy flour, or a pro oven to get a beautiful loaf. Small, consistent steps yield a loaf you’ll be proud to slice.
If you like turning discard into treats, try my take on sourdough discard bagels for a fun use of starter. Sourdough discard bagels
Why You’ll Love This Homemade Sourdough Bread
– Deep, tangy flavor that develops naturally over time.
– Rustic, crackly crust that toasts beautifully.
– Open, chewy crumb with satisfying elasticity.
– Uses simple pantry ingredients you already have.
– Flexible timing — fits a slow home schedule.
– Ideal for sandwiches, soups, or just butter and salt.
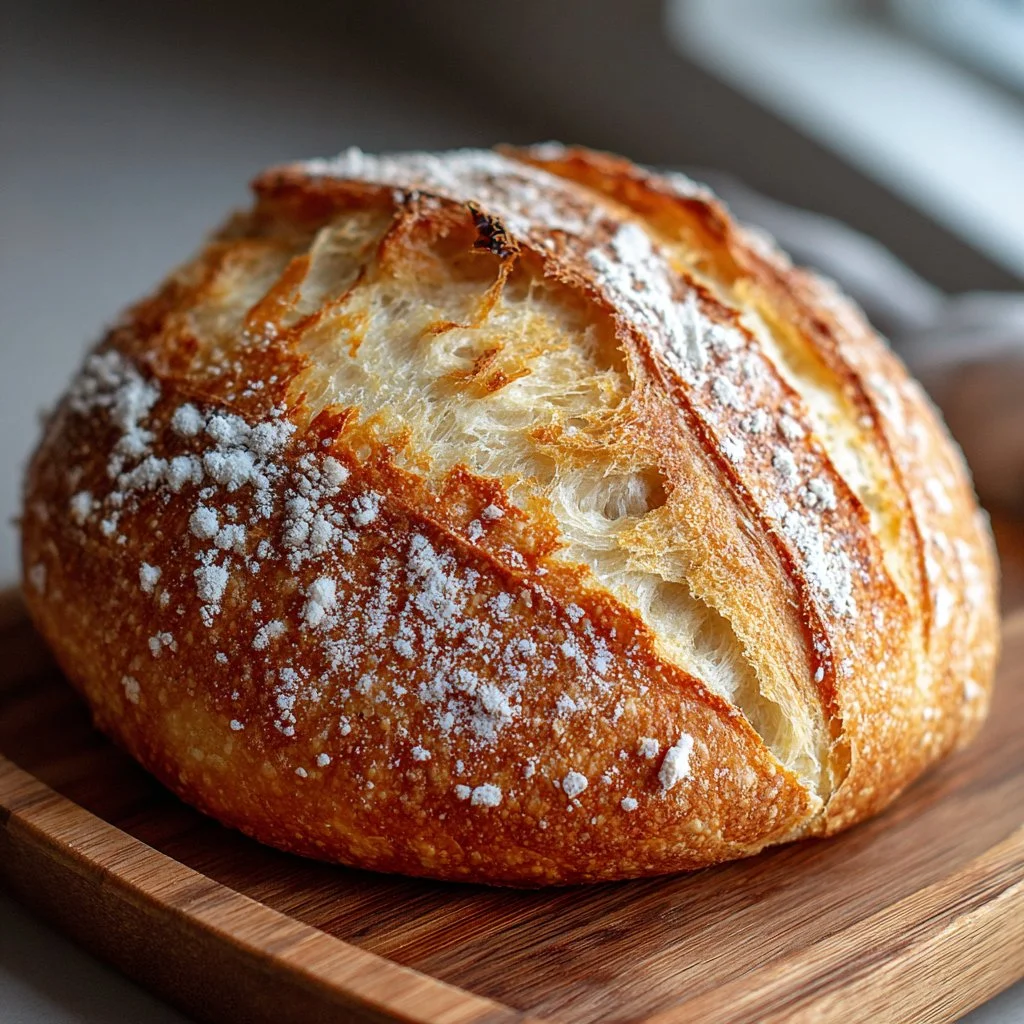
This loaf has a complex, slightly tangy flavor and a chewy interior with irregular holes. The crust is golden and crisp, giving way to a soft, flavorful crumb that keeps well for days.
“Five stars — I followed this recipe on my first try and got a bakery-style loaf. The crust, the smell, the crumb — all perfect. Will bake weekly!” — Reader A.
Key Ingredients for Homemade Sourdough Bread
Choose quality ingredients and you’ll notice a big difference in the final loaf. Below are the top essentials and how to pick them.
Flour
All-purpose flour is the backbone here; it gives structure while keeping the dough easy to handle. Buy a fresh bag from a reputable mill or store and store it in a cool, dry place. If you substitute with bread flour you’ll get a slightly stronger gluten network and a chewier crumb; whole wheat will add flavor but absorb more water.
Sourdough Starter
A lively, active sourdough starter provides the lift and the tang. Feed your starter 4–12 hours before using so it’s bubbly and at peak activity. If your starter is sluggish, use a bit less water or a warmer proofing spot; using inactive starter will yield a denser loaf.
Water
Water hydrates the flour and influences texture; room-temperature water around 70–75°F (21–24°C) is ideal for a comfortable fermentation pace. Use filtered water if your tap is heavily chlorinated since chlorine can slow starter activity. Substituting colder water slows fermentation; hotter water risks killing the starter.
Full Ingredient List for Homemade Sourdough Bread
– 3 cups all-purpose flour
– 1 1/2 cups water
– 1 cup sourdough starter
– 1 teaspoon salt
Step-by-Step Instructions for Homemade Sourdough Bread
Step 1: Mix starter, water, and salt
In a large mixing bowl, combine the sourdough starter, water, and salt. Stir until the ingredients are well combined and you have a uniform liquid base.
Pro Tip: The mixture should look slightly cloudy and feel loose, not lumpy.
Step 2: Add flour gradually
Gradually add the flour, stirring as you go, until a shaggy dough forms. Don’t overwork it — you only want the flour hydrated and the dough coming together.
Pro Tip: The dough should look rough and slightly sticky, not smooth and tight.
Step 3: Rest the dough (autolyse)
Cover the bowl with a damp cloth and let it rest for about 30 minutes. This short autolyse lets the flour fully absorb water and begins gluten development without kneading.
Pro Tip: The surface should look matt and slightly puffed after resting.
Step 4: Stretch and fold over 2 hours
After resting, perform a series of stretch-and-folds in the bowl. Reach under the dough, lift, and fold it over itself several times. Repeat every 20–30 minutes over the next 2 hours, covering after each fold.
Pro Tip: Each fold should make the dough look smoother and stronger; it will feel springier between folds.
Step 5: Shape the loaf
Once the dough has risen significantly and holds some air, shape it into a tight ball. Use a bench scraper and gentle tension to create surface tension as you shape.
Pro Tip: The dough should feel elastic and keep a rounded shape when plopped on the counter.
Step 6: Proof in a floured basket
Place the shaped ball in a well-floured proofing basket or bowl lined with a floured towel. Cover and let it rise for about 1–2 hours, depending on room temperature and starter strength.
Pro Tip: The dough should show gentle rise and feel airy but not doubled; a fingertip indentation should slowly fill back.
Step 7: Preheat the oven and Dutch oven
Preheat your oven to 450°F (232°C) with a Dutch oven inside. Heating the pot creates a steamy environment that helps the crust blister and the loaf to bloom.
Pro Tip: The Dutch oven should be very hot; use oven mitts and give it at least 30 minutes to reach temperature.
Step 8: Transfer and score
Carefully transfer the dough to the preheated Dutch oven, seam-side down, and score the top with a sharp knife or lame to control expansion.
Pro Tip: The slash should open quickly in the oven and produce a defined ear; the cut edges will look slightly glossy.
Step 9: Bake in two stages
Cover and bake for 30 minutes to trap steam, then remove the lid and bake for an additional 15–20 minutes until the crust is deep golden brown.
Pro Tip: The crust should be deeply colored and sound hollow when tapped on the bottom.
Step 10: Cool before slicing
Let the bread cool completely before slicing to finish the crumb setting process. Cooling prevents a gummy interior and improves flavor.
Pro Tip: The crumb should feel set and the loaf should release a warm, tangy aroma.
Expert Tips for Homemade Sourdough Bread
– Keep room temperature consistent; aim for 70–75°F (21–24°C) for predictable fermentation.
– If your dough is slack and spreads, increase flour or shorten proofing; a tight dough means underhydration or short fermentation.
– Use a digital scale for precise measurements; small differences in flour weight change hydration noticeably. See an example recipe that highlights weight-based consistency.
– For a stronger oven spring, ensure your Dutch oven is extremely hot before adding dough.
– If the crust browns too quickly, tent with foil after removing the lid or lower oven temperature by 20°F.
– Watch the dough, not the clock — visual cues matter: rise, jiggle, and poke are your best timers.
– Common mistake: using inactive starter; always use starter that doubles within 4–8 hours after feeding.
– For more forgiving shaping techniques, practice with other yeasted bakes like monkey bread to get comfortable with dough elasticity.
Storage & Freezing for Homemade Sourdough Bread
Store at room temperature in a breathable bag for 2–3 days to keep the crust crisp and crumb fresh. Use a paper bag inside a loose plastic bag if humidity is high.
For long-term storage, freeze the loaf whole or in slices. Wrap tightly in plastic wrap, then place in a freezer bag for up to 3 months. Thaw at room temperature for a few hours before re-crisping.
To reheat, refresh slices in a 375°F (190°C) oven for 5–10 minutes. For a frozen whole loaf, bake at 375°F (190°C) for 20–25 minutes until warmed through.
Best containers: breathable paper for short term, double-wrapped freezer bags for frozen storage. Avoid refrigeration; it speeds staling.
Variations & Substitutions for Homemade Sourdough Bread
– Whole Wheat Sourdough: Replace up to 25–30% of the all-purpose flour with whole wheat. The loaf will taste nuttier and absorb more water, so increase hydration slightly for a tender crumb.
– Seeded Sourdough: Add 1/3 to 1/2 cup mixed seeds (sunflower, flax, sesame) into the dough during the last stretch-and-fold. Seeds add crunch and nutty flavor without changing the basic method.
– Olive & Herb Sourdough: Fold in 1/2 cup chopped olives and 1–2 tablespoons chopped fresh herbs after the first rise. Expect a savory, Mediterranean loaf with a slightly denser crumb.
– Sweet Fruit & Nut Sourdough: Add 3/4 cup chopped dried fruit and 1/2 cup toasted nuts during shaping. This yields a sweeter, more substantial loaf ideal for breakfast or cheese boards; try pairing tips from this currant-rich bread for inspiration.
Frequently Asked Questions About Homemade Sourdough Bread
Q: How do I know if my starter is ready to bake with?
A: A ripe starter should double in volume within 4–8 hours of feeding at room temperature. It will be bubbly, have a pleasant tangy aroma, and float in a glass of water in the float test. If it doesn’t double, give it another feeding cycle before using.
Q: Why is my sourdough loaf dense?
A: Density usually comes from under-proofing, inactive starter, or too-tight shaping. Ensure your starter is active, allow dough to bulk ferment until airy and perform proper stretch-and-folds to build strength. Also check dough hydration; very dry dough will resist expansion.
Q: How can I get a more open crumb?
A: Increase hydration slightly and focus on gentle handling. Longer autolyse and well-timed stretch-and-folds help develop extensibility. Avoid degassing the dough when shaping and use a hot Dutch oven for strong oven spring.
Q: Can I speed up the process?
A: You can use warmer temperatures or a more active starter to shorten fermentation, but flavor will be less developed. For a quicker approach, try a faster proof schedule (e.g., 1–1.5 hours bulk, 45–60 minutes final) and monitor visual cues closely.
Q: What’s the best way to score the bread?
A: Use a sharp lame or razor blade at a shallow 30–45° angle for controlled opening. Practice a single clean motion; the cut should be decisive. Different angles and depths create different ears and bloom behavior.

Final Thoughts on Homemade Sourdough Bread
This Homemade Sourdough Bread is a rewarding, practical loaf that improves with practice and patience. Leave a star rating in the recipe card below and pin this loaf to your baking board on Pinterest.
Conclusion for Homemade Sourdough Bread
For additional step-by-step guidance, I recommend Alexandra’s detailed guide which complements this recipe. If you’re new to sourdough, read the Beginner’s Sourdough Bread Recipe at Farmhouse on Boone for an alternate beginner approach. For troubleshooting and deeper background on the science of sourdough, see The Clever Carrot’s beginner guide.

Homemade Sourdough Bread
Ingredients
Method
- In a large mixing bowl, combine the sourdough starter, water, and salt. Stir until well combined.
- Gradually add the flour, stirring until a shaggy dough forms.
- Cover the bowl with a damp cloth and let it rest for about 30 minutes.
- Perform a series of stretch-and-folds by lifting and folding the dough over itself every 20-30 minutes for 2 hours.
- Shape the dough into a tight ball and place it in a floured proofing basket.
- Let it rise for about 1-2 hours, depending on room temperature and starter strength.
- Preheat your oven to 450°F (232°C) with a Dutch oven inside.
- Transfer the dough to the preheated Dutch oven, seam-side down, and score the top with a sharp knife.
- Cover and bake for 30 minutes, then remove the lid and bake for an additional 15-20 minutes.
- Let the bread cool completely before slicing.