
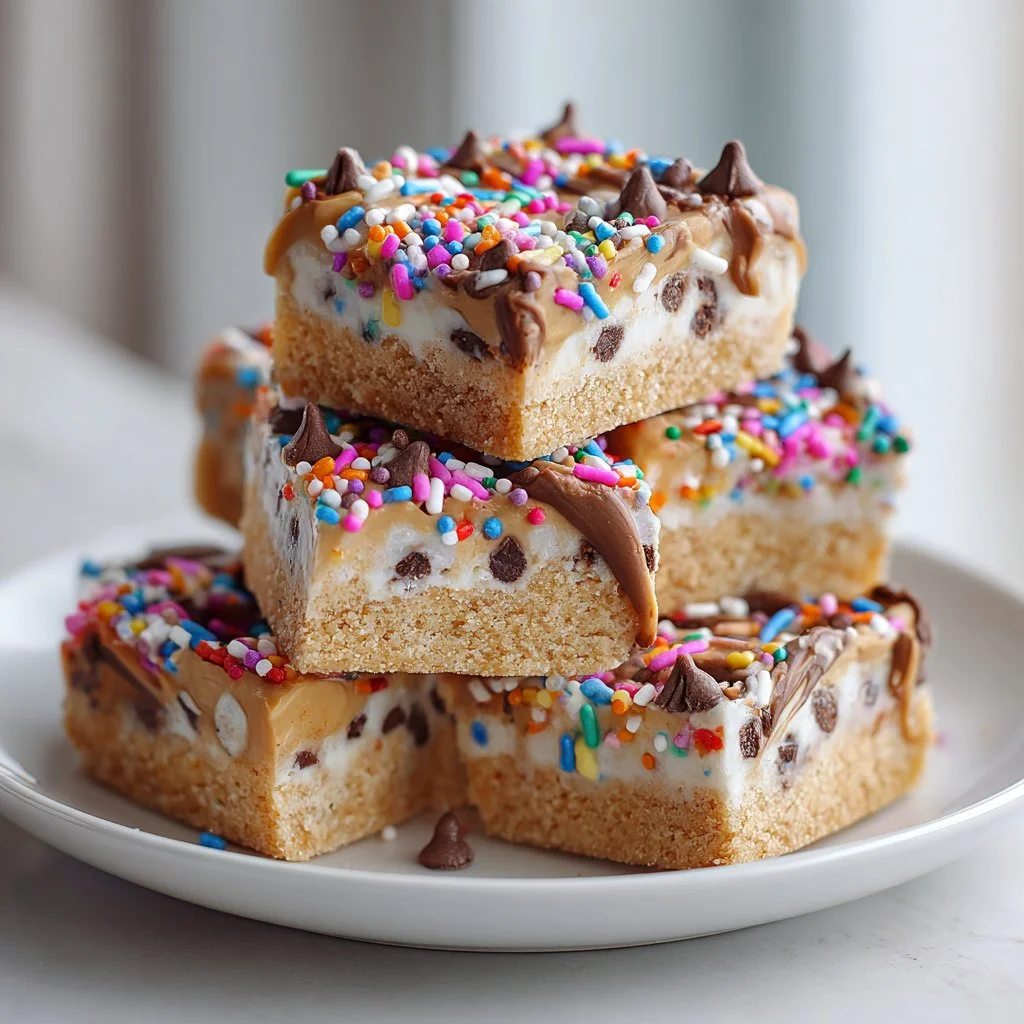
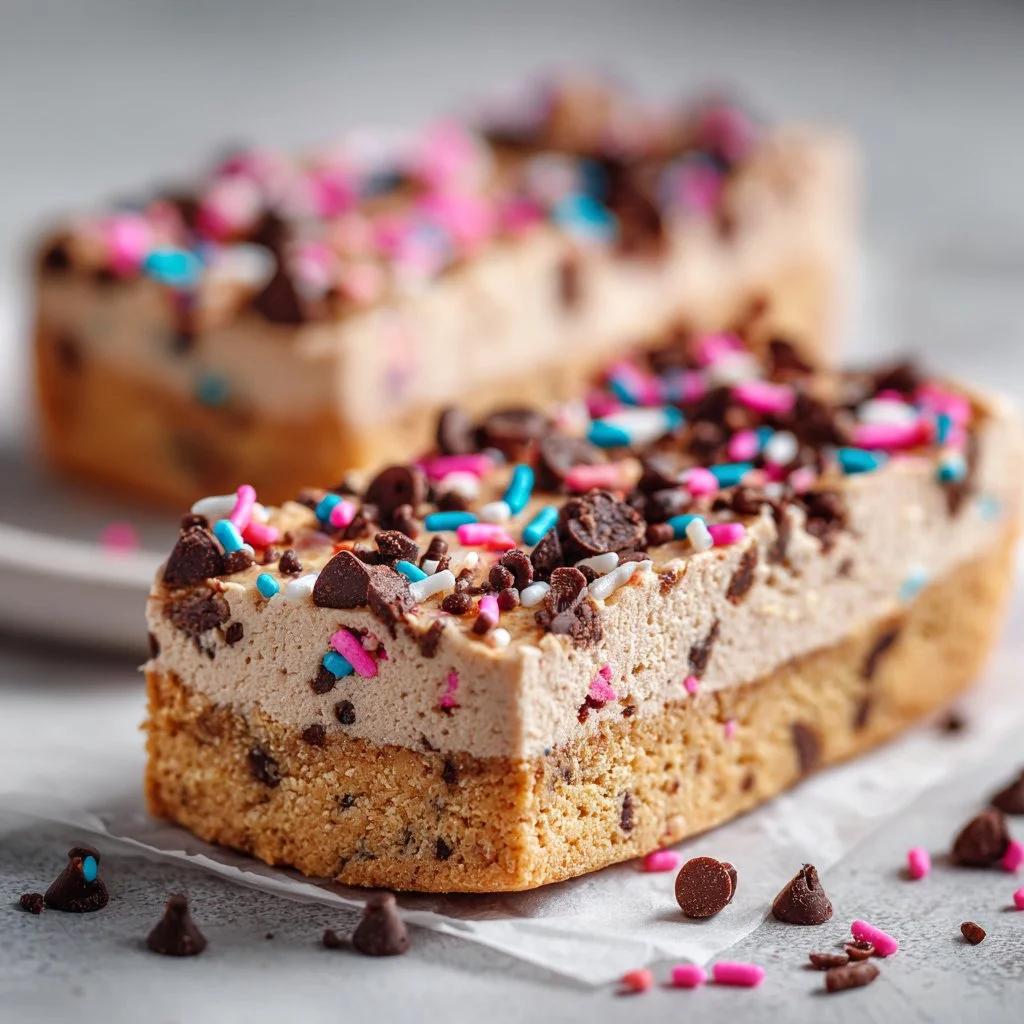
I first made these Birthday Cake Protein Bars when I wanted a quick, portable treat that tasted like a celebration but didn’t send my macros out the window. They’re no-bake, studded with dairy-free chocolate chips and funfetti sprinkles, and come together in one bowl — perfect for lunchboxes, post-workout snacks, or a low-fuss party treat. If you like bright, dessert-like bars without turning on the oven, these are a tiny kitchen win. If you’re also into fruity no-bake sweets, try my strawberry shortcake bars for another simple option.
Why you’ll love this dish
These bars hit a few sweet spots: they’re fast (no baking), flexible (swap protein powders and sweeteners), and kid-approved thanks to the sprinkles and chocolate chips. They’re also great for meal prep — make a batch on Sunday and pull a bar from the fridge when you need a quick snack. Use them after workouts for a protein boost or pack them for travel since they don’t melt like frosting-heavy desserts.
“Tastes like birthday cake, but actually good for post-gym recovery — my kids fought over the sprinkles.” — a regular tester
If you’re exploring other no-bake protein desserts, you might enjoy this simple 3-ingredient no-bake strawberry cloud cake for a lighter, fruit-forward variation.
Step-by-step overview
Before you start, know that this recipe is all about mixing dry protein powder with a moist binder until it holds together, folding in chips and sprinkles, pressing into a pan, and chilling. Expect 10–15 minutes active time and at least 30 minutes to firm in the fridge. You’ll adjust almond milk a tablespoon at a time if your protein powder is thirsty — some powders absorb more liquid than others.
Key Ingredients
- 1 cup protein powder (whey or plant-based; flavor neutrality like vanilla works best) — if using whey expect a slightly firmer bar
- 1/2 cup almond flour (substitute oat flour or sunflower seed flour for nut-free)
- 1/4 cup sweetener (maple syrup or honey) — sticky liquid sweeteners work best to bind
- 1/4 cup unsweetened applesauce (adds moisture without excess sugar)
- 1/2 cup dairy-free chocolate chips (use regular chips if dairy is fine)
- 1/4 cup sprinkles (funfetti — pick vegan sprinkles if avoiding gelatin)
- 1 teaspoon vanilla extract
- 1/4 cup almond milk (or other milk of choice), more as needed
Note: If you want a different flavor profile or texture, check out honey-and-nut inspired desserts like this bee sting cake for ideas on pairing sticky sweeteners with nuts.
Step-by-step instructions
- Line an 8×8-inch baking dish with parchment paper so the bars lift out easily.
- In a large bowl, whisk together the protein powder and almond flour until evenly combined.
- Add the sweetener (maple syrup or honey) and unsweetened applesauce. Stir in the vanilla and pour in the almond milk. Mix until a thick, moldable dough forms. If the mixture is crumbly, add milk a tablespoon at a time until it holds.
- Gently fold in the dairy-free chocolate chips and sprinkles, saving a few to press on top for presentation.
- Transfer the mixture into the lined pan. Press firmly and evenly with a spatula or the bottom of a measuring cup so the surface is compact.
- Refrigerate for at least 30 minutes so the bars set and slice cleanly.
- Lift the chilled block from the pan, cut into 8 bars (or 12 small squares), and enjoy.
Best ways to enjoy it
These bars are excellent straight from the fridge for a cool, chewy texture. Serve with:
- A dollop of Greek yogurt or dairy-free yogurt for extra protein.
- A hot coffee or iced latte for an on-the-go breakfast combo.
- Crumbled over smoothie bowls as a crunchy, sweet topping.
For a decadent snack plate, pair small bar slices with cookie-style treats — they’re surprisingly compatible with things like biscoff cookie butter cheesecake cookies for a dessert spread.
Storage and reheating tips
- Refrigerator: Store bars in an airtight container for up to 4–5 days. Keep parchment between layers to prevent sticking.
- Freezer: Wrap bars individually in plastic wrap or parchment, then place in a freezer-safe bag for up to 3 months. Thaw in the fridge overnight.
- Reheat: These are best eaten chilled or at room temperature. If you like them softer, microwave a single bar for 8–10 seconds, but don’t overheat or the chocolate chips may melt through.
Always handle with clean utensils and refrigerate promptly if left out over 2 hours (food safety rule for perishable ingredients).
Helpful cooking tips
- Protein powder matters: plant proteins (pea, soy) can be grainier and absorb more liquid; whey usually gives a smoother, firmer bar. Adjust almond milk accordingly.
- Press firmly: compacting the mixture well prevents crumbly bars. Use the flat bottom of a glass or measuring cup to get a tight pack.
- Sprinkle caution: some “funfetti” sprinkles can bleed color into wet dough — fold gently and add a few on top after pressing for best appearance.
- Cut clean slices by chilling thoroughly and wiping your knife between cuts; a hot, dry knife also slices more cleanly.
Creative twists
- Peanut butter swirl: replace 2 tablespoons of almond milk with 2 tablespoons natural peanut butter before mixing.
- Lemon funfetti: swap vanilla protein powder for lemon-flavored and add a teaspoon lemon zest.
- Cacao almond: use chocolate protein powder and dark chocolate chips for extra mood-boosting flavor.
- Nut-free: use oat flour or sunflower seed flour and seed butter to avoid tree nuts. For inspiration on fruity-baked treats, see these blueberry cake donuts and adapt flavor ideas.
Common questions
Q: Can I use whey protein instead of plant protein?
A: Yes. Whey gives a firmer, smoother texture and usually needs slightly less liquid. If you switch to whey, start with 1–2 tablespoons less almond milk and add only if needed.
Q: Are these bars gluten-free?
A: With certified gluten-free protein powder and almond flour, yes — they’re gluten-free. Always check labels for cross-contamination warnings.
Q: Can I bake these instead of chilling?
A: The recipe is designed as a no-bake bar. Baking could dry them out and alter texture. If you want a baked protein bar, reduce the liquid and follow a tested baked recipe.
Q: How can I make them less sweet?
A: Reduce the sweetener to 3 tablespoons and increase applesauce by a tablespoon or two to maintain cohesion.
Q: Are the sprinkles necessary?
A: No — they’re purely for the “birthday” look. You can omit them or replace with chopped nuts, shredded coconut, or colorful crushed freeze-dried fruit.
Conclusion
If you want a quick, celebratory snack that packs protein without fuss, try this no-bake approach and adapt the flavors to your pantry. For additional recipe ideas and variations on birthday-cake-style protein bars, see this take from Birthday Cake Protein Bars Recipe (No-Bake) – Eat the Gains. If you want another seven-ingredient no-bake version with slightly different ratios and tips, check out 7-ingredient NO-BAKE Birthday Cake Protein Bars! (gluten free …. For a commercially made bar reference and nutrition comparison, review Birthday Cake Protein Bar from Pure Protein.
Birthday Cake Protein Bars
Ingredients
Method
- Line an 8x8-inch baking dish with parchment paper to easily lift out the bars.
- In a large bowl, whisk together the protein powder and almond flour until evenly combined.
- Add the sweetener and unsweetened applesauce. Stir in the vanilla and pour in the almond milk. Mix until a thick, moldable dough forms. If the mixture is crumbly, add milk a tablespoon at a time until it holds.
- Gently fold in the dairy-free chocolate chips and sprinkles, saving a few to press on top for presentation.
- Transfer the mixture into the lined pan. Press firmly and evenly with a spatula or the bottom of a measuring cup so the surface is compact.
- Refrigerate for at least 30 minutes so the bars set and slice cleanly.
- Lift the chilled block from the pan, cut into 8 bars (or 12 small squares), and enjoy.