
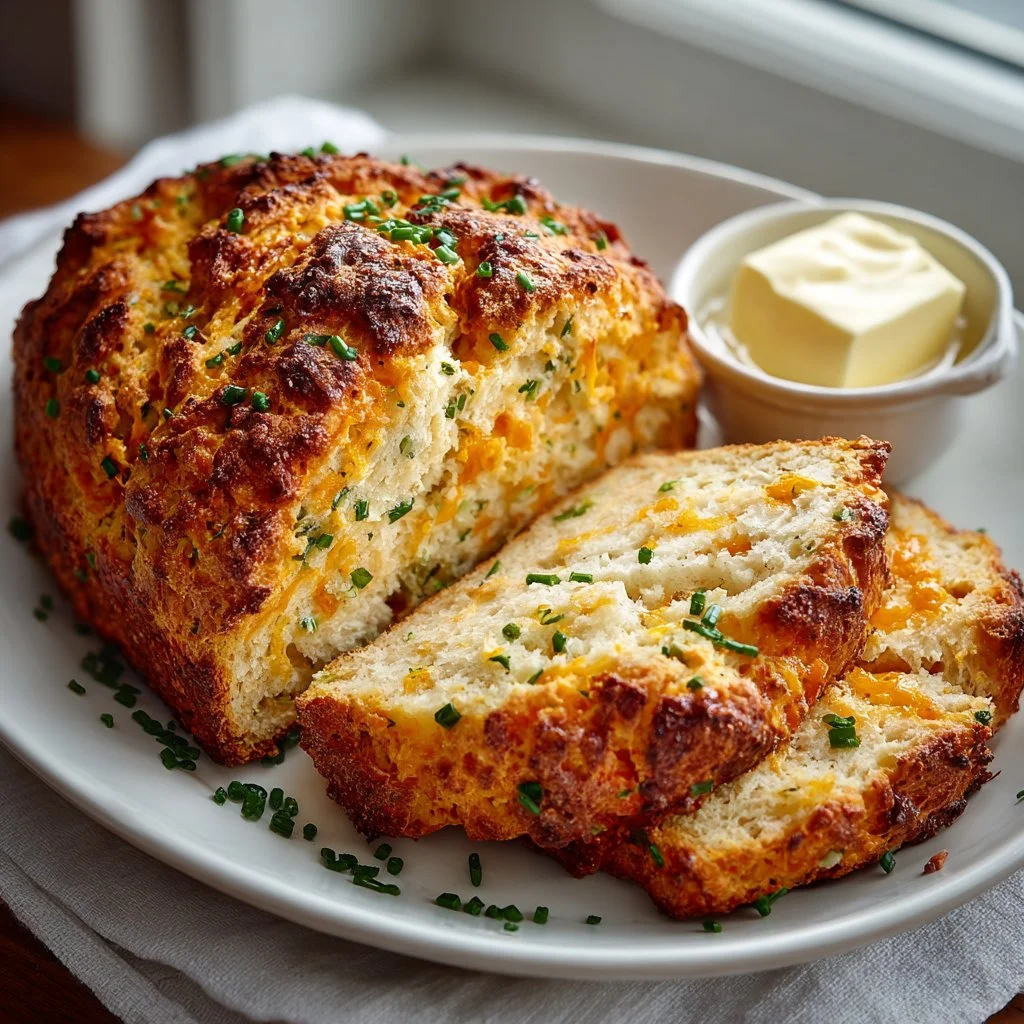
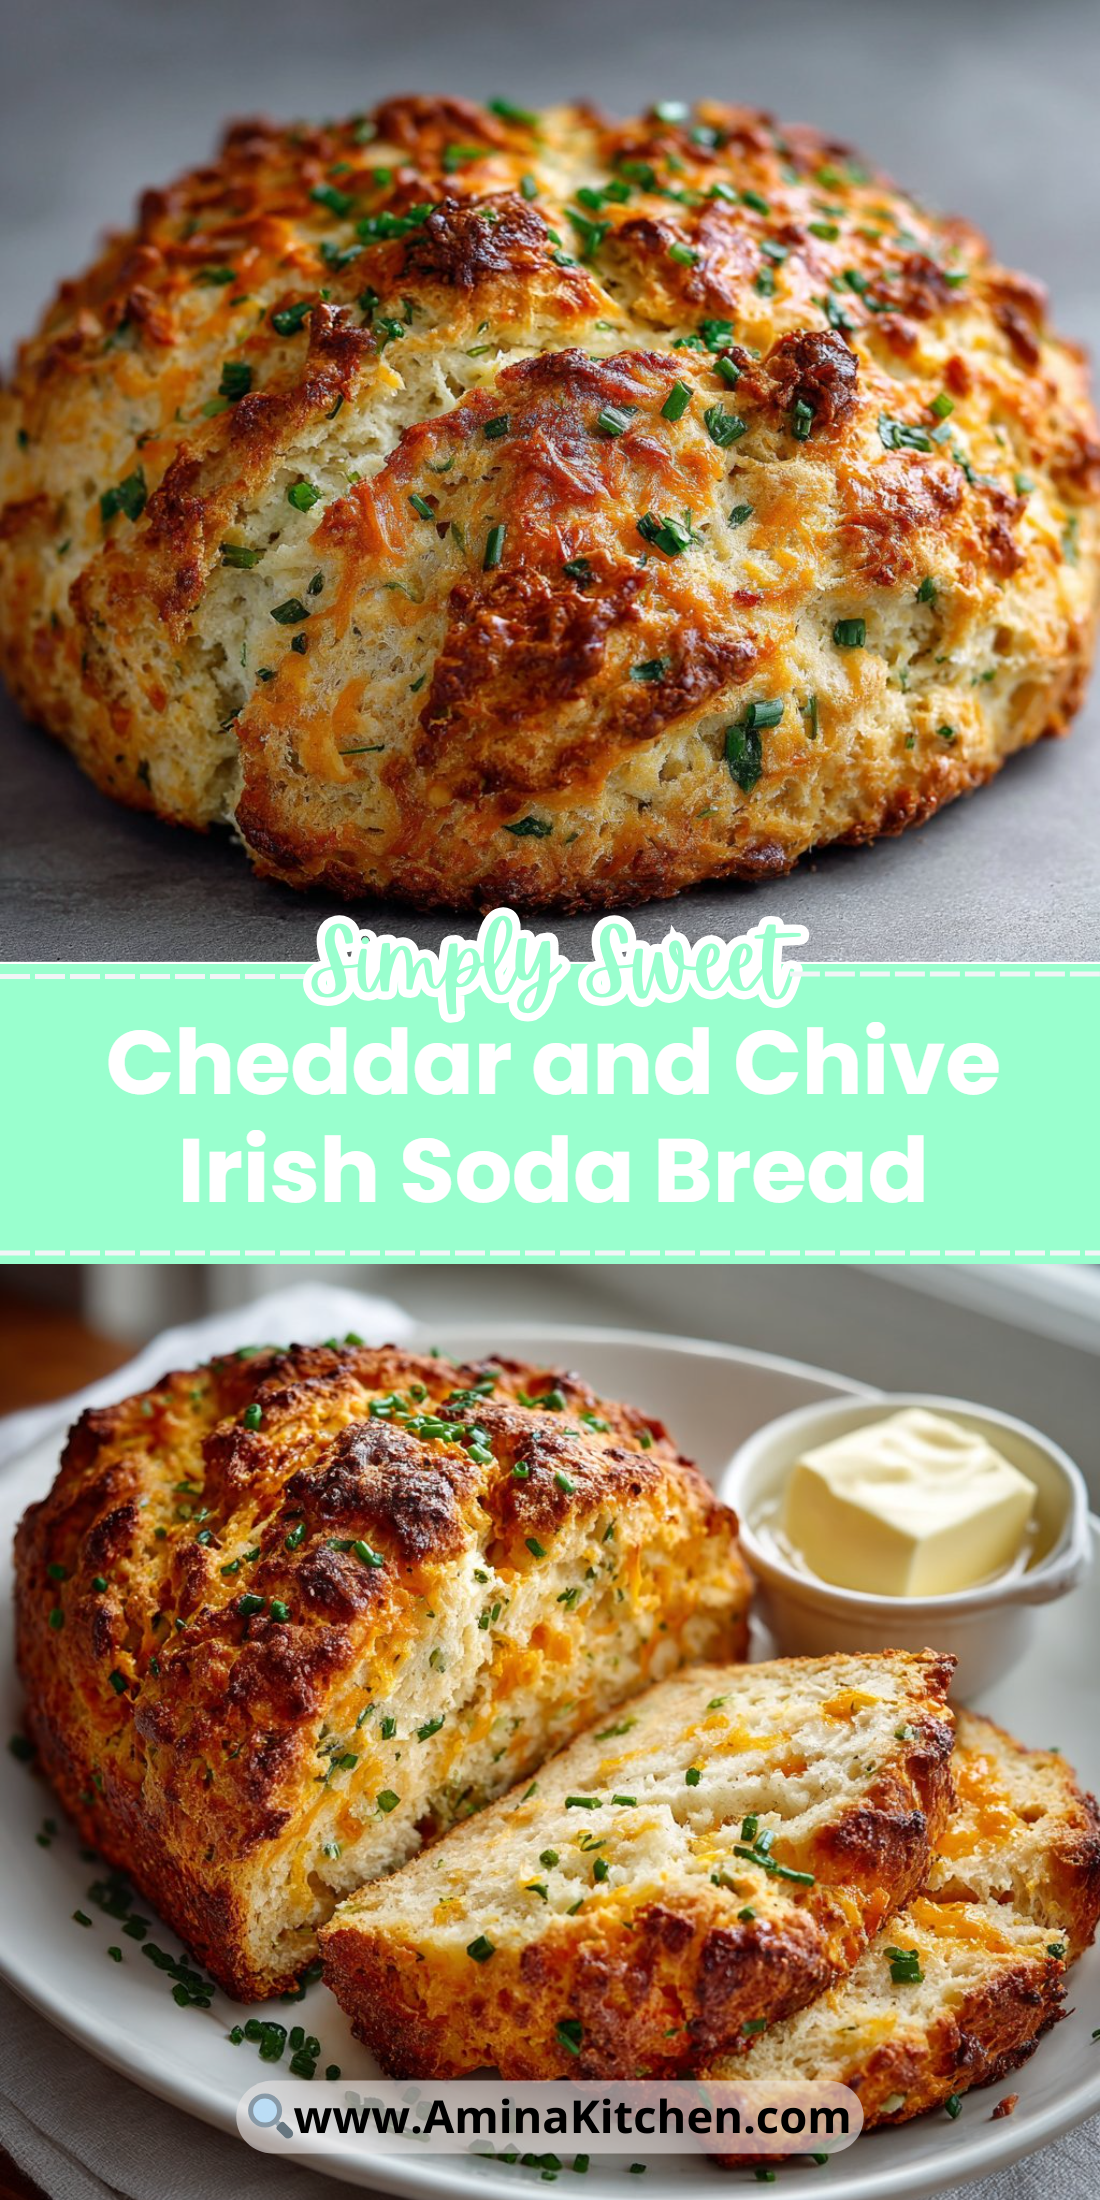
Bright, savory, and impossibly quick to make, this cheddar-and-chive Irish soda bread brings weekend bakery flavor to your kitchen without yeast or long waits.
It browns beautifully and is perfect smeared with butter for breakfast or alongside hearty stews for dinner.
This loaf is forgiving for new bakers and versatile enough for experienced cooks to tweak.
If you like riffs on classics, you’ll want this on repeat.
Try it as a companion to sweet or savory dishes, and compare it to other soda-bread variations for inspiration like the basic Irish soda bread recipe for a plain version.
Why You’ll Love This Cheddar and Chive Irish Soda Bread
- Ready in under an hour from start to finish.
- No yeast or rising time required.
- Sharp cheddar adds rich umami and melty pockets.
- Fresh chives give a bright oniony lift.
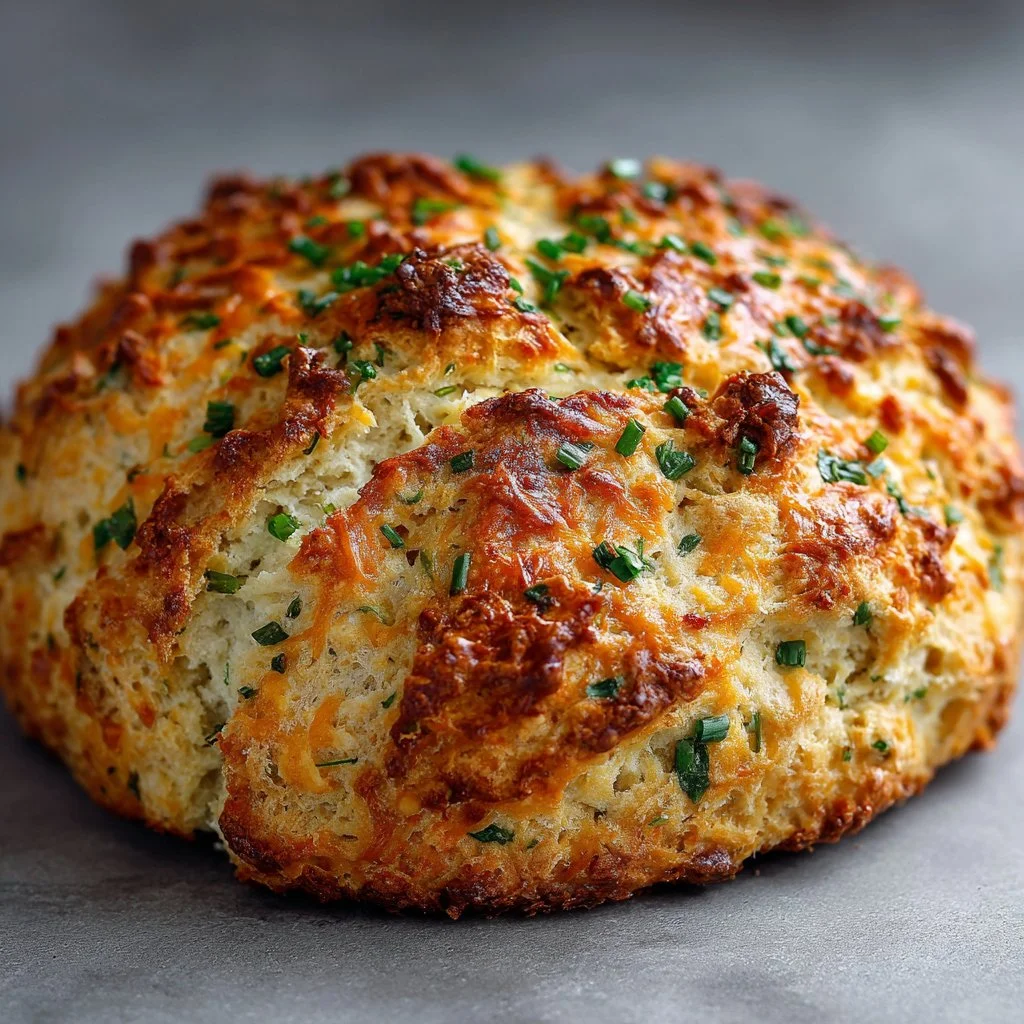
- Crusty exterior with a tender, crumbly interior.
- Easy to adapt for mini loaves or savory scones.
- Great for make-ahead breakfasts and picnics.
This bread tastes of warm, tangy cheddar with herb-fresh notes from the chives.
The crust is golden and crackly, giving way to a soft, slightly crumbly crumb that’s moister than a biscuit but denser than sandwich bread.
"Five stars — I made this for Sunday dinner and everyone raved. The cheddar pockets are addictive and the chives brighten every bite. So simple and foolproof!" — A satisfied reader
Key Ingredients for Cheddar and Chive Irish Soda Bread
All-purpose flour
All-purpose flour provides structure and lightness.
Choose a mid-protein flour (around 10–11% protein) for the best balance between strength and tenderness.
If you swap in whole wheat, expect a denser loaf and increase the buttermilk slightly to keep it moist.
Sharp cheddar cheese
Sharp cheddar brings savory depth and melting pockets.
Buy a block and grate it yourself for the best texture and flavor — pre-shredded cheese often contains stabilizers that reduce melting quality.
Substituting a milder cheese will reduce the tang; a crumbly feta will change texture but add salty brightness.
Buttermilk
Buttermilk is acidic and reacts with baking soda to create lift and a light crumb.
Use cultured buttermilk for consistent tang; if you don’t have any, mix 1 tablespoon white vinegar or lemon juice with 1 cup milk and rest 10 minutes.
Using plain milk will make the loaf less tender and reduce rise.
Baking powder & baking soda (leaveners)
These leaveners work together: baking powder provides immediate lift while baking soda reacts with buttermilk for additional rise and browning.
Fresh, active leaveners are non-negotiable — test old baking powder/soda if unsure.
Cutting or omitting them will produce a very dense, heavy loaf.
Full Ingredient List for Cheddar and Chive Irish Soda Bread
- 2 cups all-purpose flour
- 1 cup sharp cheddar cheese, shredded
- 1/4 cup fresh chives, chopped
- 1 tablespoon baking powder
- 1/2 teaspoon baking soda
- 1 teaspoon salt
- 1 cup buttermilk
- 2 tablespoons unsalted butter, melted
Step-by-Step Instructions for Cheddar and Chive Irish Soda Bread
Step 1: Preheat and prepare your pan
Preheat the oven to 375°F (190°C) and grease a Dutch oven or a baking sheet.
A preheated Dutch oven gives superior bottom heat for a crisp crust, while a baking sheet keeps the loaf more open and rustic.
Pro Tip: The oven should smell warm and the air slightly dry; the Dutch oven will feel evenly hot when you quickly touch (with an oven mitt) the outside.
Step 2: Combine dry ingredients
In a large bowl, whisk together the flour, baking powder, baking soda, and salt so the leaveners are evenly distributed.
This step prevents pockets of baking powder and ensures even rise.
Pro Tip: The dry mix should look uniform and pale; no streaks of baking powder or clumps.
Step 3: Add cheese and chives
Stir in the shredded cheddar and chopped chives until coated in flour; this keeps the cheese from sinking and distributes herbs.
Work quickly to avoid overhandling the cheese so it remains in distinct pockets.
Pro Tip: The mixture should look speckled with orange and green — not clumped into one area.
Step 4: Mix wet ingredients into the dry
Pour in the buttermilk and melted butter and mix until just combined; a few dry streaks are okay.
Do not overmix — overworking develops gluten and makes the bread tough.
Pro Tip: The dough should feel shaggy and slightly sticky, not smooth like a roll or bread dough.
Step 5: Turn and knead gently
Turn the dough onto a lightly floured surface and knead gently only a few times to bring it together.
A couple of folds are enough to create cohesion; avoid aggressive kneading.
Pro Tip: The dough should be tacky but hold its shape; it will spring back a little when touched.
Step 6: Shape into a loaf
Shape the dough into a round loaf and place it on the prepared baking sheet or into the Dutch oven.
Smooth the top lightly with your hand for even browning.
Pro Tip: The loaf should sit slightly domed and not overly flat; it will expand in the oven.
Step 7: Score the top
Cut a deep cross on the top of the loaf to help it rise evenly and to create an attractive presentation.
Use a sharp knife or lame for a clean cut without tearing the dough.
Pro Tip: The cut edges should be clean and the cross about 1/2-inch deep; this will open nicely as it bakes.
Step 8: Bake until golden
Bake for about 30–35 minutes, or until the crust is golden brown and the loaf sounds hollow when tapped on the bottom.
An instant-read thermometer should register about 200–205°F (93–96°C) at the center for a fully cooked loaf.
Pro Tip: The crust should be deeply golden with small, even cracks and a toasty aroma.
Step 9: Cool and serve
Allow the loaf to cool slightly before slicing so the crumb sets and the cheese pockets redistribute heat.
Serve warm with butter, or cool completely and store for later.
Pro Tip: When sliced, the interior should show defined air pockets and melted ribbons of cheddar.
Pro Tip: Look for a light, warm steam when you first cut into the loaf; that indicates proper bake and gooey cheese pockets.
Try a sweet currant variation for comparison and to see how mix-ins change texture and bake time.
Expert Tips for Cheddar and Chive Irish Soda Bread
- Use room-temperature buttermilk to speed chemical reactions and produce even rise.
- If the crumb is gummy, your oven temperature may be too low or the loaf needs more bake time; test with a thermometer.
- For crispier crust, bake on a preheated baking stone or use a Dutch oven with the lid off for the last 10 minutes.
- Grate cheese from a block and toss it in flour first; this prevents it sinking and ensures even distribution.
- Avoid overmixing — stop as soon as dry streaks disappear to keep the bread tender.
- If the loaf fans out rather than rising, your dough was too wet; add a tablespoon of flour at a time next time.
- Use an instant-read thermometer in the center; 200–205°F (93–96°C) means done.
- Common mistake: using expired baking soda/powder — always check freshness before baking.
For a different take on savory pairings, see this quick Irish potato candy idea to serve after a savory meal.
Storage & Freezing for Cheddar and Chive Irish Soda Bread
Fridge storage: Wrap cooled bread tightly in plastic wrap or place in an airtight container and refrigerate up to 3 days.
Bring to room temperature or warm slices in a toaster oven before serving.
Freezer storage: Slice the loaf and flash-freeze slices on a tray for 1–2 hours, then transfer to a freezer-safe bag or container.
Freeze up to 3 months for best quality.
To thaw: move slices to the fridge overnight or warm directly from frozen in a toaster or oven.
Reheating: For a crisp crust, reheat slices at 350°F (175°C) for 8–10 minutes.
For softer results, wrap in foil and warm for 10–12 minutes.
Best containers: resealable freezer bags for slices and airtight containers for short-term fridge storage.
Variations & Substitutions for Cheddar and Chive Irish Soda Bread
Garlic Cheddar Chive
Add 1–2 cloves finely minced garlic to the dough and sauté briefly in the melted butter before mixing in.
This yields a savory, aromatic loaf with a warm garlic perfume that pairs well with soups.
Currant and Cheddar hybrid
Fold in 1/2 cup currants or dried cranberries with the cheddar for sweet-savory contrast.
Expect a slightly denser crumb and bursts of sweetness against the sharp cheese.
Mini cheddar-chive rolls
Divide the dough into small portions and bake in a muffin tin for 12–18 minutes.
Mini loaves bake faster, have more crust-to-crumb ratio, and make perfect single servings.
Gluten-reduced version
Substitute up to half the flour with a gluten-free blend designed for baking and add 1 teaspoon xanthan gum if the blend lacks it.
Texture will be crumblier and slightly more fragile, but the flavor remains very similar.
Frequently Asked Questions About Cheddar and Chive Irish Soda Bread
Q: Can I make this bread dairy-free?
A: Yes. Use a plant-based buttermilk substitute (1 cup soy or oat milk plus 1 tablespoon vinegar) and replace butter with a neutral oil.
Flavor and crumb will be slightly different — oil gives moisture but a less rich mouthfeel than butter.
Q: Why did my loaf turn out flat and dense?
A: Common causes are old leaveners, overmixing, or too much liquid.
Test baking powder and soda for activity, mix until just combined, and adjust flour or buttermilk by a tablespoon at a time.
Q: How do I keep the cheddar pockets from bleeding into the dough?
A: Toss grated cheese in a tablespoon of flour before folding into the dough; this helps suspend the cheese and prevent clumping or sinking.
Q: Can I add other herbs or aromatics?
A: Absolutely. Swap chives for green onions, parsley, or dill, or add finely minced roasted garlic.
Herbs change the aroma but not the basic chemistry of the loaf.
Q: How do I check if the loaf is fully baked without a thermometer?
A: Tap the bottom of the loaf — it should sound hollow.
Also look for a deep golden crust and small cracks at the surface; these indicate proper baking.
Final Thoughts on Cheddar and Chive Irish Soda Bread
This Cheddar and Chive Irish Soda Bread is an easy, rewarding bake that delivers savory comfort with minimal fuss.
If you enjoyed this recipe, please leave a star rating in the recipe card below and pin it to Pinterest for later.
For a similar take from a trusted chef, see Valerie Bertinelli’s Irish soda bread with cheddar and chives for inspiration.
For a garlic-forward version, check the Garlic Irish Cheddar Chive Soda Bread recipe.
If you want smaller portions or party-sized bites, try these Cheddar & Chive Mini Irish Soda Bread ideas.
Cheddar and Chive Irish Soda Bread
Ingredients
Method
- Preheat the oven to 375°F (190°C) and grease a Dutch oven or a baking sheet.
- In a large bowl, whisk together the flour, baking powder, baking soda, and salt.
- Stir in the shredded cheddar and chopped chives until coated in flour.
- Pour in the buttermilk and melted butter and mix until just combined.
- Turn the dough onto a lightly floured surface and knead gently just a few times.
- Shape the dough into a round loaf and place it on the prepared baking sheet or into the Dutch oven.
- Cut a deep cross on the top of the loaf.
- Bake for about 30–35 minutes, or until the crust is golden brown and the loaf sounds hollow when tapped.
- Allow the loaf to cool slightly before slicing and serve warm with butter.