
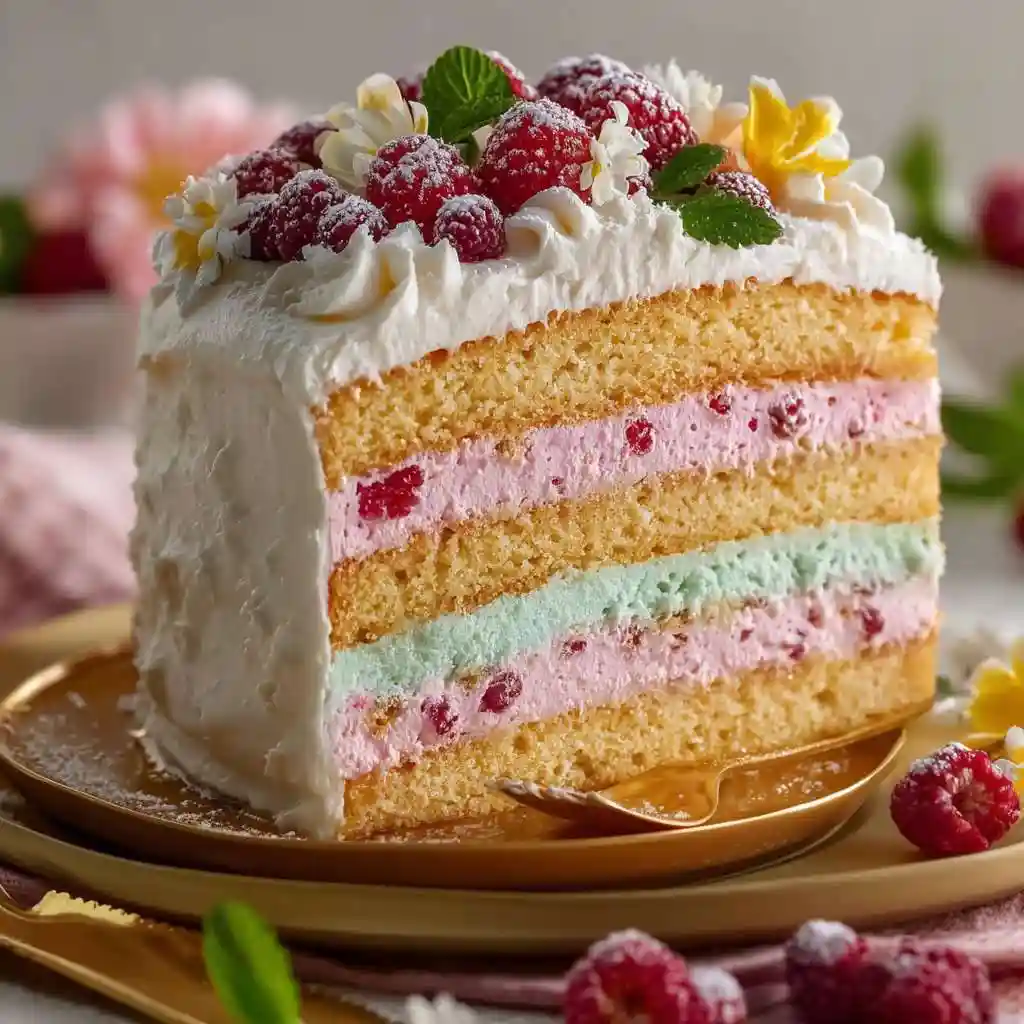
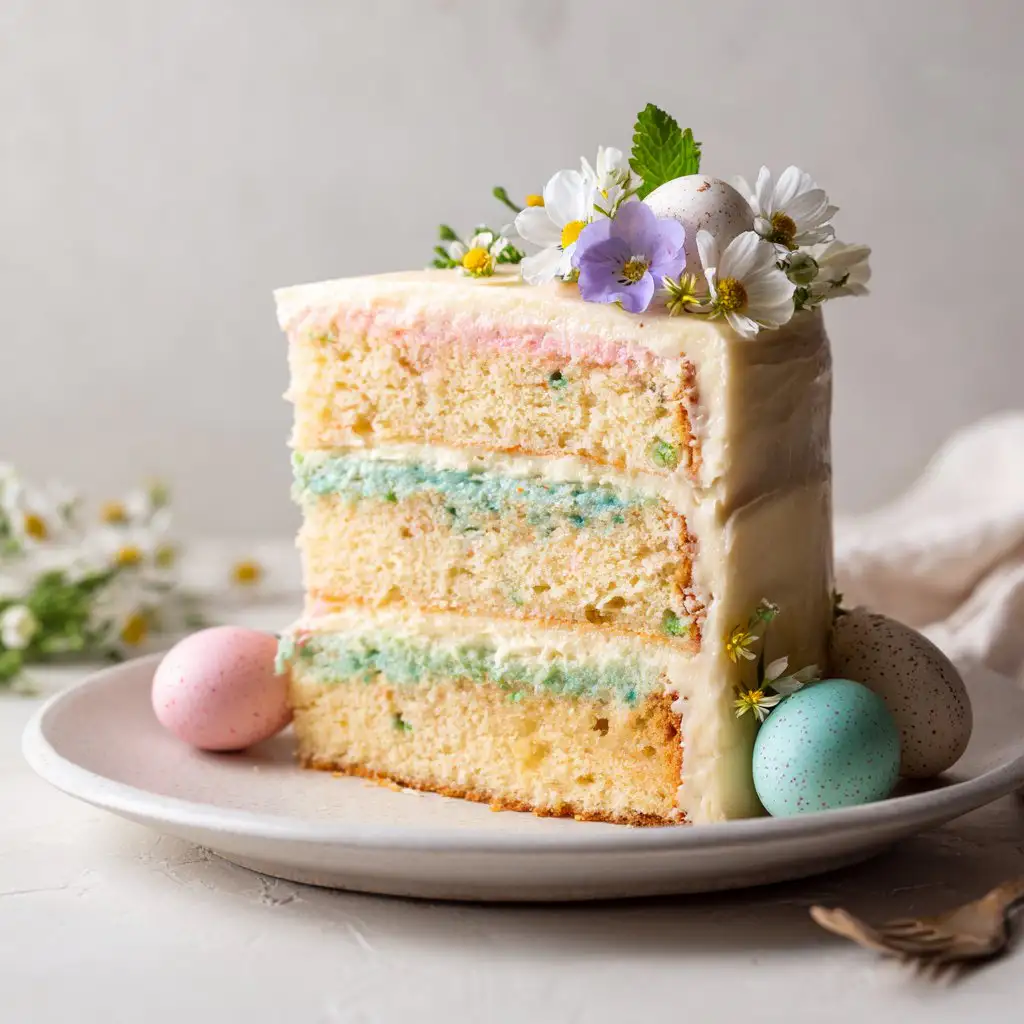
Bright, pastel layers and a soft, tender crumb make this Spring Fling Layered Cake a showstopper for showers, birthdays, and sunny weekend baking. It’s deceptively simple, but with a few technique touches you’ll get bakery-level results at home.
The recipe scales easily and plays well with seasonal fruit or edible flowers for decoration. Keep reading for ingredient science, step-by-step visuals, and pro troubleshooting so your layers bake evenly every time.
If you love colorful cakes, you’ll find inspiration across my other recipes and cake guides, including a handy collection of layered cakes for more ideas: layered cake collection.
Why You’ll Love This Spring Fling Layered Cake
– Pastel layers create an instant celebratory look with almost no effort.
– Classic vanilla flavor that pairs perfectly with cream cheese or buttercream.
– Tender, even crumb thanks to a simple creaming and alternating-add method.
– Flexible: swap frosting or fruit to suit seasons or diets.
– Easy to divide into bowls for coloring — great for kids and parties.
– Freezer-friendly layers let you prep ahead.
This cake tastes like a light, buttery vanilla cloud with a fine, moist crumb. The texture is soft but stable, making it easy to slice cleanly while holding frosting and layers without collapsing.
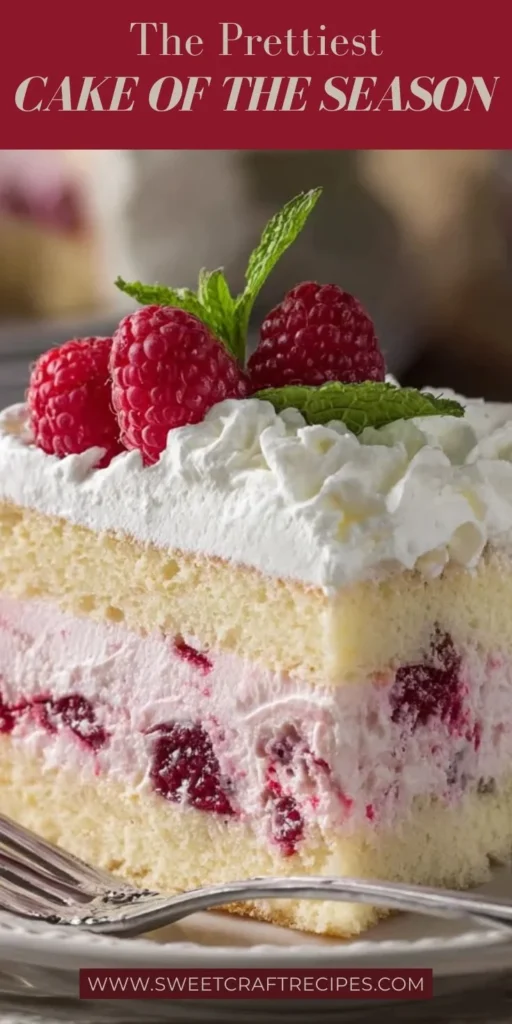
“Absolutely stunning — the pastel layers were perfect for my spring party and the texture was light and moist. I followed the tips here and it turned out flawless. 5 stars!”
Key Ingredients for Spring Fling Layered Cake
Unsalted butter — Butter provides flavor, tenderness, and structure when creamed with sugar. Buy high-quality European-style butter if you want a richer taste; room temperature butter blends more smoothly. If you substitute oil, expect a denser, less aerated crumb and reduced flavor complexity.
Granulated sugar — Sugar not only sweetens but helps with aeration during creaming, producing a lighter texture. Use standard granulated sugar for predictable results; superfine sugar speeds dissolving and gives a slightly finer crumb. Reducing sugar will yield drier, less tender cake unless you adjust liquids.
All-purpose flour — This is the backbone of the cake; AP flour gives enough protein for structure without toughness. For a slightly lighter crumb, you can sift and weigh your flour or use a mix of cake and AP flour. Replacing with only cake flour produces a more fragile cake that may need gentler handling.
Eggs — Eggs contribute moisture, structure, and emulsification, helping batter hold air and rise. Use large eggs at room temperature so they incorporate smoothly; cold eggs can cause the batter to curdle. If you substitute egg whites only, the cake will be less rich and more fragile.
Full Ingredient List for Spring Fling Layered Cake
– 2 cups all-purpose flour
– 1 ½ cups granulated sugar
– ½ cup unsalted butter, softened
– 1 cup milk
– 4 large eggs
– 2 teaspoons baking powder
– 1 teaspoon vanilla extract
– Food coloring (pastel colors)
– Frosting (cream cheese or buttercream)
– Fresh fruit or edible flowers for decoration
Step-by-Step Instructions for Spring Fling Layered Cake
Step 1: Preheat the oven and prepare pans
Preheat the oven to 350°F (175°C). Grease and flour three 8-inch round cake pans, or line them with parchment rounds for an easy release.
Pro Tip: The pans should look evenly greased with no bare spots, and parchment should sit flat in the bottom.
Step 2: Cream butter and sugar
In a large bowl, cream together the softened butter and granulated sugar until the mixture is light in color and fluffy in texture. This step traps air that helps the cake rise and become tender.
Pro Tip: The mixture should look pale and aerated and feel light when you lift the beater — about 3–5 minutes on medium speed.
Step 3: Add eggs and vanilla
Add the eggs one at a time, mixing well after each addition so they fully emulsify into the butter-sugar mixture. Stir in the vanilla extract at the end for even flavor distribution.
Pro Tip: The batter should look cohesive and glossy, not separated; if it looks curdled, mix gently until smooth.
Step 4: Combine dry ingredients and alternate with milk
In a separate bowl, whisk together the flour and baking powder. Gradually add the dry mixture to the creamed mixture alternately with milk, beginning and ending with flour. Mix just until combined to avoid overdeveloping gluten.
Pro Tip: The batter should be smooth and ribbon off the spoon; it should not look stiff or overly wet.
Step 5: Divide and color the batter
Divide the batter into separate bowls and tint each portion with your chosen pastel food coloring. Mix until the shade is even and you reach your desired pastel tone.
Pro Tip: Each bowl should show an even, uniform pastel color — avoid overdosing color which can change flavor and texture.
Step 6: Fill pans
Pour each colored batter evenly into the prepared pans, leveling the tops gently with a spatula so layers bake uniformly.
Pro Tip: The batter surface should be smooth and level, with equal amounts in each pan so layers match after baking.
Step 7: Bake until set
Bake the pans for 25–30 minutes, or until a toothpick inserted into the center comes out clean or with a few moist crumbs. Avoid overbaking to keep the crumb tender.
Pro Tip: The tops should be lightly golden and spring back slightly when touched; a clean toothpick test is the best visual cue.
Step 8: Cool in pans then on racks
Allow the cakes to cool in their pans for 10 minutes before inverting them onto wire racks to cool completely. This rest helps the cake set and prevents breaking when removed.
Pro Tip: After 10 minutes the cake edges should shrink slightly from the pan and release easily.
Step 9: Layer with frosting
Once fully cooled, place one layer on your cake board and spread a generous, even layer of frosting between each cake. Stack the layers, pressing gently to bed them together and remove air pockets.
Pro Tip: The frosting layer should be even and not so thick that the cake slides — aim for a smooth, level sandwich of cake and filling.
Step 10: Frost and decorate
Frost the top and sides of the assembled cake with your chosen cream cheese or buttercream. Decorate the top with fresh fruit or edible flowers, arranging them in a pleasing pattern.
Pro Tip: The finished cake surface should be smooth or intentionally textured; edible flowers and fruit should be fresh and dry for best placement.
Step 11: Slice and serve
Use a sharp knife wiped between slices to cut clean portions. Serve at room temperature so the frosting is soft and the crumb is tender.
Pro Tip: Slices should hold their shape with visible, even pastel layers and clean frosting lines.
Expert Tips for Spring Fling Layered Cake
– Temperature tip: Bring eggs and milk to room temperature before mixing; cold ingredients cause the batter to split and can reduce volume.
– Oven calibration: Use an oven thermometer to ensure an accurate 350°F (175°C); many ovens run hot or cold which affects rise and browning.
– Texture troubleshooting: If your cake is dense, make sure you cream long enough to aerate and avoid overmixing after adding flour.
– Equipment tips: Use three identical 8-inch pans for matching layers and a scale to weigh batter for even distribution.
– Frosting consistency: If your buttercream is too soft, chill briefly before frosting; if too firm, beat a little to loosen it.
– Common mistakes: Don’t open the oven repeatedly during the initial 15 minutes; sudden temperature changes can cause layers to sink.
– Leveling layers: For a perfectly flat stack, trim domes with a serrated knife before stacking or use a cake leveler.
– Visual finishing: For neat edges, crumb-coat first and chill, then apply a final coat; the crumb coat traps loose crumbs and makes decorating cleaner.
Storage & Freezing for Spring Fling Layered Cake
Fridge storage: Store frosted cake in an airtight cake box or container in the refrigerator for up to 4 days. Keep it covered to prevent drying and protect the decorations.
Freezer storage: For longer storage, freeze unfrosted layers wrapped tightly in plastic wrap and foil; they’ll keep for up to 3 months. Freeze frosted cakes for up to 1 month if they’re well wrapped to avoid freezer burn.
Thawing: Thaw frozen layers in the refrigerator overnight before frosting and stacking. If thawing a frozen frosted cake, move it to the fridge for several hours to let condensation clear before serving.
Reheating: Serve at room temperature for best flavor; if you prefer warm slices, microwave individual slices for 10–15 seconds, or warm in a low oven at 250°F (120°C) for 10 minutes.
Variations & Substitutions for Spring Fling Layered Cake
Lemon-berry twist — Add 1 tablespoon lemon zest to the batter and layer with lemon curd and mixed berries between layers. The result is brighter, with a tangy counterpoint to the sweet vanilla.
Pastel ombré buttercream — Tint your buttercream in graduated shades and use a palette knife to create an ombré side effect. This alters the visual focus while keeping the same cake base and flavor.
Chocolate-swirled layers — Fold 1/4 cup of melted and cooled chocolate into one portion of batter for a subtle swirl or marbling effect. The cake will gain a chocolate contrast without becoming a full chocolate cake.
Dairy-free option — Substitute nondairy butter and milk (such as oat milk) and use a vegan frosting to make this recipe dairy-free. Expect a slightly different mouthfeel and adjust sweetness to taste.
Frequently Asked Questions About Spring Fling Layered Cake
Q: Can I make this cake ahead of time?
A: Yes. Bake the layers up to three days ahead and wrap them tightly in plastic. You can also freeze unfrosted layers for up to three months and assemble when ready. Thaw in the fridge overnight before frosting.
Q: Why did my cake sink in the middle?
A: Common causes are underbaking, opening the oven too early, or too much leavening. Check oven temperature and use the toothpick test near the center. Also ensure you didn’t over-cream sugar and butter which can cause collapse.
Q: How do I get pastel colors without tasting food coloring?
A: Use gel food coloring sparingly — a little goes a long way in gels. Start with a tiny amount and stir well; color deepens after resting a few minutes. Natural alternatives like beet or blueberry purées can tint but may change texture and flavor.
Q: Can I use a single larger pan instead of three 8-inch pans?
A: Yes, but baking time will increase and a deeper cake may bake unevenly. If using a 9×13 or larger pan, reduce oven temperature slightly and test frequently; you may also need to tent with foil to avoid overbrowning.
Q: What’s the best frosting for decorating with fruit and edible flowers?
A: Both cream cheese and stable buttercream work well. For heavy fruit, a firmer buttercream (chilled briefly) supports toppings longer, while cream cheese adds pleasant tang but can soften faster at room temperature.
Final Thoughts on Spring Fling Layered Cake
This Spring Fling Layered Cake is an easy way to make a memorable dessert that looks bakery-bought but comes together at home. If you enjoyed the recipe, please leave a star rating in the recipe card below and pin it to your favorite boards for spring celebrations.
Conclusion — Spring Fling Layered Cake
If you want variations and inspiration beyond this recipe, see a bright citrus take at Lemon Berry Spring Fling Cake – Muy Bueno. For another classic version and serving ideas, check the Mr. Food walkthrough at Spring Fling Layered Cake (Easy!) | MrFood.com. For those managing sugar, review a diabetic-friendly adaptation at Diabetic Spring Fling Layered White Cake Recipe – Food.com.
Additional internal resources referenced earlier in the post: frosting inspiration, butter handling tips, cooling and finishing techniques, color and decoration ideas, and the full layered cake collection for more recipes.
Spring Fling Layered Cake
Ingredients
Method
- Preheat the oven to 350°F (175°C). Grease and flour three 8-inch round cake pans or line them with parchment rounds.
- In a large bowl, cream together the softened butter and granulated sugar until light and fluffy.
- Add the eggs one at a time, mixing well after each addition, then stir in the vanilla extract.
- In a separate bowl, whisk together the flour and baking powder. Gradually add this dry mixture to the creamed mixture alternately with the milk.
- Divide the batter into separate bowls and tint each portion with pastel food coloring.
- Pour each colored batter into the prepared pans, leveling the tops gently.
- Bake for 25–30 minutes or until a toothpick inserted into the center comes out clean.
- Allow the cakes to cool in their pans for 10 minutes before inverting them onto wire racks to cool completely.
- Once cooled, place one layer on your cake board and spread a layer of frosting between each cake.
- Frost the top and sides of the assembled cake and decorate with fresh fruit or edible flowers.
- Use a sharp knife to cut clean portions and serve at room temperature.