
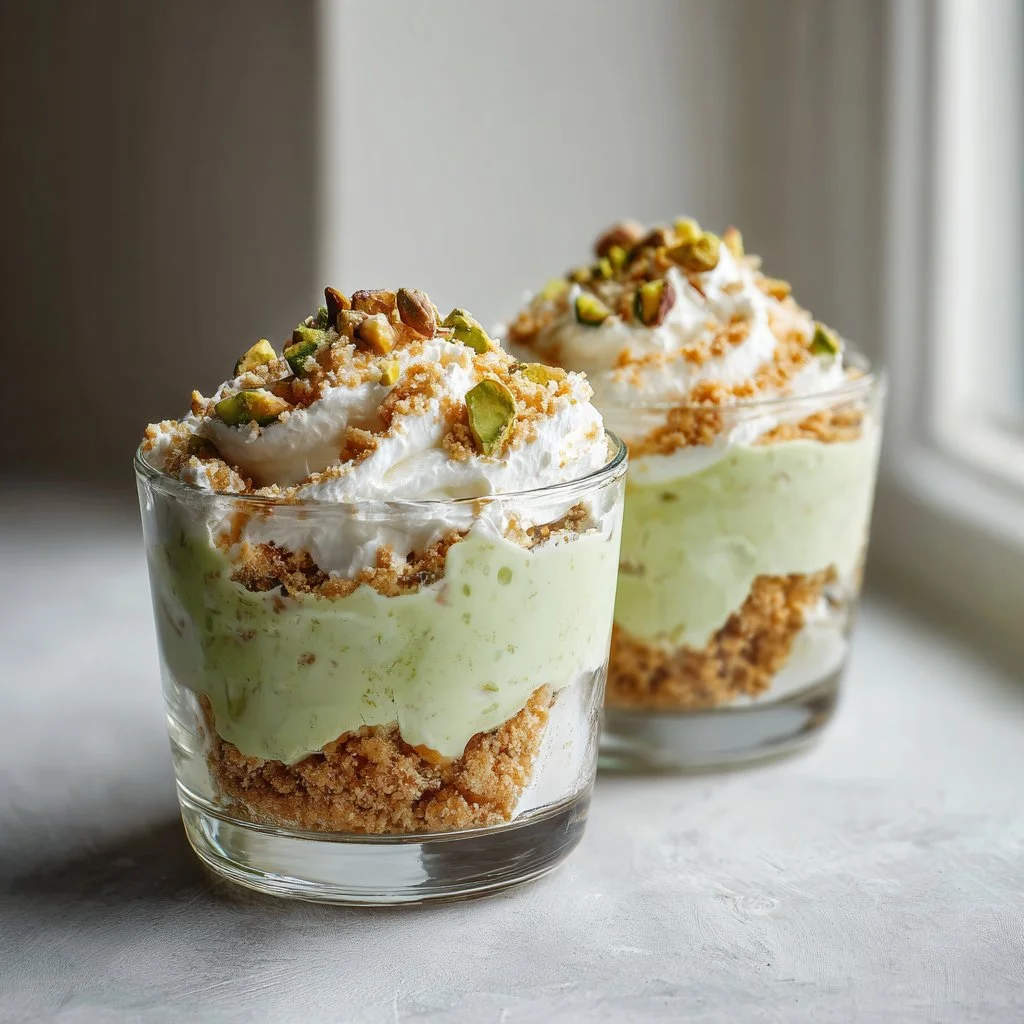
A cool, creamy slice that comes together in minutes — no oven required. This No-Bake Pistachio Lush is ideal for busy weeknights, holiday potlucks, or anytime you want a retro dessert with modern polish.
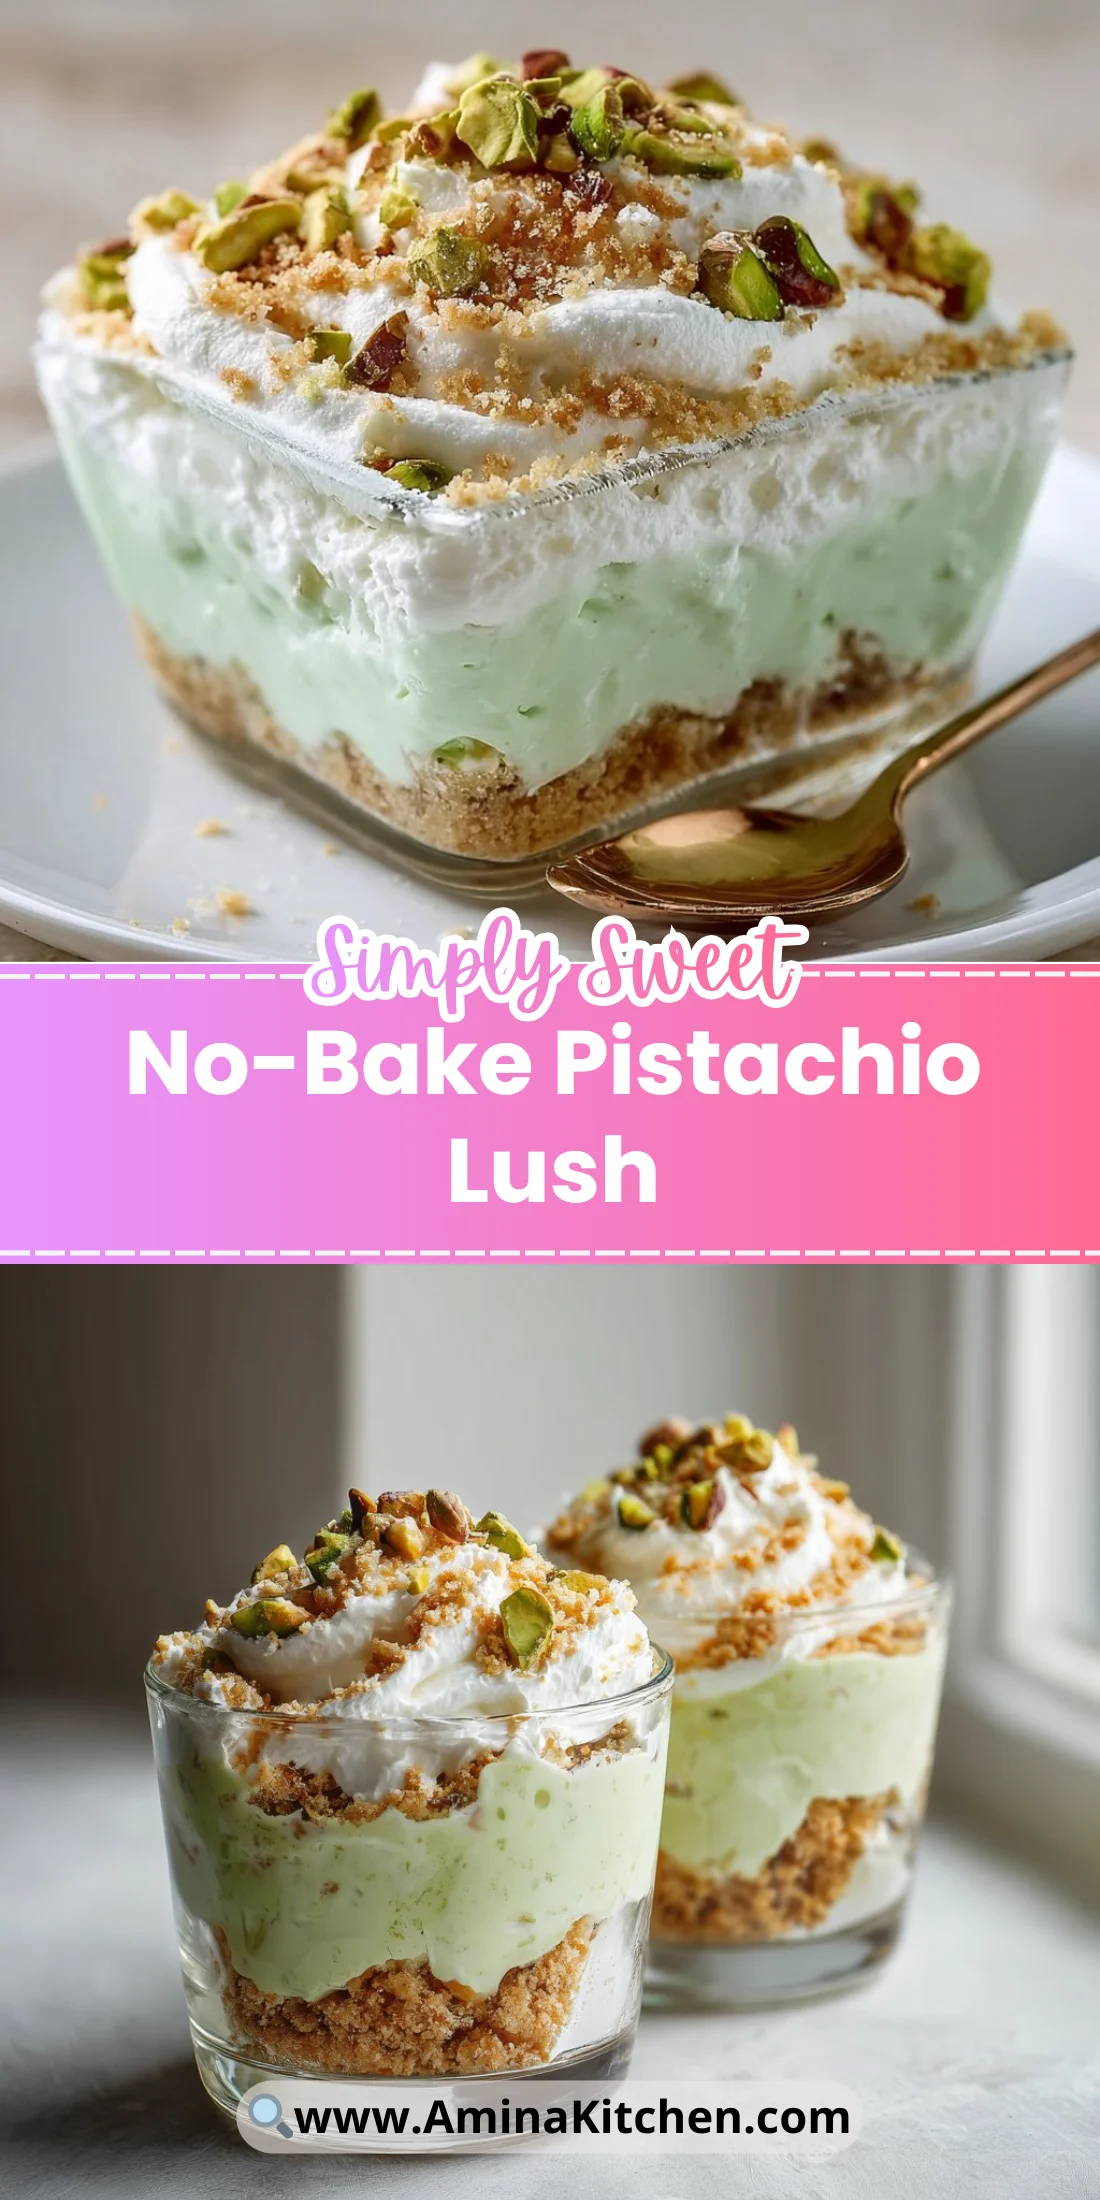
The layers make it feel special: crunchy nut crust, pillowy pistachio pudding, and airy whipped cream all in one forkful.
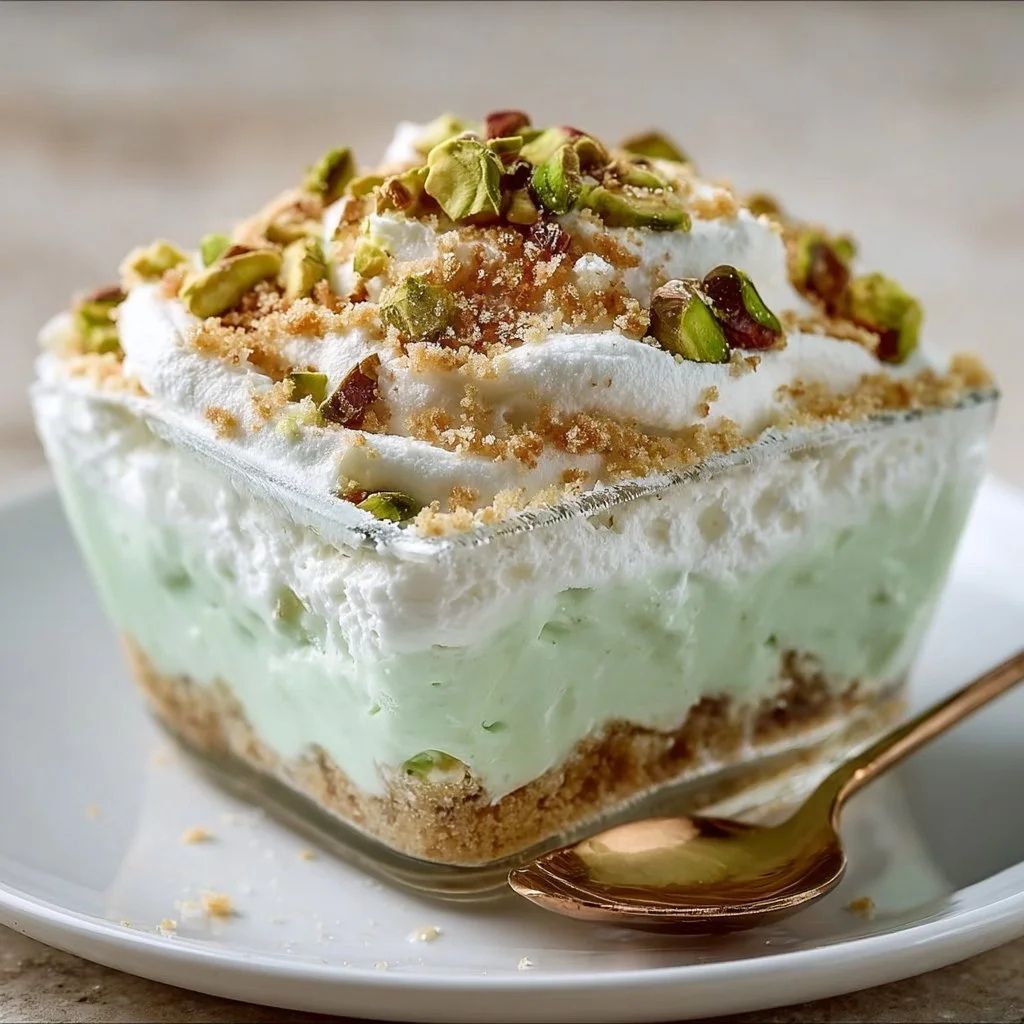
Keep it chilled and slice cleanly for neat servings. If you love pistachio desserts, try a related twist like this creamy no-bake pistachio pie for another quick option.
Why You’ll Love This No-Bake Pistachio Lush
- No oven needed — perfect for hot days or quick prep.
- Layers offer contrasting textures: crunchy, creamy, and fluffy.
- Kid-friendly flavors with bright pistachio color.
- Minimal ingredients and pantry-friendly substitutions.
- Ready in a couple of hours with mostly hands-off time.
- Great make-ahead dessert that slices well for parties.
- Scales easily for a crowd or smaller servings.
Pistachio pudding brings a sweet, nutty flavor that’s mellow and lightly floral. The crust adds toasted depth while the whipped cream lightens the pudding into a mousse-like finish. Every bite balances sweetness and crunch for a nostalgic yet refined dessert.
"5 stars — I made this for a family gathering and everyone asked for the recipe. So easy, and the texture was spot on. Will make again!" — Emma R.
Key Ingredients for No-Bake Pistachio Lush
Pistachio pudding mix: This is the flavor base and thickener. Use a high-quality instant pudding mix labeled pistachio for authentic color and flavor. If you substitute with vanilla mix plus chopped pistachios, the texture and color will be milder and you’ll miss the uniform gel that sets the layers.
Milk (2 cups): Milk hydrates the pudding mix and controls creaminess. Whole milk yields the richest mouthfeel; 2% works if you want to cut calories but expect a slightly lighter finish. Plant milks can be used, but some brands produce a looser set and may require refrigeration time to firm up.
Whipped cream (1 cup): This aerates the pudding into a light, mousse-like layer. Use stabilized whipped cream or gently fold in whipped topping to keep layers from weeping. If you skip whipped cream, the dessert will be denser and less airy.
Crushed nuts and crumbs (1 cup) with melted butter (1/2 cup) and sugar (1/4 cup): These form the crust and provide the textural contrast. Use finely crushed pistachios for flavor-forward results or graham cracker crumbs for a sweeter, more neutral base. If you leave out butter, the crust won’t bind and will be crumbly when slicing.
Full Ingredient List for No-Bake Pistachio Lush
- 1 package pistachio pudding mix
- 2 cups milk
- 1 cup whipped cream
- 1 cup crushed nuts (e.g., pistachios or graham cracker crumbs)
- 1/2 cup butter, melted
- 1/4 cup sugar
Step-by-Step Instructions for No-Bake Pistachio Lush
Step 1: Whisk the pudding mix with milk
In a medium bowl, whisk together the pistachio pudding mix and 2 cups of milk until the mixture is completely smooth. Allow the mixture to sit for about 5 minutes so the pudding can thicken and begin to set.
Pro Tip: Look for a silky, slightly glossy surface and a spoon that leaves a clean trail when stirred.
Step 2: Fold in whipped cream
Gently fold 1 cup of whipped cream into the thickened pudding until there are no streaks. Use a spatula and a light hand to preserve the whipped cream’s airiness and create a mousse-like texture.
Pro Tip: The mixture should feel light and fluffy and hold soft peaks when scooped.
Step 3: Make the nut crust
In another bowl, combine 1 cup of crushed nuts (or graham cracker crumbs), 1/2 cup melted butter, and 1/4 cup sugar. Stir until the crumbs are evenly moistened and resemble wet sand.
Pro Tip: The crust mixture should clump together when pressed between your fingers and smell like toasted nuts or buttery crumbs.
Step 4: Layer the dessert
Press a layer of the crust mixture into the bottom of your serving dish to form an even base. Spoon half of the pudding mixture over the crust. Repeat with another crust layer and top with the remaining pudding, ending with pudding on top. Smooth the surface gently.
Pro Tip: Each layer should be distinct — you should see a defined crust line and a creamy upper layer that’s even and glossy.
Step 5: Chill and serve
Refrigerate the assembled No-Bake Pistachio Lush for at least 2 hours to allow it to firm up. For cleaner slices, chill longer or freeze briefly before slicing. Serve chilled.
Pro Tip: A chilled surface will feel firm but not rock-solid; the pudding should yield slightly to a fork and hold its shape.
Expert Tips for No-Bake Pistachio Lush
- Temperature tip: Use cold milk right from the fridge to help the instant pudding set faster and yield a firmer texture.
- Chill tip: Refrigerate for a minimum of 2 hours; 4 hours is ideal for the cleanest slices.
- Texture troubleshooting: If the pudding seems runny, whisk it vigorously and let it rest longer; if it stays loose, fold in more whipped cream that’s slightly stiffer.
- Equipment tip: Use an offset spatula for even layers and a springform or glass baking dish for pretty presentation.
- Crust binding tip: If the crust won’t hold, add a tablespoon more melted butter or press it firmly with the back of a measuring cup.
- Cutting tip: Run a sharp knife under hot water, wipe dry, and slice in a single smooth motion to get clean edges.
- Common mistake: Over-folding the whipped cream will deflate the pudding; stop as soon as streaks disappear.
- Garnish tip: Toasted chopped pistachios on top add visual appeal and a crunchy finish.
Make sure to check visual cues at each stage rather than relying only on time. Proper texture is what separates a good No-Bake Pistachio Lush from a soggy one.
Storage & Freezing for No-Bake Pistachio Lush
Refrigerator storage: Store in an airtight container or cover the dish tightly with plastic wrap. Keep chilled for up to 3–4 days to maintain texture and freshness.
Freezer storage: For longer storage, freeze slices individually on a parchment-lined tray until firm, then wrap tightly in plastic and place in a freezer bag for up to 1 month. Avoid freezing the whole assembled dessert in a shallow pan without protection, which can cause freezer burn.
Thawing: Thaw frozen slices in the refrigerator for 4–6 hours or overnight. Thawing at room temperature can make the layers weep, so stick to fridge thawing for the best texture.
Reheating: This is a chilled dessert and should not be reheated. If you want a warmer element, serve a warm sauce (like caramel) on the side rather than heating the lush itself.
Variations & Substitutions for No-Bake Pistachio Lush
Chocolate pistachio twist: Swap half the pudding mix for instant chocolate pudding and fold as directed. The result is a richer, nutty-chocolate layered dessert with increased depth and a darker color.
Berry layer: Add a thin layer of fresh strawberry or raspberry compote between layers before chilling. The tart fruit cuts the sweetness and adds a bright, contrasting flavor and color.
Cookie crumb crust: Replace the crushed nuts with crushed shortbread or chocolate sandwich cookies and skip the extra sugar. This yields a sweeter, more cookie-forward base with added crunch.
Vegan version: Use a plant-based pistachio pudding mix or make a cashew-pistachio cream, use full-fat coconut milk, and fold in stabilized aquafaba instead of whipped cream. Expect a slightly different mouthfeel but similar flavor notes.
For each variation, adjust chilling time as needed because added moisture (like compote) may require extra refrigeration to set properly.
Frequently Asked Questions About No-Bake Pistachio Lush
Q1: Can I make No-Bake Pistachio Lush ahead of time for a party?
A1: Yes — make it up to 2 days ahead and store covered in the refrigerator. Prepare the dessert the night before to let the layers meld and firm for the cleanest slices. For travel, transport in a cooler to keep it chilled.
Q2: What’s the best container to assemble No-Bake Pistachio Lush in?
A2: A 9×9-inch square baking dish or an 8-inch springform pan works well for neat layers. Glass dishes let you show the layers; springform pans simplify removal for fuss-free serving.
Q3: Can I use real pistachio pieces in the pudding for extra flavor?
A3: Yes, finely chopped roasted pistachios folded into the pudding or sprinkled between layers add real nutty flavor and texture. Toast them briefly to enhance aroma, but don’t add too many or the pudding layer may become grainy.
Q4: My pudding separated after folding. How can I fix it?
A4: If separation occurs, gently re-whisk the pudding base before folding in a small amount of whipped cream, then fold carefully. If the mixture remains watery, chill it longer; sometimes the gelatin in instant pudding needs time to hydrate fully.
Q5: Can I reduce sugar in No-Bake Pistachio Lush?
A5: You can reduce the crust sugar slightly or use a less-sweet crust like plain crushed nuts. Be cautious reducing sugar in the pudding layer unless you swap to a low-sugar instant mix, since sweetness balances the nutty notes.
Final Thoughts on No-Bake Pistachio Lush
This No-Bake Pistachio Lush is a deceptively simple dessert that rewards small technique steps with perfect texture and flavor. Leave a star rating in the recipe card below and pin this layered beauty to your dessert board on Pinterest.
Conclusion: No-Bake Pistachio Lush
For a classic take and inspiration from other home cooks, check out this beloved Pistachio Lush – Spicy Southern Kitchen recipe which highlights traditional layering ideas.
If you want a lemony or lighter version for spring entertaining, this Pistachio Lush Dessert – Lemon Tree Dwelling offers bright variations and garnish tips.
And for a baker’s perspective on presentation and slicing, see this creative take at Pistachio Lush – The Midnight Baker for staging and plating ideas.
Internal links used in this article (placed throughout the content) include related recipes and tutorials like creamy no-bake pistachio pie, easy pistachio cake, no-bake chocolate strawberry mousse cake, no-bake cookie butter blossoms, and no-bake lucky charms cheesecake.
No-Bake Pistachio Lush
Ingredients
Method
- In a medium bowl, whisk together the pistachio pudding mix and 2 cups of milk until smooth. Let it sit for about 5 minutes to thicken.
- Gently fold 1 cup of whipped cream into the thickened pudding until no streaks remain.
- In another bowl, combine 1 cup of crushed nuts, 1/2 cup of melted butter, and 1/4 cup of sugar. Stir until evenly moistened.
- Press the crust mixture into the bottom of your serving dish. Spoon half of the pudding mixture over the crust, then repeat with another layer of crust and top with the remaining pudding.
- Refrigerate for at least 2 hours. For better slicing, chill longer or freeze briefly before slicing.
- Serve chilled, optionally garnished with toasted chopped pistachios.