
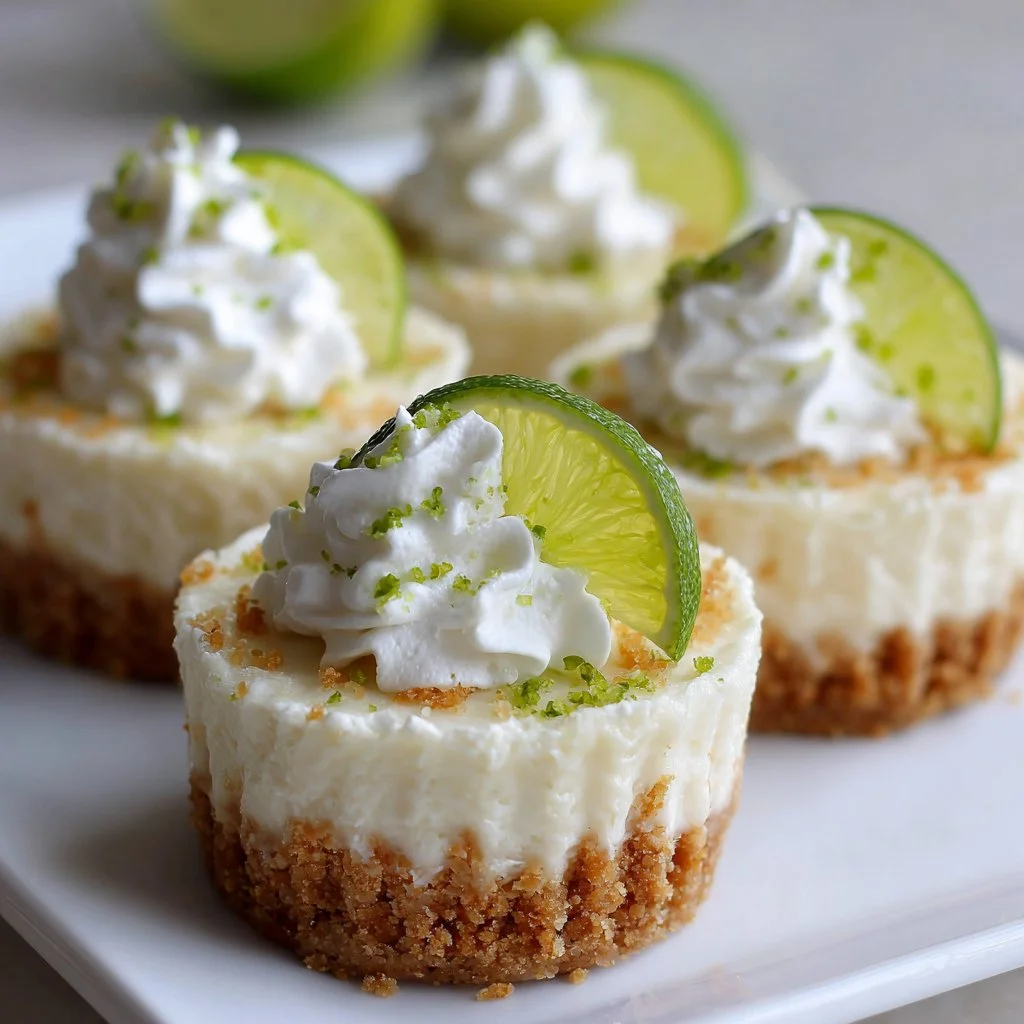
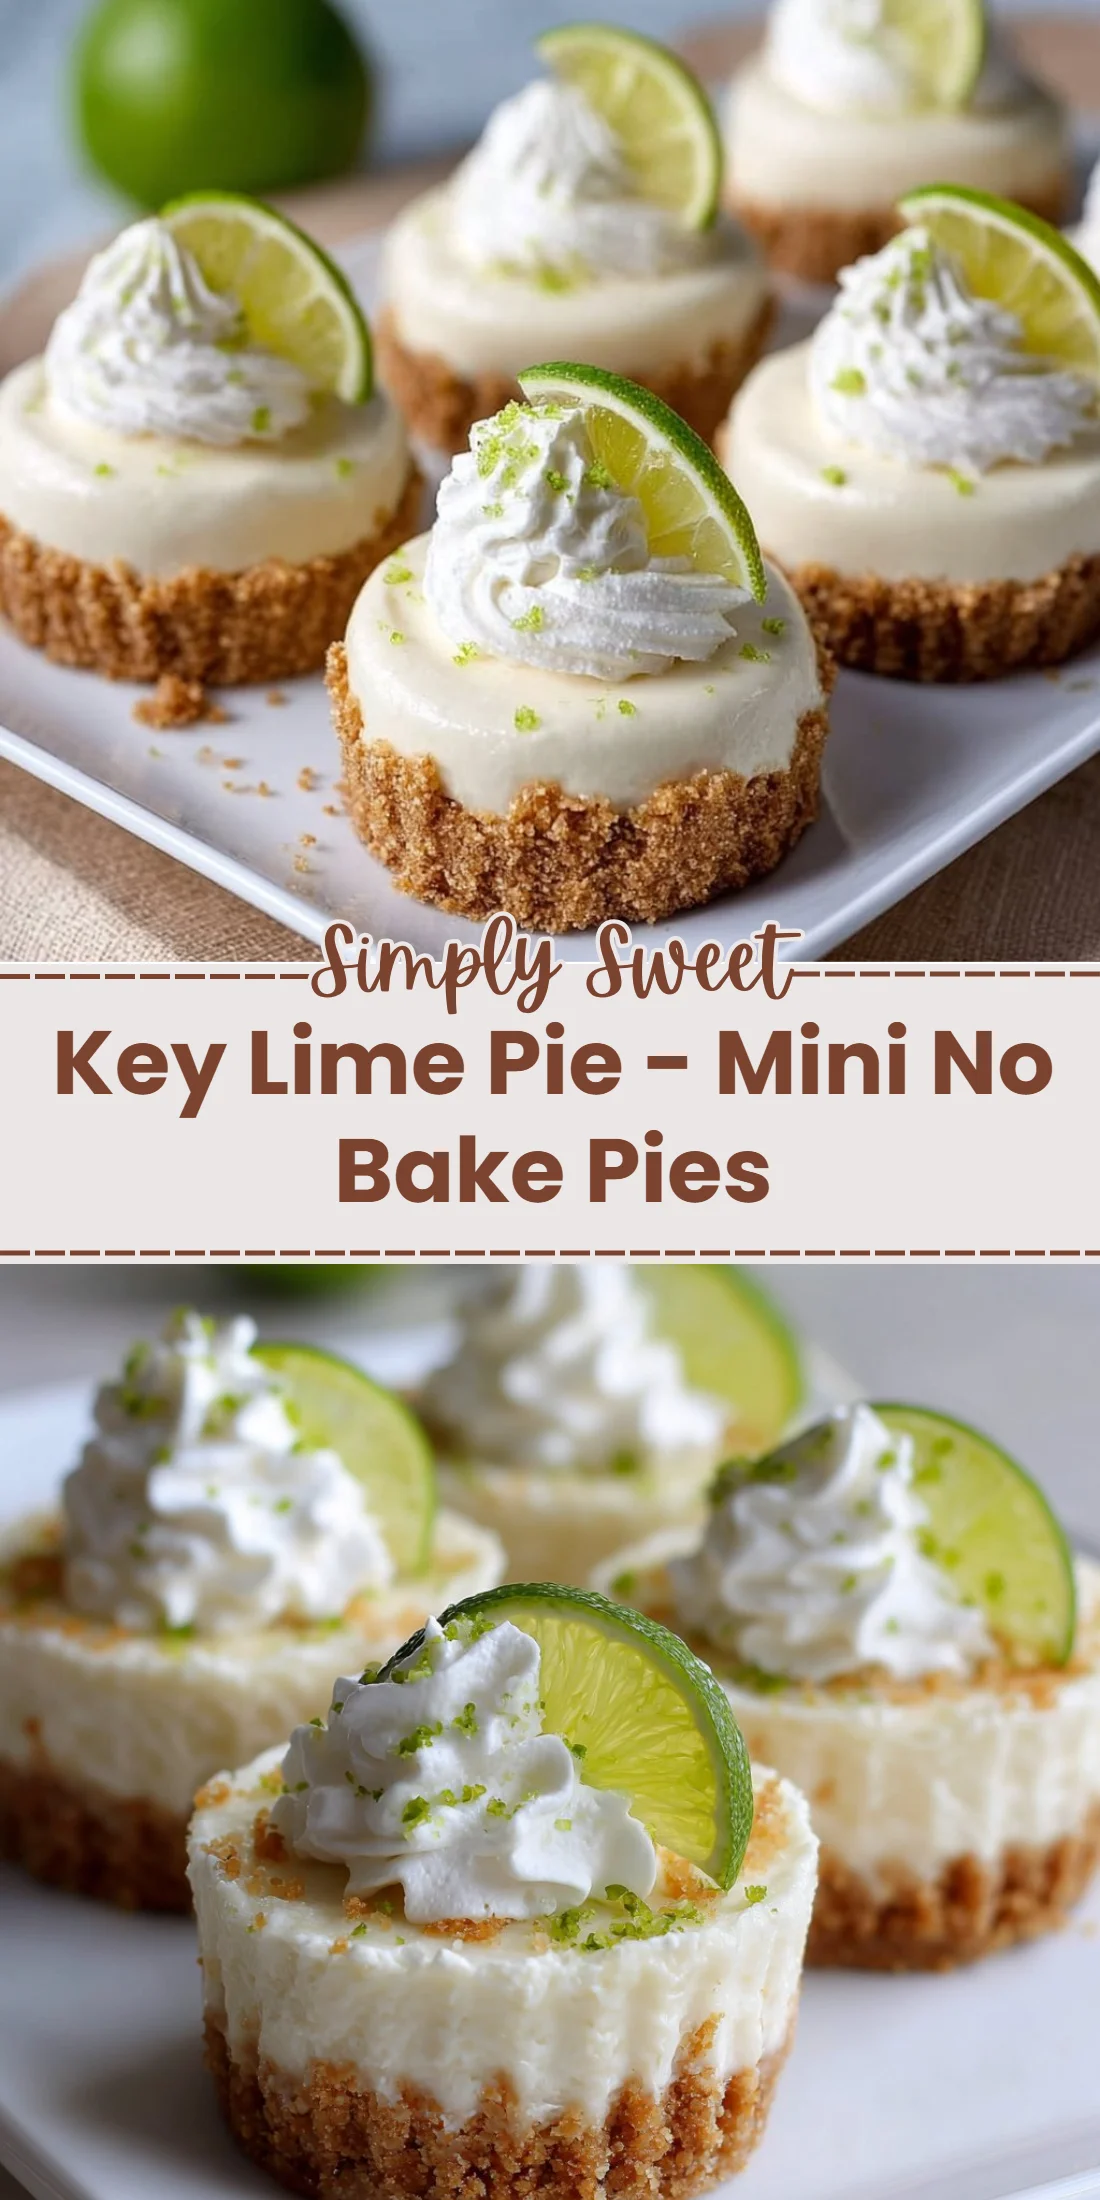
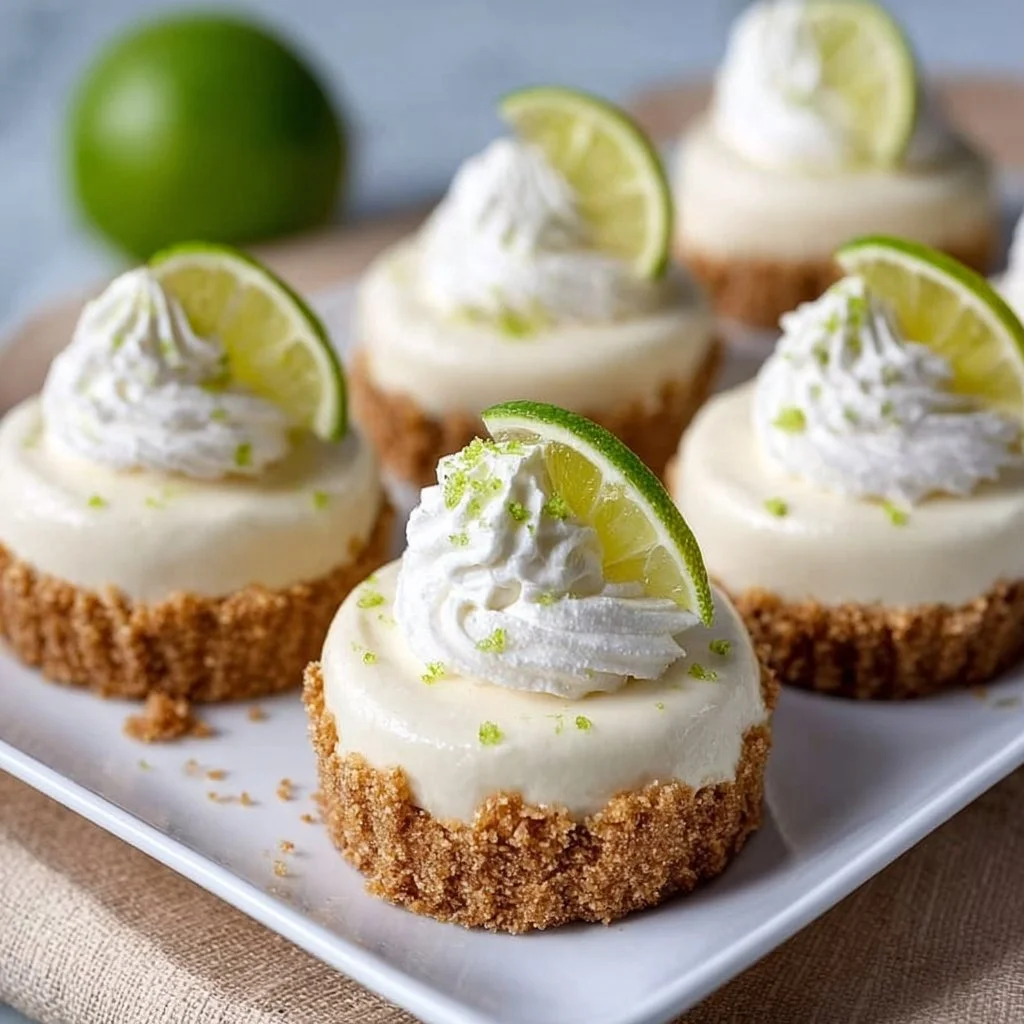
Bright, tangy, and impossibly simple, these mini no-bake key lime pies are the tiny dessert that steals the show.
They come together in minutes and chill into a silky filling with a crisp graham crust.
Perfect for parties, weeknight treats, or a sweet finish to a summer meal.
If you like easy no-bake desserts, you might also enjoy a creamy take on another trouble-free pie like this creamy no-bake pistachio pie.
Keep your tools handy and your limes fresh — the chemistry here is straightforward and rewarding.
Why You’ll Love This Key Lime Pie – Mini No Bake Pies
– Quick assembly with no oven needed.
– Bright, tangy lime flavor balanced with sweet condensed milk.
– Smooth, creamy filling that sets firm after chilling.
– Portable individual servings for parties or lunches.
– Minimal equipment and pantry-friendly ingredients.
– Crowd-pleaser that looks elegant with simple whipped cream.
The flavor is a bright, lime-forward tang tempered by the rich sweetness of sweetened condensed milk.
Texture is a contrast of a buttery, crunchy graham base and a dense, velvety filling that melts on the tongue.
This combination gives each bite a refreshing lift without feeling heavy.
"Five stars! Tiny pies, huge flavor — tangy, smooth, and perfect for summer get-togethers." — a delighted reader
Key Ingredients for Key Lime Pie – Mini No Bake Pies
Graham cracker crumbs
Graham crumbs are the backbone of the crust. Choose finely ground crumbs for a compact, no-fall-apart base; you can pulse whole graham crackers in a food processor. If you substitute with digestive biscuits or vanilla wafers, reduce any added sugar slightly because those cookies are often sweeter.
Unsalted butter, melted
Butter binds the crumbs and provides richness. Buy European-style butter if you want a deeper flavor and slightly higher fat content. If you use margarine or a plant-based butter, expect a softer crust and slightly different mouthfeel; chill longer to firm it up.
Cream cheese, softened
Cream cheese adds body and a subtle tang to the filling, helping it set into a sliceable consistency. Use full-fat cream cheese for the creamiest texture and avoid low-fat varieties that can be grainy. If you’re dairy-free, a stabilized vegan cream cheese can work, but the texture and flavor will be noticeably different.
Fresh lime juice
Fresh juice provides the bright, acidic zip that reacts with sweetened condensed milk to create the signature key lime flavor. Never use bottled lime juice here — the fresh oils and brightness matter. If you must substitute, fresh lemon juice will give a similar acid profile but a different citrus character.
Full Ingredient List for Key Lime Pie – Mini No Bake Pies
– 1 cup graham cracker crumbs
– 1/4 cup sugar
– 1/3 cup unsalted butter, melted
– 8 oz cream cheese, softened
– 1 can (14 oz) sweetened condensed milk
– 1/2 cup fresh lime juice
– Zest of 2 limes
– Whipped cream for topping
Step-by-Step Instructions for Key Lime Pie – Mini No Bake Pies
Step 1: Make the crust by combining graham crumbs, sugar, and melted butter
In a mixing bowl, stir the graham cracker crumbs with the sugar and melted butter until the mixture is evenly moistened.
Press the crumb mix firmly into the bottom and slightly up the sides of mini pie pans or tartlet tins to form an even base.
Pro Tip: The crust should hold together when you pinch it between fingers and look uniformly glossy from the butter.
Step 2: Beat the cream cheese until smooth
In another bowl, beat the softened cream cheese with a hand mixer or stand mixer until it’s completely lump-free and silky.
Scrape the sides of the bowl as needed to ensure no pockets of unmixed cheese remain.
Pro Tip: Smooth cream cheese feels satiny and spreads without visible chunks.
Step 3: Combine sweetened condensed milk, lime juice, and lime zest into the cream cheese
Gradually add the sweetened condensed milk to the cream cheese while mixing, then pour in the fresh lime juice and fold in the lime zest until the filling is homogeneous.
Taste and adjust zest for stronger aroma — the lime oils in the zest are what make the flavor pop.
Pro Tip: The filling should be glossy, slightly thick, and pourable — imagine a thick custard that coats the spoon.
Step 4: Fill the prepared crusts with the lime filling
Spoon or pour the lime filling evenly into each prepared mini crust, smoothing the tops with an offset spatula or the back of a spoon.
Tap each pan gently on the counter to remove air pockets and level the surface.
Pro Tip: The surface should be even and ripple-free; small air bubbles are okay but avoid large gaps.
Step 5: Refrigerate for at least 4 hours or until set
Transfer the filled mini pies to the refrigerator and chill for a minimum of four hours, longer if possible, until the filling is firm to the touch.
For best texture, chill overnight — this allows the filling to fully set and flavors to meld.
Pro Tip: When done, the filling should yield a clean edge when you run a knife around the crust; it should not jiggle like liquid.
Step 6: Top with whipped cream before serving
Just before serving, pipe or dollop whipped cream on each mini pie and finish with extra lime zest or a thin lime slice.
Serve chilled and keep leftovers refrigerated.
Pro Tip: The whipped cream should hold soft peaks and sit distinctly on top of the filling without melting into it.
Expert Tips for Key Lime Pie – Mini No Bake Pies
– Temperature tip: Work with cream cheese at room temperature for the smoothest filling; cold cream cheese traps air and lumps.
– Chill time: Don’t rush the set — at least 4 hours is essential; overnight is ideal for firm texture.
– Zest technique: Use a microplane for fine zest to avoid bitter white pith bits that ruin the flavor.
– Texture troubleshooting: If your filling is too runny, more chilling usually helps; if it never firms, beat in a tablespoon of sifted powdered sugar or a small amount of gelatin dissolved in lime juice (use 1 tsp powdered gelatin for stability).
– Equipment tips: A small offset spatula and a hand mixer are the most useful tools — a food processor is handy for crumbs.
– Common mistakes: Over-beating after adding citrus can thin the mixture; fold gently once juice is added.
– Serving tip: Keep pies chilled until the last minute to prevent the crust from softening from the filling.
– Portion control: Use mini tart pans or a muffin tin with liners for uniform portions and easy transport.
Storage & Freezing for Key Lime Pie – Mini No Bake Pies
Fridge storage: Store mini pies in an airtight container or covered tray in the refrigerator for up to 4 days.
Use a shallow, sealed container or line a flat pan and place pies in a single layer to avoid crushing the topping.
Freezer storage: For long-term storage, freeze un-topped pies (no whipped cream) in a single layer on a baking sheet until firm, then wrap each tightly in plastic wrap and place in a freezer-safe container for up to 2 months.
Label with the date.
Thawing: Thaw frozen pies in the fridge overnight.
Do not microwave; quick thawing will compromise texture.
Reheating: These are best served cold. If you want them less chilled, let them sit at room temperature for 10–15 minutes before serving.
Variations & Substitutions for Key Lime Pie – Mini No Bake Pies
Coconut Lime Mini Pies — Swap 1/4 cup of the graham crumbs for toasted shredded coconut and mix a teaspoon of coconut extract into the filling.
Result: A tropical aroma and a slightly chewier crust with coconut undertones.
Ginger-Oat Crust — Replace graham crumbs with crushed ginger snaps or a mix of oats and brown sugar for a spicier base.
Result: A warm, spicy contrast to the tart lime filling that feels cozy and seasonal.
Gluten-Free Option — Use gluten-free graham-style crumbs or crushed gluten-free cookies and ensure butter is not cross-contaminated.
Result: Everyone can enjoy these; texture will be nearly identical if crumbs are finely ground.
Key Lime Pie Jars — Layer filling and crust in small mason jars and chill, skipping any fragile crust edges for portability.
Result: No-cut servings and easier transport; great for picnics or gift boxes.
Frequently Asked Questions About Key Lime Pie – Mini No Bake Pies
How long does it take to set?
The filling needs at least 4 hours to firm up in the refrigerator. Overnight chilling is better for a sliceable, creamy texture. If your fridge is very cold or the pans are metal, allow extra time.
Can I make these ahead for a party?
Yes — make the pies up to 2 days ahead, store them covered in the fridge, and add whipped cream just before serving. For longer prep, freeze the crusts or filled pies (no whipped cream) for up to 2 months and thaw in the fridge.
What’s the role of sweetened condensed milk?
Sweetened condensed milk sweetens and thickens the filling while providing a rich, custard-like mouthfeel. It also contributes to the filling’s stability when combined with cream cheese and acid.
Can I use bottled lime juice?
Fresh lime juice is strongly recommended for brightness and fresh essential oils. Bottled juice lacks fresh aromatics and can yield a flatter flavor profile.
Why did my filling weep or become grainy?
Weeping can happen if the filling sits at room temperature too long or if overbeaten after adding citrus. Graininess often comes from cold cream cheese lumps or low-fat substitutes; ensure everything is at room temperature and beat until smooth before adding other ingredients.
Final Thoughts on Key Lime Pie – Mini No Bake Pies
These mini no-bake key lime pies are a fast, crowd-pleasing dessert that balances bright citrus with creamy, sweet richness.
If you enjoyed this recipe, please leave a star rating in the recipe card below and pin it to Pinterest.
For more individual key lime pie ideas, check this Easy Mini No Bake Key Lime Pie Recipe – This Silly Girl’s Kitchen.
If you want a jar-style presentation, see this Mini No-Bake Key Lime Pie in a Jar – Inspired by Charm for inspiration.
For a similar small-serve approach with a classic flavor, this No-Bake Key Lime Pies – Eat. Drink. Love. tutorial is a great reference.
Mini No-Bake Key Lime Pies
Ingredients
Method
- In a mixing bowl, stir the graham cracker crumbs, sugar, and melted butter until evenly moistened. Press firmly into the bottom and sides of mini pie pans or tartlet tins.
- Beat the softened cream cheese until smooth with a mixer.
- Gradually add the sweetened condensed milk to the cream cheese while mixing. Fold in the fresh lime juice and lime zest until homogeneous.
- Spoon the lime filling into each prepared crust, smoothing the tops.
- Tap each pan gently on the counter to remove air pockets.
- Refrigerate for at least 4 hours or until set.
- Top each mini pie with whipped cream just before serving.