
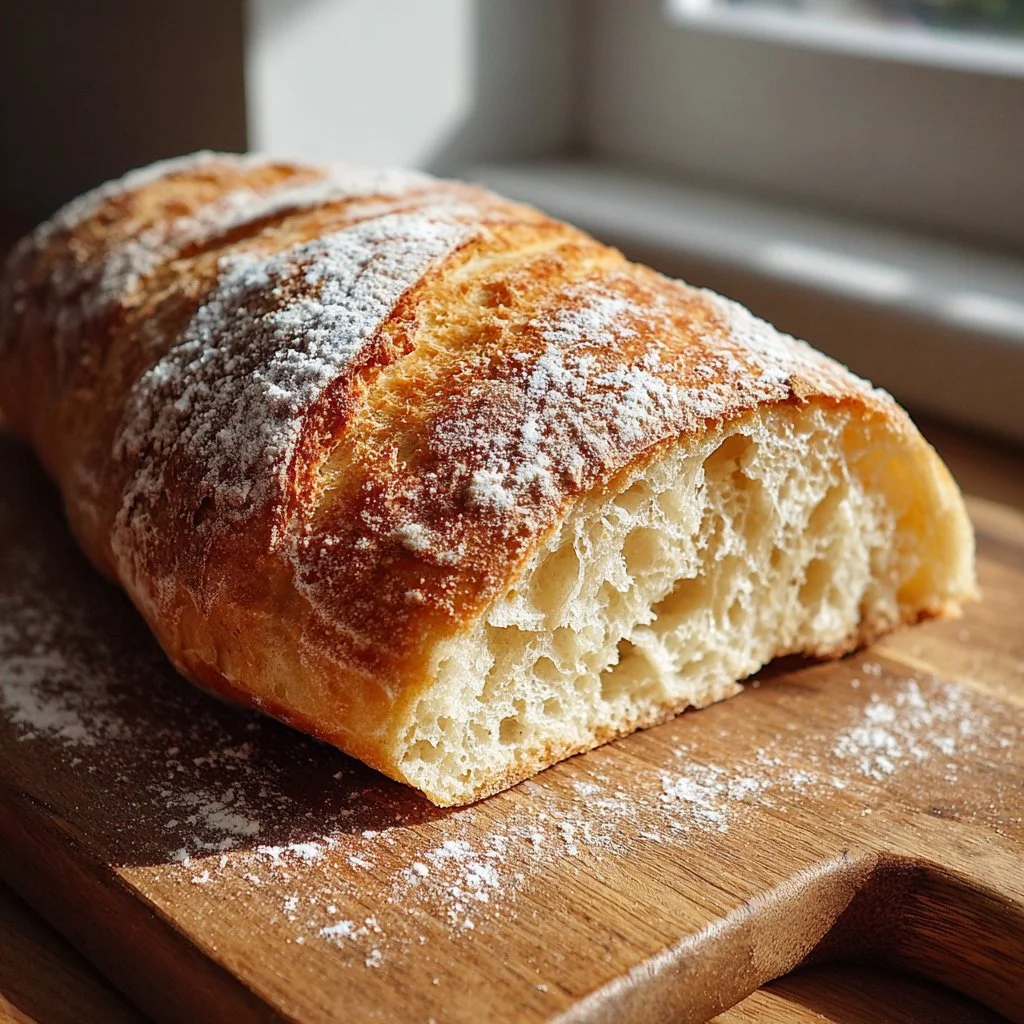
Start with a crisp loaf and a patient pause: this ciabatta asks for very little hands-on time but rewards you with airy, crackly-crusted bread.
It’s a forgiving recipe for beginners and a reliable standby for seasoned home bakers.
Make the dough the night before and wake to the smell of fermentation and rustic baking.
If you like trying different breads, you might also enjoy a sticky, pull-apart treat like this monkey bread recipe.
Keep your workspace simple and your expectations high.
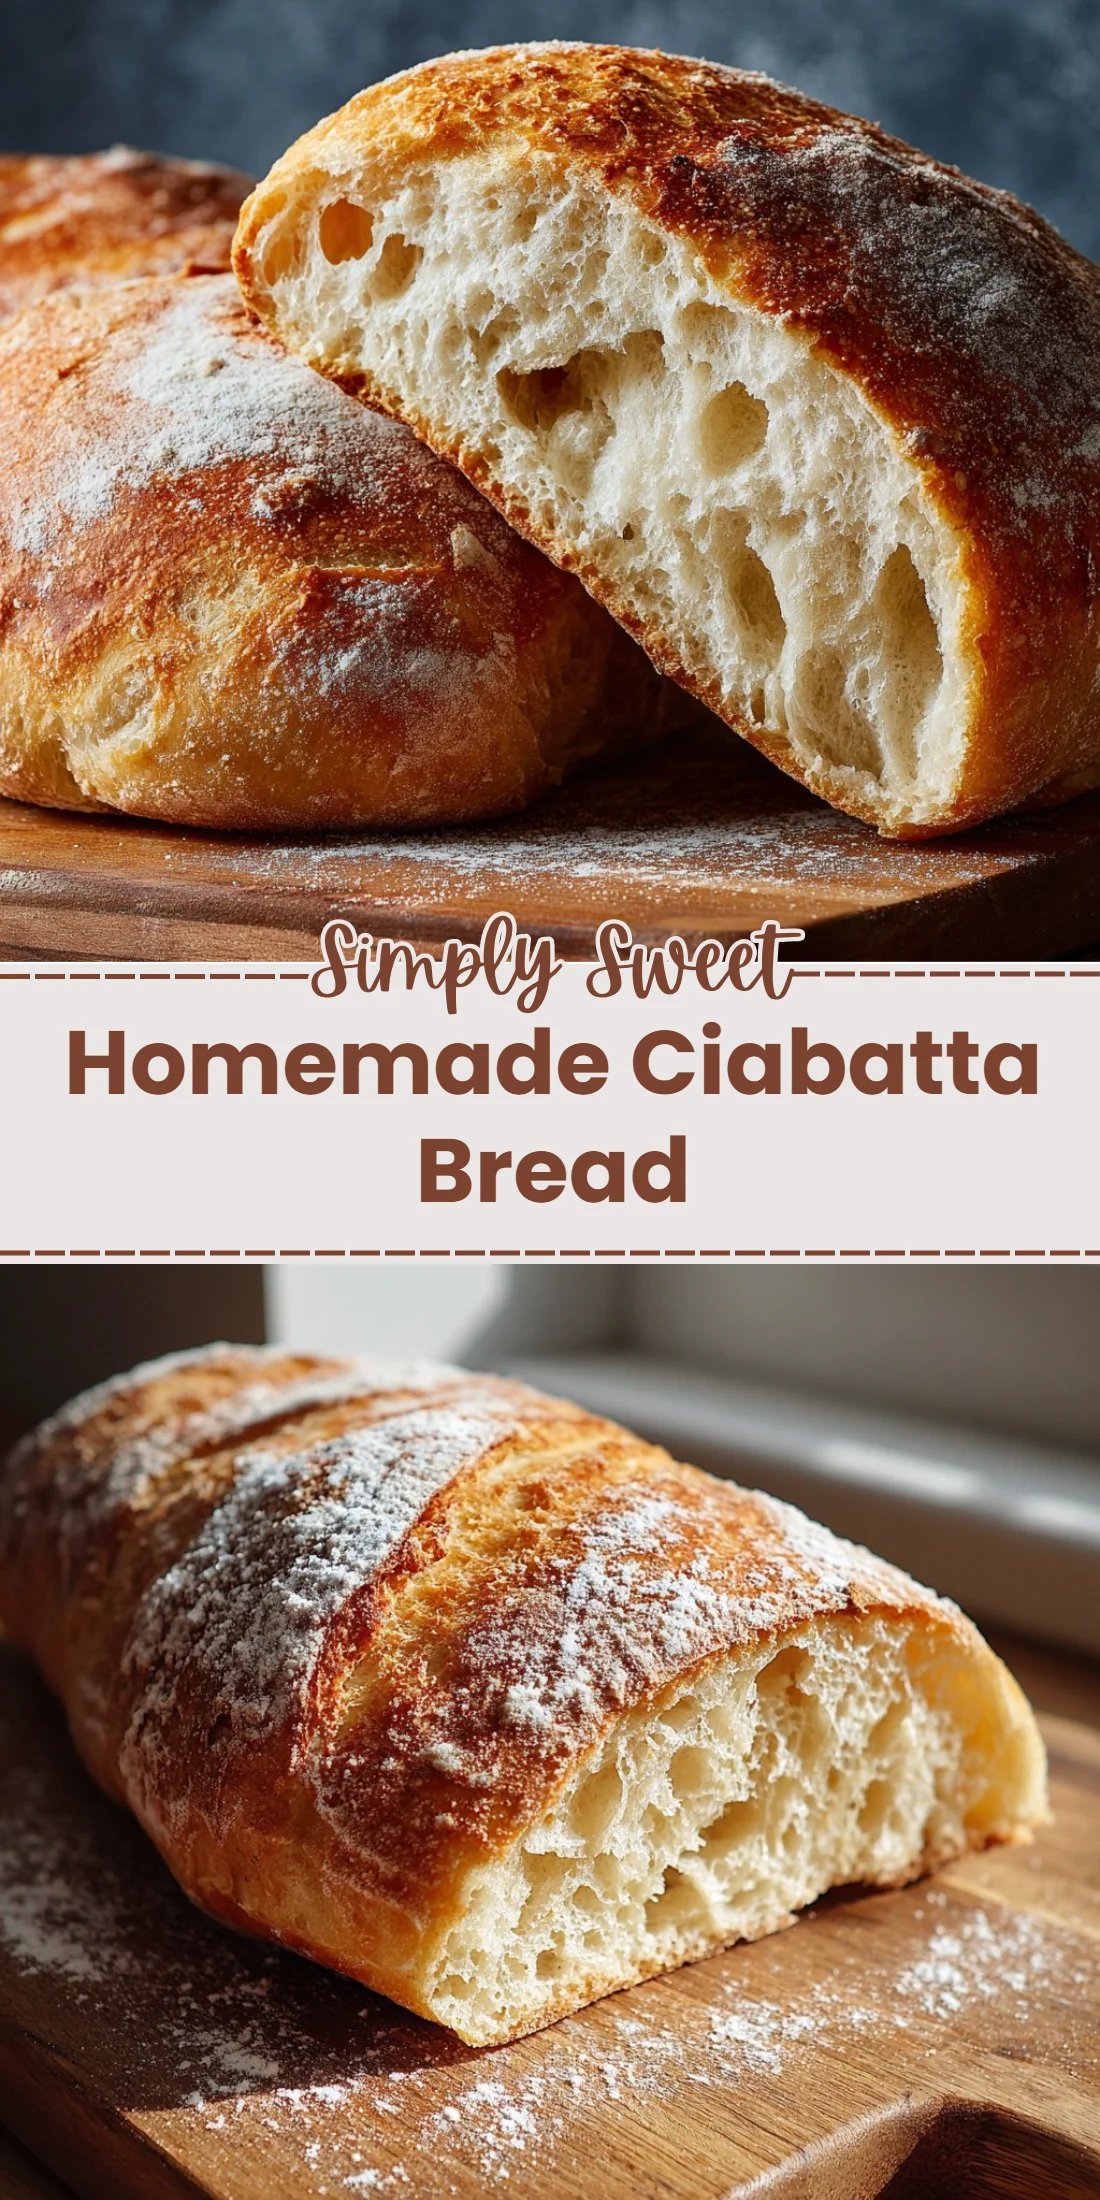
Why You’ll Love This Homemade Ciabatta Bread
– Minimal yeast and long fermentation for deeper flavor.
– Very high hydration for an open, holey crumb.
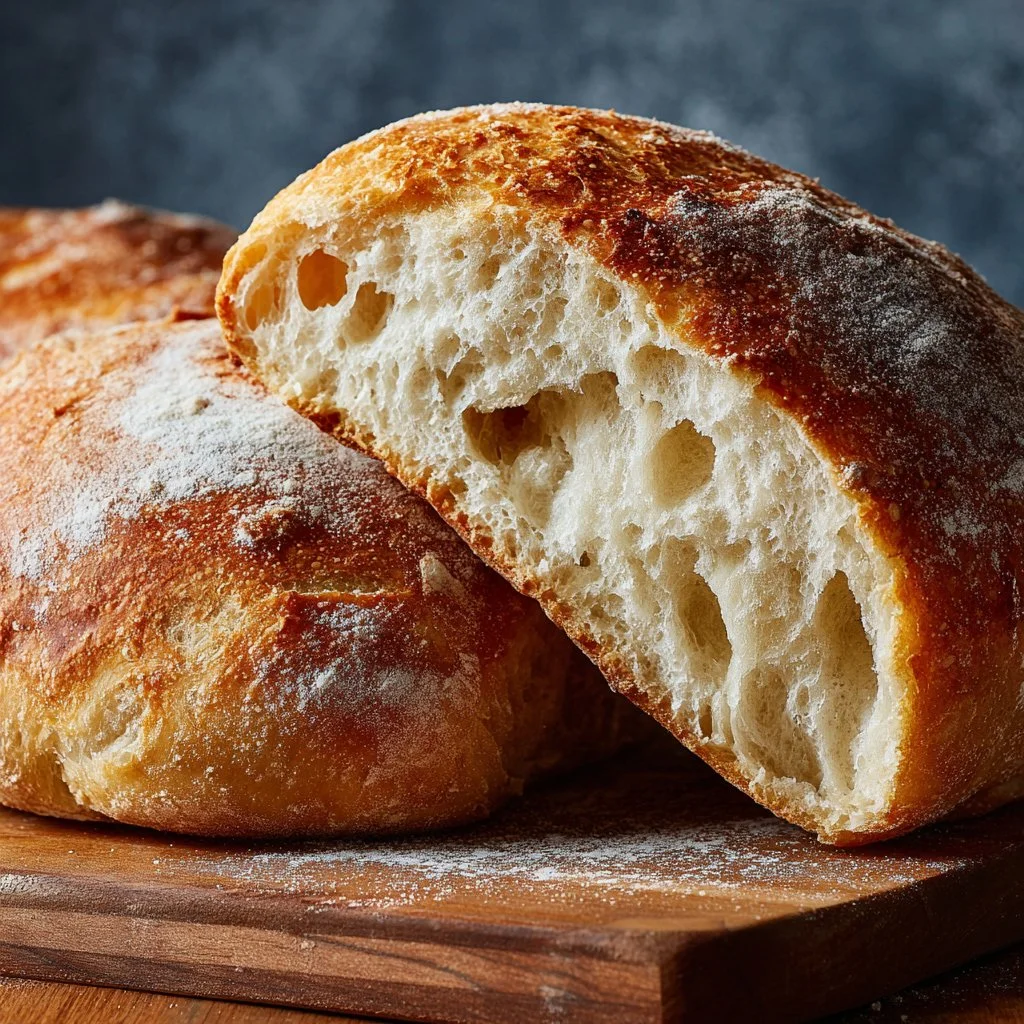
– Crisp, blistered crust with a tender interior.
– Few ingredients—pantry staples only.
– Hands-off overnight rise fits busy schedules.
– Perfect for sandwiches and dipping in olive oil.
The taste is mildly tangy from long fermentation and richly wheaty from all-purpose flour.
The texture contrasts are the star: a paper-thin, crackly crust and a light, holey interior that tears rather than slices.
It’s ideal for olive oil dipping, panini presses, or a simple buttered breakfast.
“Absolutely the best homemade ciabatta I’ve made—open crumb, crackly crust, and no fancy equipment. 10/10 would bake again!” — A satisfied reader ★★★★★
Key Ingredients for Homemade Ciabatta Bread
Flour: All-purpose flour is the backbone here.
It provides enough gluten to trap gas for an open crumb while keeping the dough soft.
If you swap to bread flour, expect a slightly chewier crumb and more oven spring; if you use low-protein flour, the structure will be weaker and the loaf denser.
Water: High hydration (1.5 cups for 4 cups flour) creates the characteristic large holes.
Use room-temperature water for predictable fermentation unless you’re adjusting proof time with warm or cold water.
If you reduce water, the dough becomes easier to handle but you’ll lose much of the airy interior that defines ciabatta.
Salt: Two teaspoons of salt controls fermentation and strengthens the dough’s gluten network.
It balances flavor and slows yeast activity so long fermentation develops complexity.
Reducing salt makes bread bland and can produce an over-fermented, slack dough; increasing salt tightens crumb and reduces oven spring.
Yeast: The quarter teaspoon of instant yeast is intentionally small.
It’s just enough to guide fermentation over 12–18 hours and help build flavor.
If you substitute with active dry yeast, proof it in a bit of the water first; though the long ferment means small yeast errors are often forgiven.
Full Ingredient List for Homemade Ciabatta Bread
– 4 cups all-purpose flour
– 1 1/2 cups water
– 1/4 teaspoon instant yeast
– 2 teaspoons salt
Step-by-Step Instructions for Homemade Ciabatta Bread
Step 1: Mix the dry ingredients
In a large bowl, whisk the flour, instant yeast, and salt together until evenly distributed.
This dry-mix step ensures the salt doesn’t sit directly on the yeast, which could inhibit activity.
Pro Tip: The surface should look uniformly pale with no visible salt clumps.
Step 2: Add water to form a sticky dough
Slowly pour the water into the bowl while stirring with a wooden spoon or dough scraper.
Mix just until a very sticky, shaggy dough forms—no kneading required.
Pro Tip: The dough should cling to the scraper and look glossy and wet, not smooth.
Step 3: Bulk ferment overnight
Cover the bowl tightly with plastic wrap and leave it at room temperature for 12–18 hours.
The long, slow ferment develops flavor and the open crumb without extra kneading.
Pro Tip: Expect the dough to double and be full of bubbles; it should smell pleasantly yeasty and slightly tangy.
Step 4: Turn the dough out onto a floured surface
Liberally dust your work surface with flour and gently tip the dough out.
Resist the urge to deflate it completely; you want to preserve as many gas pockets as possible.
Pro Tip: The dough should feel jiggly and slack—if it holds shape tightly, it may be under-fermented.
Step 5: Stretch and fold gently
Use wet or floured hands to perform a couple of gentle stretch-and-fold motions to strengthen the dough.
Light handling maintains the open structure while building some body for shaping.
Pro Tip: The dough should feel slightly more cohesive and show tensile strength without tearing.
Step 6: Divide and shape into loaves
Divide the dough into two pieces using a bench scraper, then shape each into a rustic loaf by folding edges underneath.
Don’t overwork—ciabatta retains an artisanal, loose shape.
Pro Tip: The loaves should have soft peaks and a seam underneath, not a tight, smoothed surface.
Step 7: Final proof
Let the loaves rest on a floured surface or parchment for 1–2 hours until puffy.
They should feel light and airy to the touch and hold a slight imprint when gently poked.
Pro Tip: A properly proofed loaf will pass the poke test—indentation springs back slowly.
Step 8: Preheat the oven with a baking stone or sheet
Place a baking stone or heavy baking sheet in the oven and preheat to 475°F (245°C) for at least 30 minutes.
A hot surface ensures good oven spring and a crisp bottom crust.
Pro Tip: The oven should be screaming hot; you should see heat shimmer if you open it briefly.
Step 9: Bake the loaves until golden
Carefully transfer the loaves to the hot stone or sheet and bake for 20–25 minutes.
Look for deep golden color and a hollow sound when tapped on the bottom.
Pro Tip: The crust should be blistered and crisp; internal temperature should reach about 200–210°F if measured.
Step 10: Cool before slicing
Move the loaves to a wire rack and cool fully before slicing—20–30 minutes at least.
Cooling completes the crumb set and improves flavor.
Pro Tip: The loaf should feel lighter as steam escapes and slicing reveals big, irregular holes.
Expert Tips for Homemade Ciabatta Bread
– Temperature tip: Keep your kitchen between 68–75°F for predictable 12–18 hour fermentation; cooler means longer, warmer means shorter.
– Hydration tip: If your dough is too sticky to handle, wet your hands or use a bench scraper; avoid adding too much flour or you’ll lose holes.
– Texture troubleshooting: If the crumb is tight, the dough was under-hydrated or over-handled; increase water slightly and be gentler.
– Equipment tip: A baking stone or heavy steel sheet gives the best oven spring; a preheated cast iron works well too.
– Steam tip: Introduce steam in the first 8–10 minutes by spritzing the oven or placing a pan with hot water; it improves crust blistering.
– Common mistake: Don’t rush the bulk ferment; short fermentation yields bland, dense loaves.
– Scoring tip: Minimal shaping and no aggressive scoring help preserve the open crumb; a gentle seam underneath is enough.
– Flavor tip: For more complexity, try refrigerating the dough for up to 24 hours during bulk ferment and bring it back to room temp before shaping.
In testing other rustic loaves, I found contrasts that inform technique; for a lighter sweet bake, try pairing this with a fruit-forward loaf like a strawberry bread as an alternate weekend project.
Storage & Freezing for Homemade Ciabatta Bread
Room-temperature storage: Wrap cooled bread in a clean kitchen towel and store in a bread box for 1–2 days.
Avoid plastic at room temperature to preserve crust crispness; use a paper bag or cloth.
Fridge storage: Refrigeration dries bread quickly; only refrigerate if your environment is very humid.
Store wrapped in plastic wrap and a resealable bag for up to 3–4 days.
Freezer storage: Slice or leave whole, wrap tightly in plastic wrap, then in foil or a freezer bag.
Frozen ciabatta keeps well for up to 3 months with minimal quality loss.
Thawing: Thaw at room temperature still wrapped to reduce condensation.
Reheating: Revive crust by warming in a 375°F oven for 8–12 minutes, or toast slices directly.
Best containers: Use airtight freezer bags for long-term freezing and a linen bag for short-term room storage.
Variations & Substitutions for Homemade Ciabatta Bread
Herb & Olive Ciabatta: Fold in 1/3 cup chopped olives and 2 tablespoons chopped rosemary during the last stretch-and-fold.
Result: Salty, aromatic pockets and a savory, Mediterranean twist with slightly denser crumb near inclusions.
Whole Wheat Ciabatta: Replace 1 cup of the all-purpose flour with whole wheat flour and increase hydration by 1–2 tablespoons.
Result: More flavor and nuttiness; expect a slightly tighter crumb and darker color.
Garlic-Parmesan Ciabatta: Brush shaped loaves with olive oil and sprinkle with grated Parmesan and minced garlic before baking.
Result: A savory, crusty finish that’s perfect for sandwiches and dipping.
Seeded Ciabatta: Press sesame, sunflower, or poppy seeds onto the loaf surface before baking or fold 1/4 cup into the dough.
Result: Extra texture and toasty flavor; seeds may weigh down crumb a bit if overused.
For a soft, buttery companion to this rustic loaf, experiment with cookies or shortbreads like buttery shortbread sprinkle bites for dessert after a bread-forward meal.
Frequently Asked Questions About Homemade Ciabatta Bread
Q: Why is my ciabatta dense instead of open and airy?
A: Dense ciabatta usually means under-hydration, under-proofing, or over-handling.
Allow the full 12–18 hour bulk ferment, keep hydration high, and use gentle stretch-and-folds rather than kneading.
Q: Can I speed up the fermentation by using more yeast?
A: Yes, more yeast shortens fermentation but sacrifices the nuanced flavor that slow fermentation builds.
If you must speed it up, increase yeast slightly and reduce bulk time, but expect a less complex taste.
Q: How do I know when the dough has proofed enough before baking?
A: Use the poke test—press gently with a floured finger; the indentation should spring back slowly but not vanish.
Also look for surface bubbles and overall puffiness.
Q: What’s the best flour for a traditional ciabatta crumb?
A: Traditional ciabatta can use bread flour for more chew or all-purpose for a lighter interior.
High-protein flours give more structure; all-purpose balances tenderness and openness.
Q: Can I make ciabatta rolls instead of loaves?
A: Yes—divide dough into smaller portions, handle gently, and proof a bit less.
Baking time will be shorter; expect slightly different crust-to-crumb ratios and quicker cooling.
Final Thoughts on Homemade Ciabatta Bread
This ciabatta rewards patience with a dramatic open crumb and thin, crackly crust.
If you enjoyed the process, please leave a star rating in the recipe card below and pin this to Pinterest for later.
Conclusion – Homemade Ciabatta Bread
For a detailed comparison and another excellent ciabatta method, see Sally’s Baking Addiction ciabatta recipe, which highlights technique variations.
If you’d like a roll-specific approach, Sugar Maple Farmhouse’s homemade ciabatta rolls recipe shows shaping and sizing tips.
For an illustrated how-to with step photos, consult Alexandra’s Kitchen guide to making ciabatta.
Ciabatta Bread
Ingredients
Method
- In a large bowl, whisk together flour, instant yeast, and salt until evenly distributed.
- Slowly pour water into the bowl while stirring to form a very sticky, shaggy dough.
- Cover the bowl with plastic wrap and let it ferment at room temperature for 12-18 hours.
- Liberally dust your work surface with flour and gently tip the dough out.
- Perform gentle stretch-and-fold motions to strengthen the dough.
- Divide the dough into two pieces and shape each into a rustic loaf.
- Rest the loaves on a floured surface or parchment for 1-2 hours until puffy.
- Preheat the oven to 475°F (245°C) with a baking stone or heavy baking sheet inside for 30 minutes.
- Transfer the loaves to the hot stone or sheet and bake for 20-25 minutes until golden.
- Let the loaves cool on a wire rack for 20-30 minutes before slicing.