
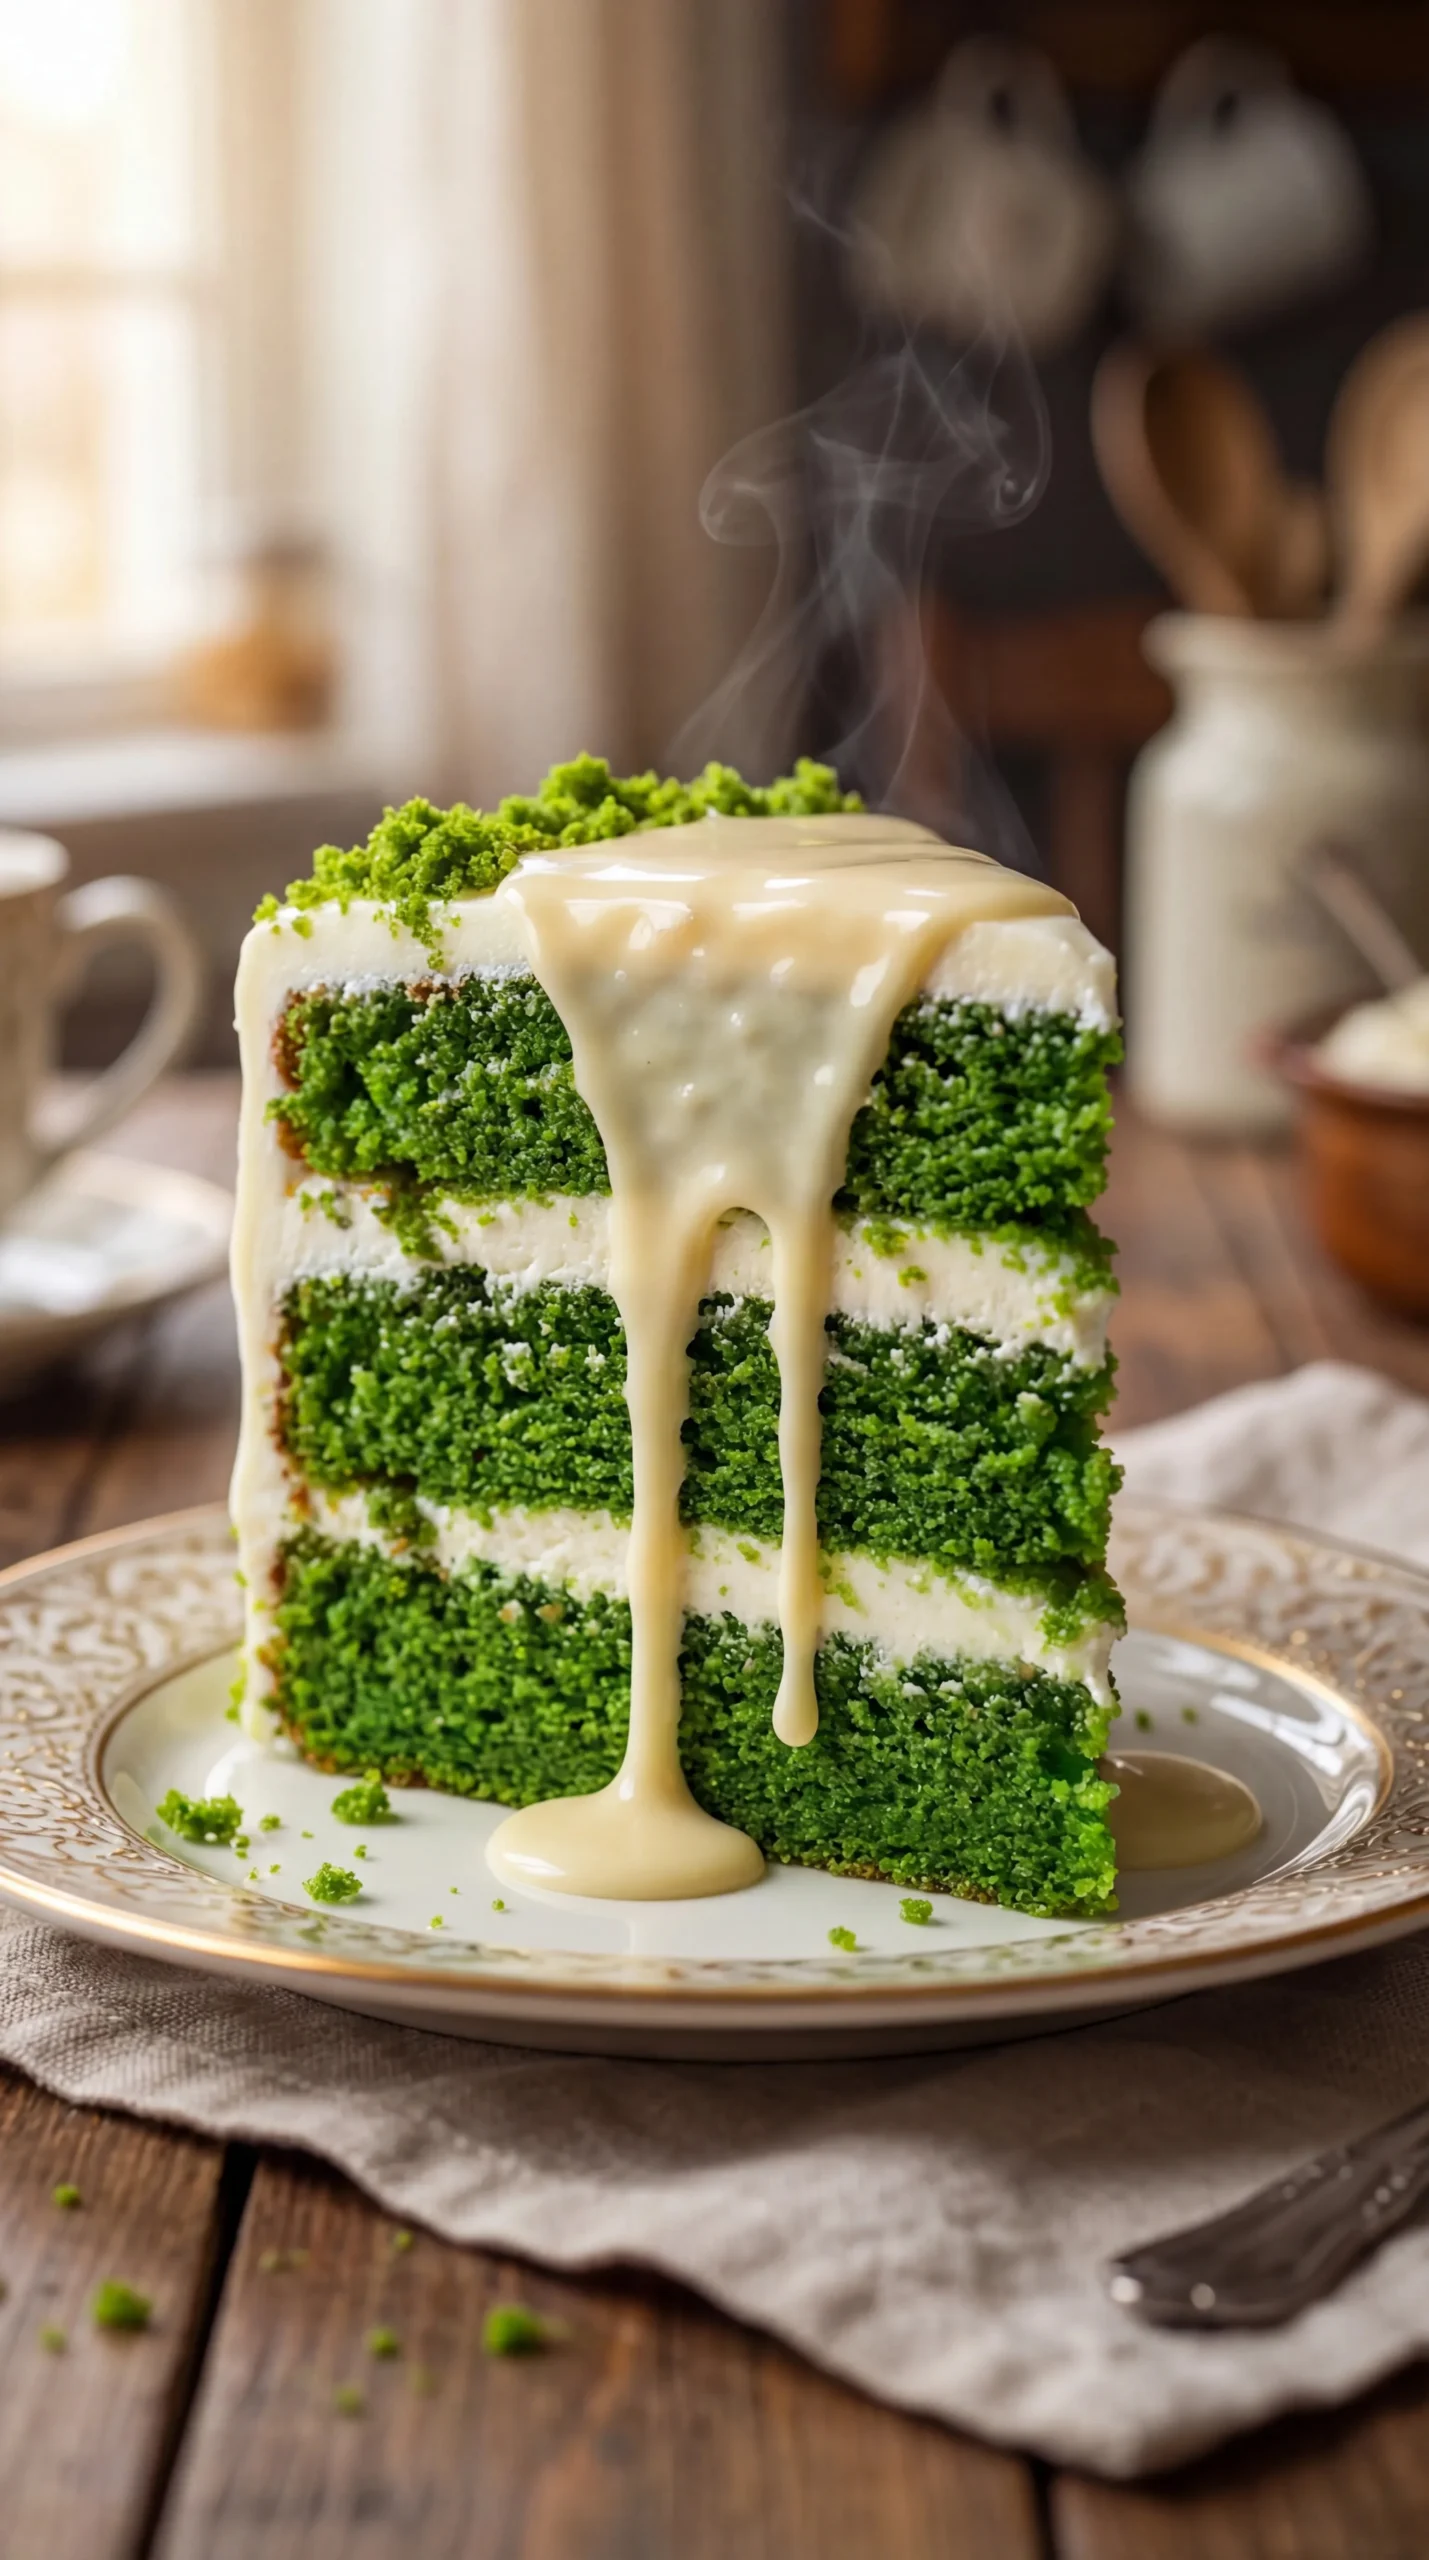
Bright, festive, and unexpectedly tender — this Green Velvet Cake Recipe delivers a cake that looks like a showstopper but bakes like a reliable crowd-pleaser.
You’ll love how the crumb stays moist and the frosting whips into a silky, pipeable finish.
Whether for St. Patrick’s Day, a themed party, or a seasonal centerpiece, it’s simple enough for confident home bakers and detailed enough for ambitious decorators.
Read on for ingredient science, step-by-step visuals, troubleshooting, and pro tips to nail it every time.
Why You’ll Love This Green Velvet Cake Recipe
– Striking emerald color without overpowering food flavor.
– Tender, fine crumb that stays moist for days.
– Balanced sweetness that pairs well with rich frosting.
– Foolproof layering and stacking for decorated cakes.
– Frosting that whips light but holds shape for piping.
– Uses pantry staples with one special finishing touch.
– Adaptable: can be dressed up or simplified.
This cake tastes mildly chocolatey with a light vanilla backbone and a pronounced buttermilk tang. The texture is soft, velvety, and slightly springy — a fine crumb that isn’t dense. The frosting adds a creamy, buttery contrast that makes each bite feel indulgent without being cloying.
“Five stars — gorgeous color, perfect texture, and everyone asked for seconds. The frosting whipped up silky and held gorgeous swirls.” — A delighted reader
Key Ingredients for Green Velvet Cake Recipe
– Buttermilk
Buttermilk adds acidity that reacts with baking soda to create lift and yields a tangy, tender crumb. Buy cultured buttermilk for consistent acidity; if you substitute regular milk thinned with vinegar, the flavor and rise will be similar but slightly less developed.
-
Unsweetened cocoa powder (not Dutch process)
The small amount of cocoa deepens flavor and contributes to the classic velvet profile. Use natural cocoa powder (not Dutch-process) because its acidity plays well with the leavening; substituting Dutch-process will alter color and the leavening reaction, potentially producing a denser cake. -
Green liquid food coloring
Liquid color disperses evenly for a smooth, uniform hue that looks natural in the crumb. Gel or paste coloring is more concentrated — use sparingly if substituting (you’ll need much less), and whisk well to avoid streaks. -
Unsalted butter (room temperature)
Butter lends rich flavor and structure. Buy high-quality unsalted butter and bring it to true room temperature (soft but not oily) for easier creaming; salted butter can mask subtle flavors and make the batter slightly saltier if you don’t reduce added salt.
Full Ingredient List for Green Velvet Cake Recipe
– 2 1/2 cups all-purpose flour
– 2 tablespoons unsweetened cocoa powder (not Dutch process)
– 1 teaspoon baking powder
– 1/2 teaspoon baking soda
– 1/2 teaspoon fine salt
– 1 1/4 cups buttermilk, well shaken
– 1 tablespoon green liquid food coloring
– 2 teaspoons pure vanilla extract
– 2 cups granulated sugar
– 1 cup (2 sticks) unsalted butter, at room temperature
– 3 large eggs, lightly beaten
– 1/2 cup all-purpose flour (for frosting)
– 1 1/2 cups milk
– 1 1/2 cups (3 sticks) unsalted butter, at room temperature
– 1 1/2 cups granulated sugar (for frosting)
– 4 teaspoons pure vanilla extract (for frosting)
– Pinch fine salt
– Green candies and sanding sugar for decorating
Step-by-Step Instructions for Green Velvet Cake Recipe
Step 1: Prep the oven and pans; combine dry ingredients
Preheat your oven to 375°F. Butter three 8-inch round pans and line the bottoms with parchment for clean release. In a large bowl, whisk together 2 1/2 cups all-purpose flour, 2 tablespoons unsweetened cocoa powder, 1 teaspoon baking powder, 1/2 teaspoon baking soda, and 1/2 teaspoon fine salt until evenly blended.
Pro Tip: The dry mix should look uniform with no cocoa clumps; the flour will feel soft and break apart easily when pinched.
Step 2: Mix buttermilk, color, and vanilla
In a measuring cup, combine 1 1/4 cups well-shaken buttermilk with 1 tablespoon green liquid food coloring and 2 teaspoons pure vanilla extract. Stir until the color is evenly mixed and set aside.
Pro Tip: The liquid should be a single, bright green — no streaks. Hold it up to the light to check for uniform color.
Step 3: Cream butter and sugar; add eggs
In a stand mixer fitted with the paddle, cream 1 cup unsalted butter (2 sticks), at room temperature, with 2 cups granulated sugar on medium-high for about 5 minutes until pale and fluffy. Slowly beat in the lightly beaten 3 large eggs, adding a bit at a time and scraping the bowl between additions to maintain an even emulsion.
Pro Tip: The creamed mixture should be visibly lighter in color and ribbon slightly when the paddle is lifted.
Step 4: Combine dry and wet ingredients alternately
With the mixer on low, add the dry ingredient mixture and the buttermilk mixture to the creamed butter alternately, beginning and ending with the dry mix. Mix just until combined after each addition to avoid over-developing gluten.
Pro Tip: The batter should be smooth, glossy, and pourable, not stiff; it will fall off a spoon in a thick ribbon.
Step 5: Divide batter and bake
Divide the batter evenly into the prepared pans and level the tops. Bake in the preheated oven for 20–25 minutes, or until a toothpick inserted in the center comes out clean or with just a few moist crumbs. Remove from oven and cool completely on racks before frosting.
Pro Tip: The cakes should spring back slightly when touched and the centers should no longer jiggle.
Step 6: Make the cooked frosting base
For the frosting base, whisk 1/2 cup flour into 1/2 cup milk in a small saucepan to form a smooth paste. Whisk in the remaining 1 cup of milk, then cook over medium heat, whisking constantly until the mixture thickens very noticeably, about 5 minutes. Transfer to a bowl, press plastic wrap directly on the surface, and chill in the fridge for 45 minutes.
Pro Tip: The cooked base should be thick like a loose pastry cream and completely cool (not warm) before adding to the butter or it will melt the butter.
Step 7: Whip the butter and sugar; combine with cooled paste
In a clean mixer bowl beat 1 1/2 cups (3 sticks) unsalted butter and 1 1/2 cups granulated sugar for 5 minutes until pale and fluffy. Add the chilled flour–milk paste one tablespoon at a time while beating to incorporate. Switch to the whisk attachment and whip for 10 minutes until light and silky. Finish with 4 teaspoons pure vanilla extract and a pinch of salt.
Pro Tip: The finished frosting should be silky and hold clean peaks without feeling greasy; it will lighten in color as you whip.
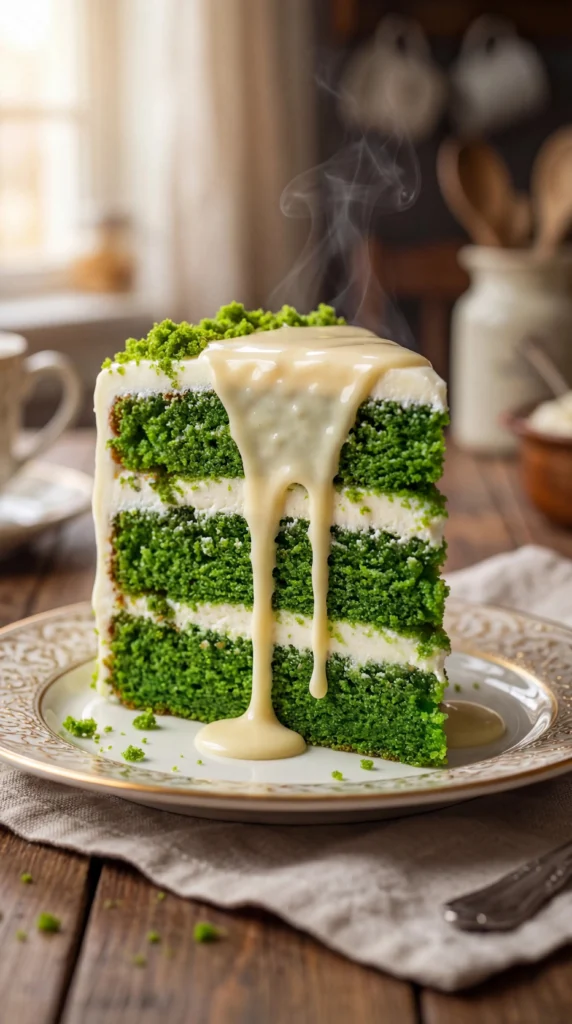
Step 8: Assemble and decorate the Green Velvet Cake Recipe
Level cake layers if needed. Place one layer on your serving plate and spread an even layer of frosting. Repeat with the remaining layers, then crumb-coat and chill briefly. Finish with a smooth final coating or pipe decorative swirls. Garnish with green candies and sanding sugar for sparkle.
Pro Tip: The sliced edges should reveal a vivid green crumb and neat, even frosting layers about 1/4–1/2 inch thick.
{image_2}
Expert Tips for Green Velvet Cake Recipe
– Temperature tip: Bring eggs and butter to room temperature before mixing. Cold ingredients resist emulsification and can lead to a lumpy batter.
– Oven accuracy: Use an oven thermometer and rotate pans front-to-back halfway through bake for even rise and color.
– Creaming technique: Cream butter and sugar long enough to incorporate air (about 5 minutes) for lightness; under-creamed butter yields a denser cake.
– Mixing order: Always alternate wet and dry additions starting and ending with dry to prevent over-mixing and grainy texture.
– Frosting texture troubleshooting: If frosting is greasy, it’s usually too warm; chill for 10–15 minutes and re-whip on low to rescue it.
– Equipment tip: A stand mixer makes the frosting and creaming steps effortless; use a paddle for batter and a whisk for final frosting whip for best aeration.
– Common mistake: Overbaking dries the crumb quickly — check at the earliest suggested time and rely on spring-back and toothpick tests.
– Visual cue tip: When layering, compress layers just enough to level them but not so much that crumbs bleed into the frosting.
Storage & Freezing for Green Velvet Cake Recipe
Store frosted cake in the refrigerator covered loosely with a cake dome or airtight container for up to 5 days. Butter-based frostings keep best chilled but should be brought to room temperature 30–60 minutes before serving for optimal flavor and texture.
To freeze unfrosted layers: wrap each cooled layer tightly in plastic wrap and place in a freezer bag or rigid container for up to 3 months. Thaw in the refrigerator overnight, then bring to room temperature before frosting.
To freeze a frosted cake: freeze briefly uncovered for 1–2 hours to firm the frosting, then wrap the whole cake in plastic wrap and foil and freeze for up to 1 month. Thaw in the refrigerator overnight and then at room temperature for 1–2 hours before serving.
For best results, use airtight containers or double-wrap with plastic and foil to prevent freezer burn. Avoid microwaving; instead let the cake warm gently to room temp for best texture.
Variations & Substitutions for Green Velvet Cake Recipe
– Cream Cheese Frosting Swap
Replace the cooked flour frosting with a classic cream cheese frosting (8 oz cream cheese + 1/2 cup butter + 3–4 cups powdered sugar + vanilla). The cake will be tangier and slightly denser in mouthfeel, pairing beautifully with the cocoa note.
-
Gel Color Concentrate for Deeper Hue
Use gel or paste green food coloring in place of liquid for a more saturated color with less liquid added. Start with 1/4 teaspoon and add until desired shade; the crumb will be more intensely green and require less dye overall. -
Chocolate-Forward Green Velvet
Increase cocoa to 1/4 cup and reduce flour by 2 tablespoons for a richer cocoa flavor while retaining the green color. Expect a slightly deeper chocolate profile without losing tenderness. -
Gluten-Free Version
Substitute a 1:1 gluten-free flour blend that contains xanthan gum and adjust by adding 1–2 tablespoons extra liquid if the batter seems thick. Texture will be slightly different — more tender but still flavorful — and may brown differently in the oven.
Frequently Asked Questions About Green Velvet Cake Recipe
Q: How can I make the green color more vivid without affecting taste?
A: Use a concentrated gel or paste food coloring instead of liquid; add a small amount (start with 1/4 teaspoon) and increase gradually until you reach the hue you want. Because gels are concentrated, they won’t thin the batter and will give a brighter, more stable color. If you prefer natural dyes, matcha powder can tint green but will add a vegetal flavor and alter texture.
Q: Why did my cake sink in the middle and how can I fix it?
A: Sinking often comes from underbaking, overmixing, or too much leavening. Use an oven thermometer to ensure correct temperature and test for doneness a few minutes before the minimum time. Avoid overbeating after adding flour; fold or mix gently just until combined.
Q: Can I make this a sheet cake or cupcakes?
A: Yes. For cupcakes, fill liners about 2/3 full and bake 15–18 minutes at 350°F, checking early. For a sheet cake, spread the batter in a greased 9×13 pan and bake at 350°F for 25–30 minutes. Adjust bake times and keep a close eye on doneness.
Q: My frosting turned out runny. What happened?
A: Runny frosting is usually caused by using warm ingredients, or adding the cooked milk paste while it’s still warm. Chill the paste until completely cool and use chilled butter if your kitchen is warm. If runny, refrigerate the frosting for 10–20 minutes and re-whip.
Q: How do I keep layers from sliding when stacking and decorating?
A: Crumb-coat and chill the cake for 15–30 minutes to set the base layer before final frosting. Use a thin layer of frosting between layers and press gently to adhere. If the cake slides, chilling each assembled layer helps the frosting firm up and stabilize the stack.
{image_template}
Final Thoughts on Green Velvet Cake Recipe
For more creative takes and inspiration, check out Green Velvet Cake – The Itsy-Bitsy Kitchen, explore decorating ideas at Green Velvet Cake – Sprinkle Bakes, or see a dramatic version at Green Velvet Cake Recipe With A Gold Drip – Sugar Geek Show.
If you tried this Green Velvet Cake Recipe, please leave a star rating in the recipe card below and pin it to Pinterest so others can find it.
Green Velvet Cake
Ingredients
Method
- Preheat your oven to 375°F. Butter three 8-inch round pans and line the bottoms with parchment for clean release.
- In a large bowl, whisk together the dry ingredients: flour, cocoa powder, baking powder, baking soda, and fine salt until evenly blended.
- In a measuring cup, combine buttermilk, green liquid food coloring, and vanilla extract. Stir until evenly mixed.
- In a stand mixer, cream room-temperature butter and granulated sugar until pale and fluffy, about 5 minutes. Slowly beat in the eggs, one at a time.
- With the mixer on low, alternately add the dry and wet ingredients, starting and ending with the dry mix. Mix until just combined.
- Divide the batter evenly into the prepared pans and level the tops. Bake for 20–25 minutes or until a toothpick comes out clean.
- Whisk flour into milk in a saucepan to form a paste. Cook over medium heat, whisking constantly until thickened. Chill for 45 minutes.
- Whip room-temperature butter and sugar in a mixer until pale. Gradually add the chilled paste and whip until light and silky. Finish with vanilla extract and salt.
- Level cake layers if necessary. Spread frosting between layers and on the top and sides. Decorate with green candies and sanding sugar.