
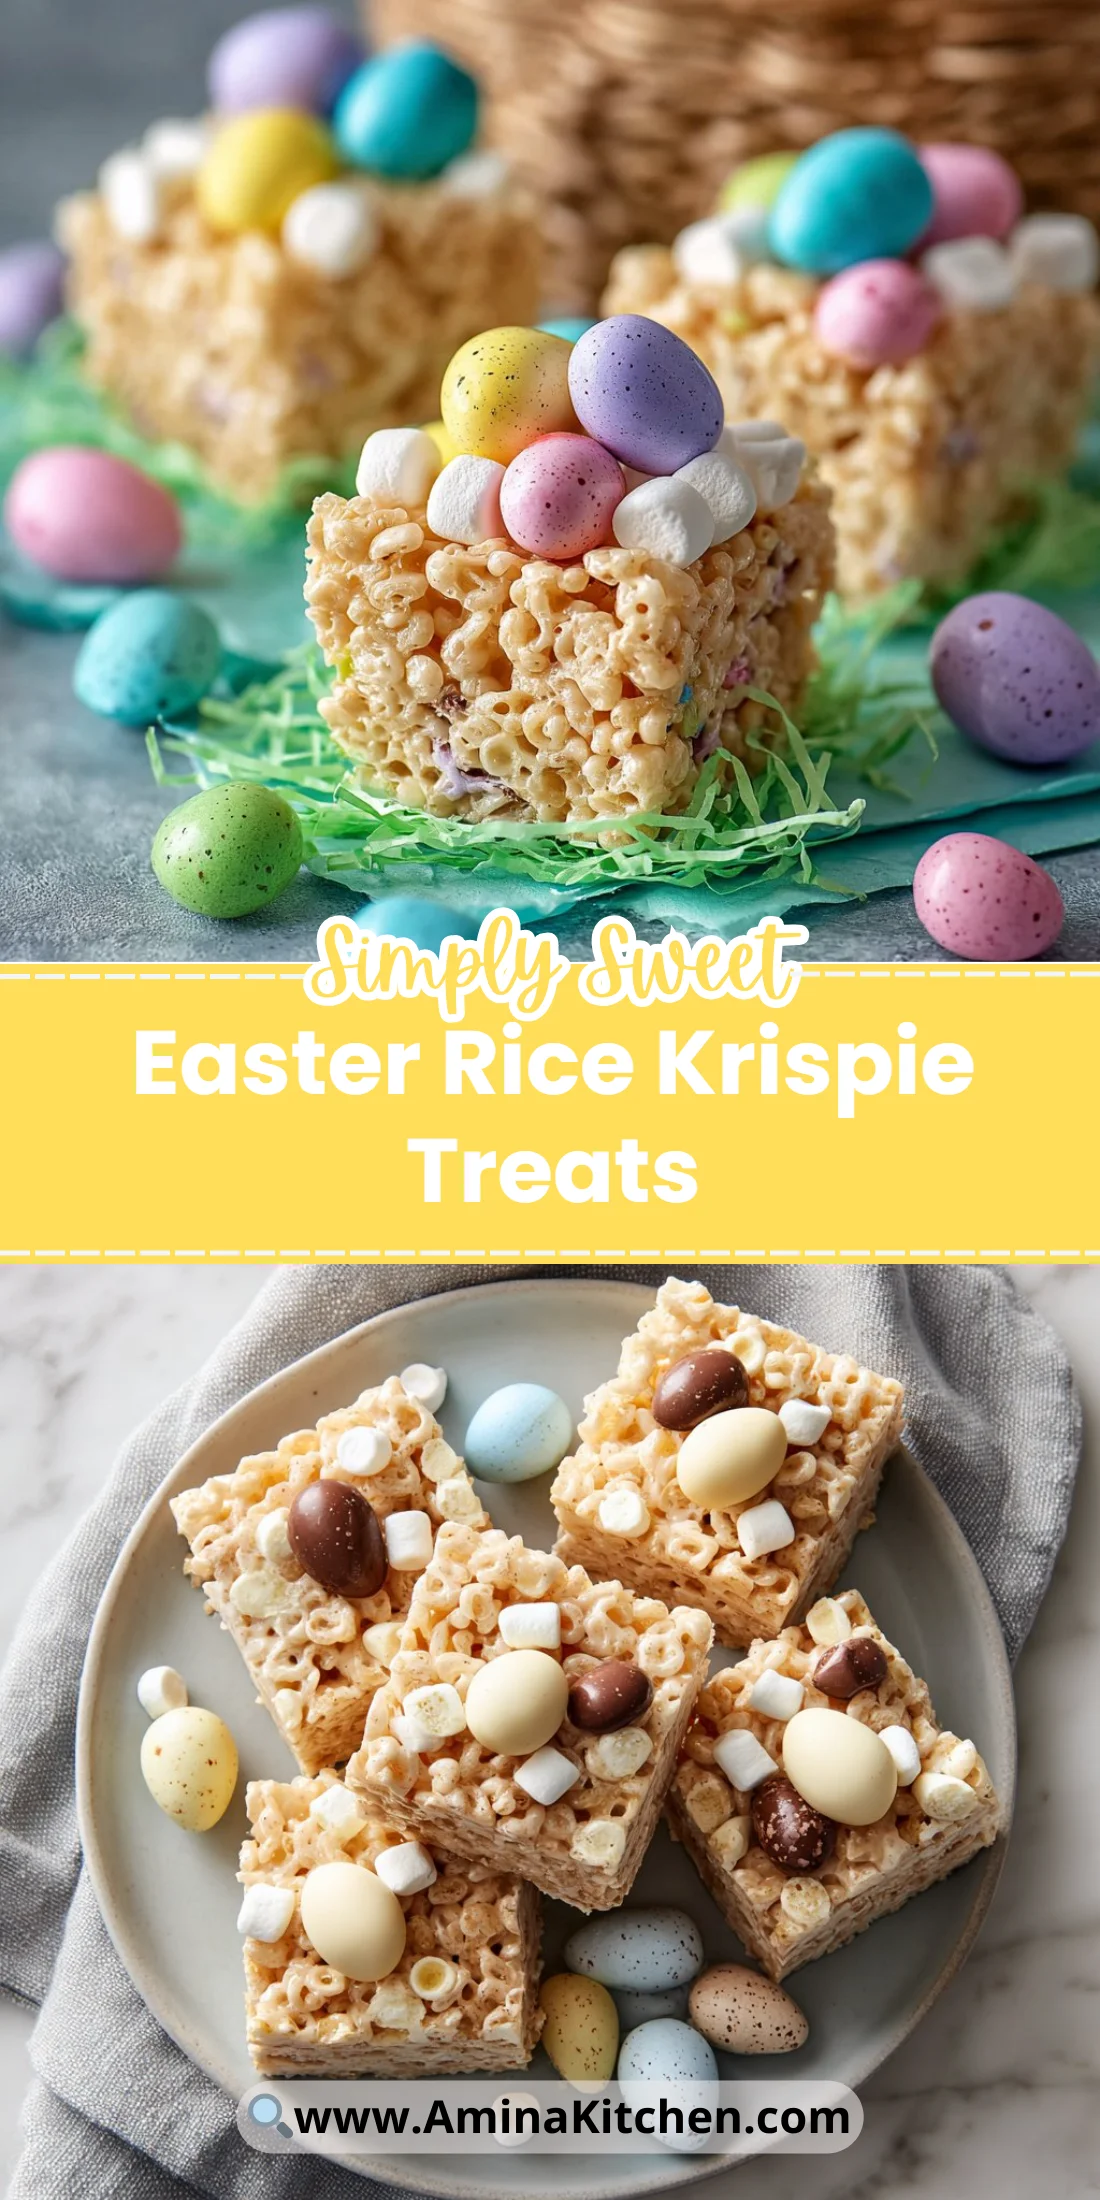
A simple, nostalgic treat dressed up for spring — these Easter Rice Krispie Treats are quick, colorful, and irresistible.
They come together in one pot and a single pan, so cleanup is fast and the kids can help.
Perfect for school parties, hostess gifts, or an easy Easter dessert.
Make them ahead, decorate, and enjoy bright bites all weekend.
Why You’ll Love This Easter Rice Krispie Treats
– Fast: ready in about 20 minutes plus setting time.
– Kid-friendly: simple steps kids can help with.
– Crowd-pleasing: familiar cereal treat with a festive twist.
– Textural contrast: chewy marshmallow, crisp cereal, and crunchy mini eggs.
– Portable: cuts into squares for easy serving or gifting.
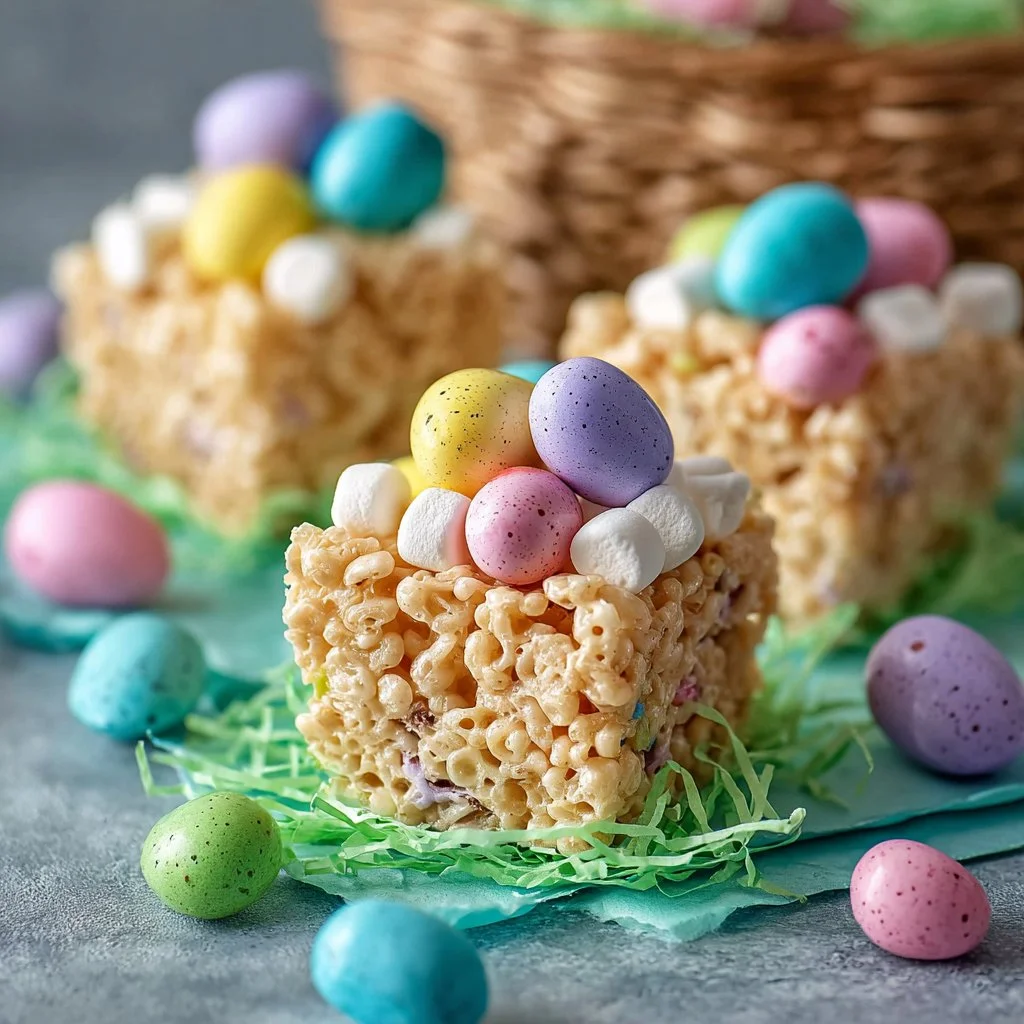
– Visually festive: pastel eggs and white chocolate drizzle look professional.
– Flexible: easy to adapt for allergies or flavor swaps.
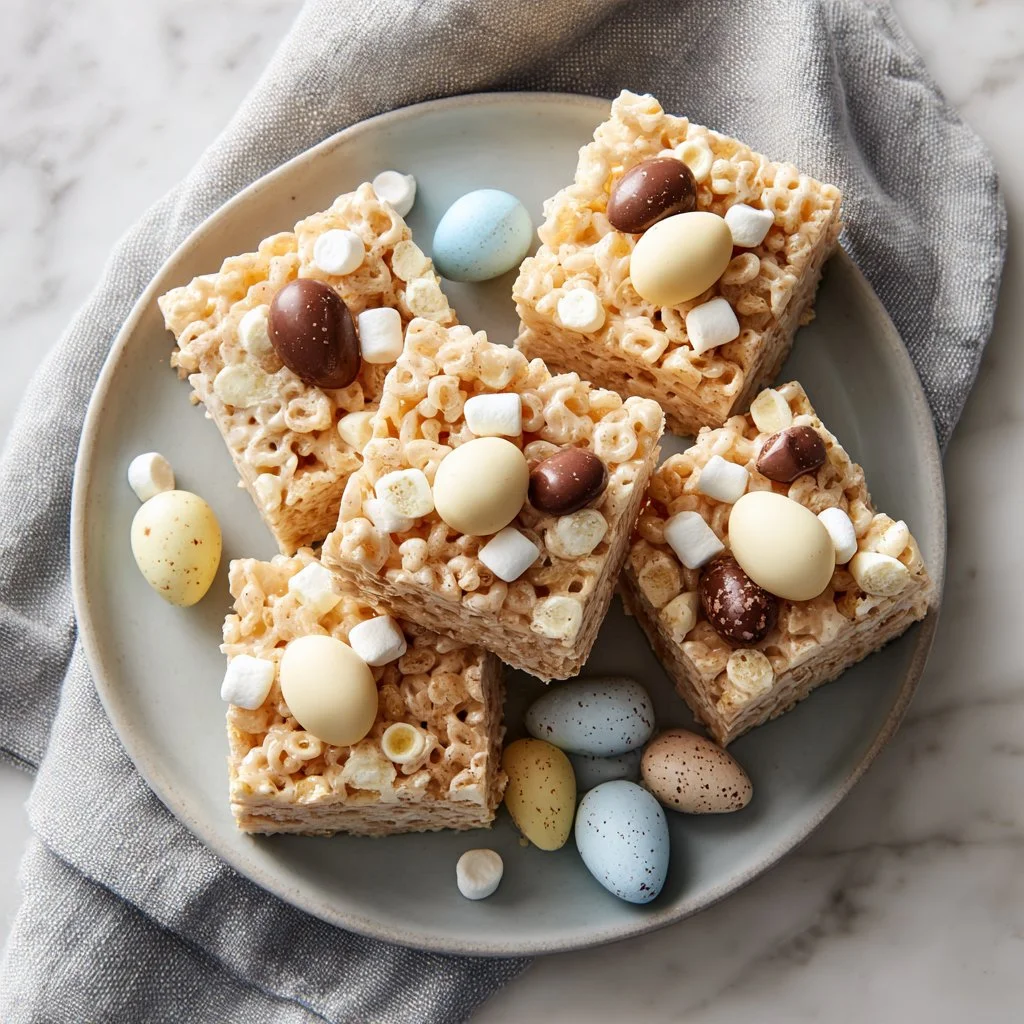
These bars taste exactly like classic Rice Krispie treats but brighter.
They are chewy and pillowy from melted marshmallows, with light, crunchy cereal and bursts of milk-chocolate mini eggs.
The white chocolate drizzle adds a sweet, silky finish and a slightly different mouthfeel that elevates the dessert.
★★★★★ “So easy and cute — my kids declared these Easter magic. Chewy, not too sweet, and the eggs make them irresistible.” — a happy reader
Key Ingredients for Easter Rice Krispie Treats
Unsalted butter — 3/4 cup
Butter controls browning and salt level. Use unsalted so you can control the seasoning.
If you swap for salted butter, reduce any added salt elsewhere; using margarine or oil changes flavor and can make the bars greasier and less stable.
Mini marshmallows — 20 ounces (two 10oz bags)
Marshmallows are the glue and texture base; fresh marshmallows melt smoothly into a glossy, elastic syrup that holds the cereal.
Buying standard vanilla marshmallows gives the classic flavor; if you use stale marshmallows they’ll still melt but the texture may be grainier and less elastic.
Rice Krispies cereal — 10 cups
The cereal provides structure and crispness; use the original puffed rice for the iconic crunchy bite.
Substituting with other puffed cereals (like puffed wheat) changes the density and chew; using a gluten-free puffed rice yields similar texture but check labels for cross-contamination.
Mini chocolate eggs — 1 1/2 cups
These add fun color, crunch, and chocolate pockets. Choose a sturdier candy shell so they won’t fully melt when mixed in.
If you swap for larger candy or chocolate chips, the distribution of chocolate will change and the bars may be softer where big chocolate pools form.
Full Ingredient List for Easter Rice Krispie Treats
– Unsalted butter – 3/4 cup
– Mini marshmallows – 20 ounces (two 10oz bags)
– Rice Krispies cereal – 10 cups
– Mini chocolate eggs – 1 1/2 cups
– White chocolate (chips or chopped bar) – 4 ounces
Step-by-Step Instructions for Easter Rice Krispie Treats
Step 1: Prepare your pan
Line a 9×13-inch baking pan with parchment paper and spray the paper lightly with non-stick baking spray so the bars lift out cleanly.
Pro Tip: The parchment should extend over two sides to create lifting tabs; look for shiny spray on the paper but no puddles.
Step 2: Melt the butter
Melt the butter in a large, heavy-bottomed saucepan set over low heat so it liquefies gently without browning.
Pro Tip: Low heat keeps the butter pale and fragrant; you should see a smooth, glossy pool of butter with no foaming.
Step 3: Reserve marshmallows
Set aside 1 cup of the mini marshmallows for texture pockets, then add the remaining marshmallows to the melted butter.
Pro Tip: The reserved marshmallows should be fluffy and white; if they’re sticky or flat, they’ll still work but won’t create distinct pockets.
Step 4: Melt marshmallows with butter
Stir continuously over low heat until the marshmallows are completely melted into the butter, then remove the pan from the heat immediately to prevent scorching.
Pro Tip: The mixture should be smooth, glossy, and slightly elastic; you should see it pull away from the pan as you stir.
Step 5: Add the cereal
Quickly fold the Rice Krispies into the marshmallow mixture using a heatproof spatula; work fast so the marshmallow stays pliable and coats the cereal evenly.
Pro Tip: The cereal should be fully coated but still show individual puff shapes; the mixture will be sticky but manageable.
Step 6: Mix in mini eggs
Set aside a handful of mini chocolate eggs for pressing on top, then gently fold the remaining mini eggs into the cereal mixture so chocolate pieces are distributed throughout.
Pro Tip: Fold gently so the candy shells don’t crush; you should see speckles of egg color within the mixture.
Step 7: Fold in reserved marshmallows
Stir in the reserved 1 cup of mini marshmallows to create soft pockets and variation in chew throughout the bars.
Pro Tip: The pockets will remain intact and visible as small white puffs; they’ll make the texture more interesting.
Step 8: Press into the pan
Transfer the mixture to the prepared pan, using a spatula or lightly greased hands to press it into an even layer without compacting too much.
Pro Tip: The surface should be even and glossy; press gently so the bars stay airy rather than rock-hard.
Step 9: Add reserved eggs on top
Press the reserved mini eggs onto the top of the formed layer to create a decorative and crunchy finish.
Pro Tip: The eggs should sit on top and be clearly visible; they add color and texture that makes each square look festive.
Step 10: Drizzle white chocolate
Melt the white chocolate in 30-second increments in the microwave, stirring between intervals until smooth, then drizzle the white chocolate over the bars with a spoon or piping bag.
Pro Tip: The white chocolate should be pourable but not searing hot; it should form thin ribbons across the top.
Step 11: Set and cut
Allow the bars to set at room temperature for 1 hour before cutting into squares so the marshmallow stabilizes and the chocolate firms.
Pro Tip: The finished bars should hold their shape when lifted and have a slight give when pressed; they should not be gooey in the center.
Expert Tips for Easter Rice Krispie Treats
– Use a heavy-bottomed saucepan to distribute heat evenly and prevent hot spots that scorch marshmallows.
– Keep heat low when melting marshmallows; high heat causes separation and grainy texture.
– Lightly grease your spatula or hands with butter to prevent sticking when pressing the mixture into the pan.
– If the mixture becomes too stiff to press, warm it for 10–15 seconds in the microwave to soften, then press quickly.
– For firmer bars, press more firmly and chill for 10–15 minutes; for chewier bars, press gently and allow to set at room temp.
– Use a serrated knife or a plastic knife dipped in hot water for cleaner cuts without tearing the surface.
– Avoid adding eggs or candy while the marshmallow is extremely hot to prevent color bleeding or partial melting.
– Common mistake: overcooking marshmallows — they should be melted and glossy, not bubbling aggressively.
Storage & Freezing for Easter Rice Krispie Treats
Room temperature storage: Keep bars in an airtight container at room temperature for up to 3 days.
Stack with parchment between layers to prevent sticking.
Fridge storage: Refrigerating can make them firmer; store in an airtight container for up to 7 days.
Allow bars to come to room temperature for 20–30 minutes before serving for best chew.
Freezer storage: Wrap individual squares tightly in plastic wrap, then place in a freezer-safe bag or container for up to 3 months.
Thaw overnight in the fridge or at room temperature for 2–3 hours before serving.
Reheating: Warm a single square for 8–10 seconds in the microwave to soften the marshmallow without melting chocolate shells.
Avoid overheating; a few seconds at a time prevents the candy shells and white chocolate from turning greasy.
Variations & Substitutions for Easter Rice Krispie Treats
Candy Swap Variation: Replace mini chocolate eggs with pastel M&Ms or chopped peanut butter cups.
This creates different pockets of flavor and changes crunch; M&Ms add a glossy shell and peanut cups add richness.
Flavor Boost Variation: Stir 1/2 teaspoon of pure vanilla extract and a pinch of salt into the melted marshmallow.
Vanilla deepens flavor and salt balances sweetness, producing a more complex tasting bar.
Colorful Cereal Variation: Use a mix of Rice Krispies and colorful puffed cereal for a brighter bar.
Expect a slightly sweeter and less crisp texture depending on the cereal used; visually they become more festive.
White-Chocolate Swirl Variation: Stir half the white chocolate into the marshmallow mixture before adding cereal, then drizzle the rest on top.
This results in pockets of creamy white chocolate within the bars and a richer, silkier bite.
Frequently Asked Questions About Easter Rice Krispie Treats
Q: Can I make these gluten-free?
A: Yes — use a certified gluten-free puffed rice cereal and check candy egg labels for gluten-free certification.
Also ensure all other ingredients are labeled gluten-free, including marshmallows which are often safe but can vary by brand.
Q: Why did my marshmallows turn grainy or separated?
A: Graininess is usually from overheating. Marshmallows should melt over low heat until smooth.
If they boil or sit on high heat, the sugars can crystallize or separate; remove from heat as soon as smooth and elastic.
Q: How do I keep the mini eggs from melting into the mixture?
A: Fold them in only briefly and reserve some to press on top.
If the marshmallow is too hot when you add candy, the shells can soften; let the marshmallow cool for 30 seconds off the heat before mixing candy.
Q: Can I make these ahead for a party?
A: Yes — make up to 2 days ahead at room temperature in an airtight container for best texture.
If you need to store longer, freeze individually wrapped squares and thaw as needed.
Q: What’s the best way to get clean, even cuts?
A: Use a sharp serrated or plastic knife and wipe it clean between cuts.
Run the knife under hot water, dry it, and slice in a single smooth motion for neater squares.
Final Thoughts on Easter Rice Krispie Treats
If these Easter Rice Krispie Treats brought you a smile, please leave a star rating in the recipe card below and pin this to Pinterest to share.
For more colorful Easter versions, try this colorful twist on the classic from Easter Rice Krispie Treats with M&Ms – Inside BruCrew Life, a quick alternative at Easter Rice Krispie Treats (Quick and Easy!), or a family-friendly take at Easter Rice Krispie Treat – Real Food by Dad.
Easter Rice Krispie Treats
Ingredients
Method
- Line a 9×13-inch baking pan with parchment paper and spray lightly with non-stick baking spray.
- Melt the butter in a large, heavy-bottomed saucepan over low heat.
- Set aside 1 cup of mini marshmallows for texture pockets, then add the remaining marshmallows to the melted butter.
- Stir continuously until the marshmallows are completely melted, then remove from heat.
- Quickly fold in the Rice Krispies using a heatproof spatula.
- Gently fold in the mini chocolate eggs, reserving a handful for topping.
- Fold in the reserved marshmallows for pockets of chewiness.
- Transfer the mixture to the prepared pan and press into an even layer.
- Press the reserved mini eggs on top of the mixture.
- Melt the white chocolate and drizzle it over the bars.
- Allow the bars to set at room temperature for 1 hour before cutting into squares.