
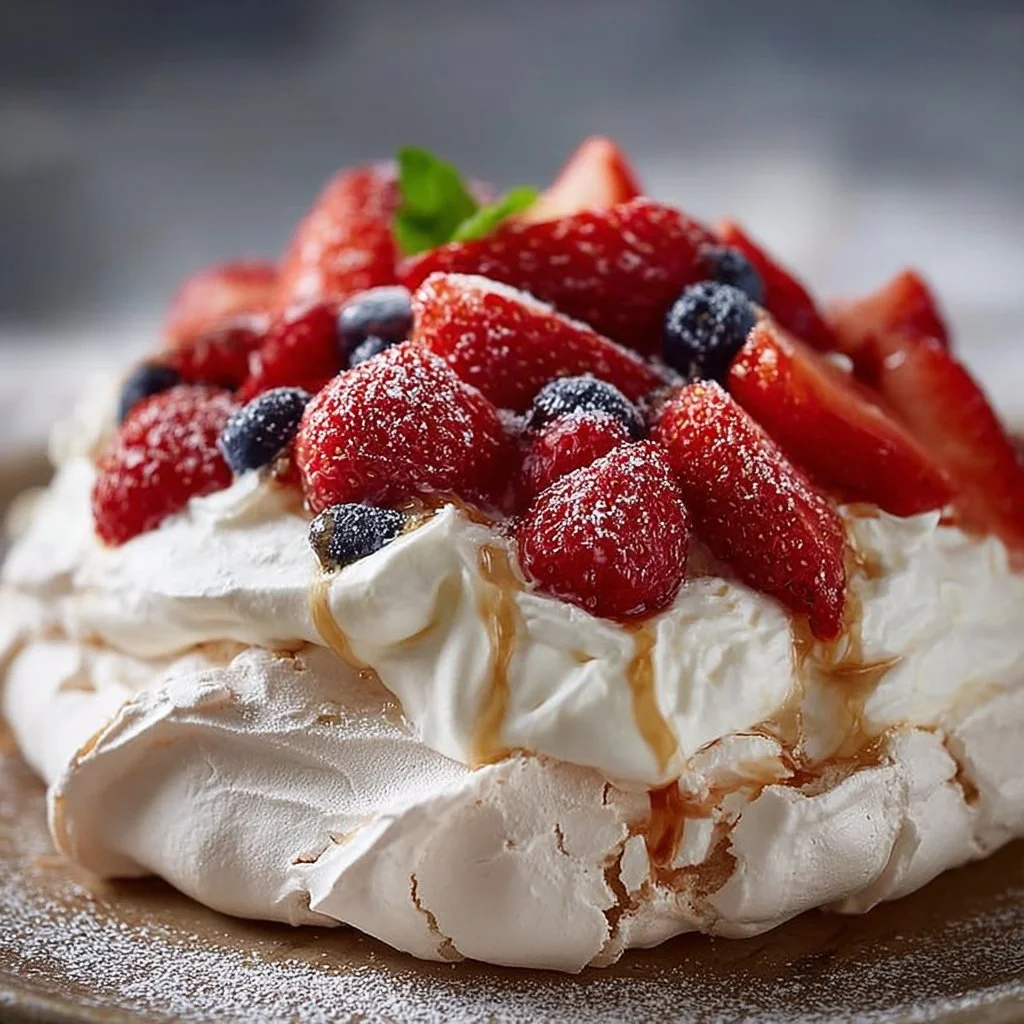
A light, glossy cloud of crisp shell and marshmallow center—this Classic Pavlova feels like a celebration on a plate. It’s stunning but simpler than it looks.
You’ll learn why egg whites, sugar, and a tiny bit of acid make magic, how to read visual cues at every step, and how to rescue or refine your finished pavlova.
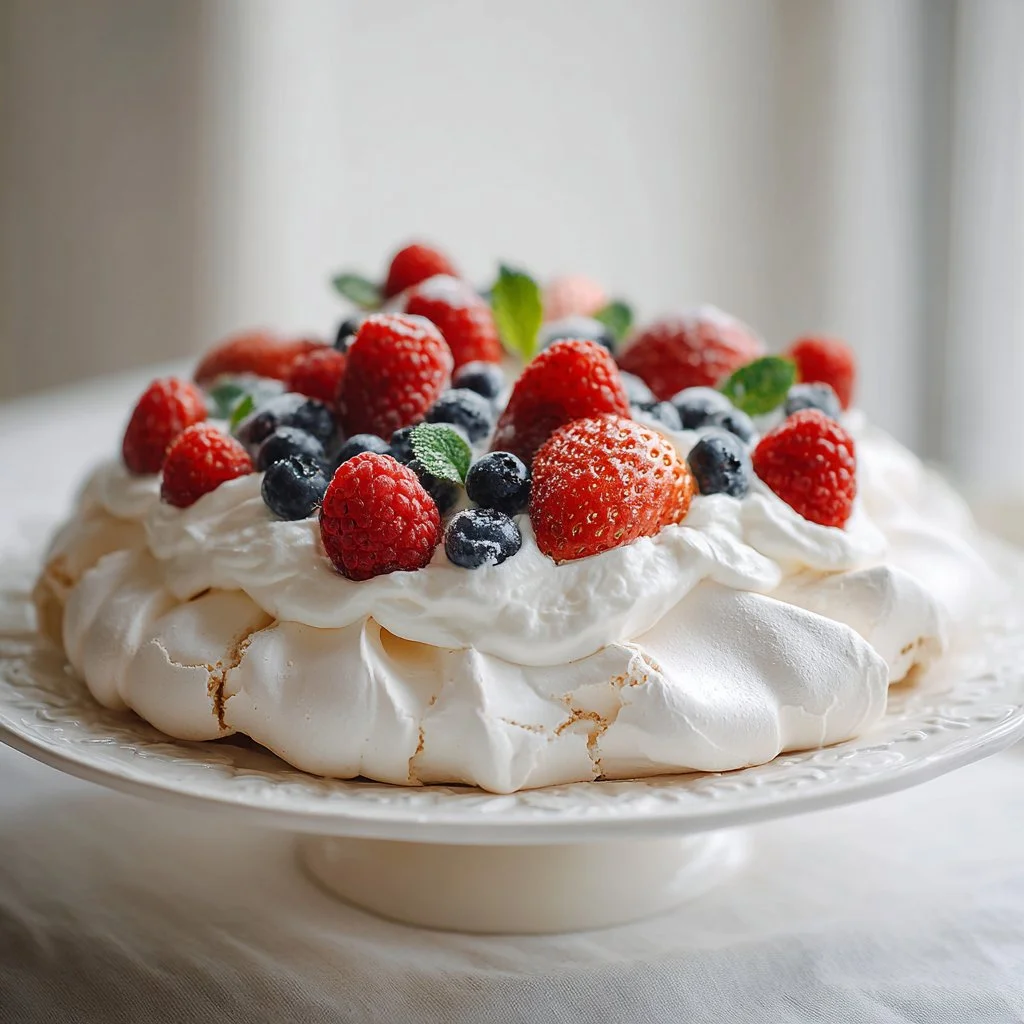
This version fits a 9‑inch circle and becomes the base for whipped cream and seasonal fruit. Ready to make a showstopper?
Why You’ll Love This Classic Pavlova
– Dramatic presentation with little hands-on time.
– A crisp exterior that gives way to a soft, marshmallowy center.
– Minimal ingredients but maximum payoff.
– Highly adaptable to seasonal toppings and flavors.
– Makes an elegant centerpiece for holidays and dinner parties.
– Gluten‑free naturally, pleasing for guests with dietary needs.
This pavlova balances contrasts: a glossy, crackly shell that shatters under the fork and a pillowy interior that melts on the tongue. The flavor is clean and sweet, with vanilla notes and a faint tang from vinegar that brightens the sweetness without being sour. It’s textural theatre—crispy, soft, airy—and the neutral meringue showcases fruit, creams, or passionfruit curds.
“Five stars — this pavlova was the star of our dinner party. Perfectly crisp outside, pillow-soft inside, and so easy to decorate.” — a satisfied reader
Key Ingredients for Classic Pavlova
Egg whites
Egg whites provide structure through a foam of protein strands that trap air. Use large, room‑temperature whites for the most volume; cold whites whip slower. Substituting with egg white powder works in a pinch but can change the texture and requires rehydration per product instructions.
Granulated sugar
Sugar stabilizes the foam and dissolves into the egg whites to create a glossy, stiff peak. Use regular granulated sugar or caster sugar for faster dissolving. Replacing it with honey or brown sugar will alter moisture and color and may prevent the meringue from reaching firm, glossy peaks.
Cornstarch
Cornstarch helps absorb excess moisture and contributes to the soft, marshmallow interior while keeping the outside crisp. It’s especially important in humid climates. If you omit it, the pavlova may weep or have a less distinct contrast between shell and center.
White balsamic or cider vinegar
A small amount of acid stabilizes the egg white foam and helps prevent over‑coagulation, keeping the center tender. Use mild white balsamic or apple cider vinegar; lemon juice can substitute but may add citrus notes. Skipping the acid risks a drier, more brittle meringue that cracks excessively.
Full Ingredient List for Classic Pavlova
– 4 large egg whites
– 1/8 teaspoon table salt
– 1 cup granulated sugar
– 1 teaspoon vanilla extract
– 1 teaspoon white balsamic or cider vinegar
– 2 teaspoons cornstarch
Step-by-Step Instructions for Classic Pavlova
Step 1: Prepare the oven and parchment
Preheat the oven to 300°F. Line a sheet pan with parchment paper, draw a 9‑inch circle in the center, and flip the paper so the drawn side is underneath.
Pro Tip: The paper should lie flat with your circle faintly visible from above; this ensures a neat, even edge.
Step 2: Begin whipping the egg whites
Use a clean, grease‑free mixing bowl and whisk attachment. Start whipping the egg whites alone on medium speed until they become frothy and opaque.
Pro Tip: The whites should look bubbly and increased in volume but not yet hold peaks — they should feel light and airy.
Step 3: Add salt then sugar gradually
Add the 1/8 teaspoon salt and continue whipping. As soft peaks form, pour the sugar in a slow, thin stream while the mixer runs. This gradual addition allows the sugar to dissolve fully and produces a shiny meringue.
Pro Tip: Rub a little of the mixture between finger and thumb — it should feel smooth with no gritty sugar.
Step 4: Beat to stiff, glossy peaks
After the sugar is incorporated, increase to high speed and beat until firm, glossy peaks form, about two more minutes. The meringue should hold its shape and have a mirror-like sheen.
Pro Tip: When you lift the whisk, the peak should stand straight then curl slightly at the tip, and the bowl should have no wet, runny spots.
Step 5: Fold in flavoring and stabilizers
Stop the mixer. Use a rubber spatula to gently fold in vanilla extract, the vinegar, and the cornstarch. Fold just until mixed to avoid deflating the foam.
Pro Tip: The meringue should look thick and velvety; if lumps of cornstarch remain, fold a few more strokes until pale streaks vanish.
Step 6: Shape the pavlova
Spoon the meringue onto the center of the traced circle and spread it to the edges, building up the rim slightly and creating a shallow well in the middle for toppings.
Pro Tip: The edge should be higher than the center and the surface smooth with faint peaks from the spatula — this helps the pavlova hold toppings later.
Step 7: Bake low and slow
Place the pan in the oven, reduce the heat to 250°F, and bake for 1½ hours. The low temperature dries the outside while gently cooking the interior.
Pro Tip: The pavlova should look pale and domed; it will not brown much — if it browns, your oven is too hot.
Step 8: Cool slowly inside the oven
Turn off the oven and leave the meringue inside with the door closed until it turns crisp and pale on the outside but remains slightly soft in the center, about 1 hour.
Pro Tip: The pavlova will contract slightly away from the parchment as it cools; feel the surface — it should be dry and crisp.
Step 9: Remove and cool completely
Remove the pavlova from the oven and let it cool fully on the pan. Once cool, top with whipped cream and fruit as desired.
Pro Tip: Tap the underside gently — a dry, hollow sound indicates the exterior is crisp and set.
Expert Tips for Classic Pavlova
– Use room‑temperature egg whites for maximum volume; separate eggs when cold and bring to room temp for 15–20 minutes. Try this warm-up tip used for other delicate bakes.
– Add sugar slowly and test between additions; undissolved sugar causes a grainy texture.
– In humid conditions, increase cornstarch by ½ teaspoon to help stabilize the center.
– Avoid overbeating; once the peaks are glossy and firm, stop — overwhipping dries the foam. See related notes on handling delicate batters.
– Use a clean, dry bowl and whisk — any fat or yolk traces will prevent proper whipping.
– Cool the pavlova completely in the oven to avoid cracks caused by sudden temperature changes.
– If you don’t have a standing mixer, a hand mixer works; expect more time and ensure consistent whipping. Equipment swaps for home kitchens.
– Common mistake: opening the oven during the initial bake causes collapse; only open after turning the oven off for the slow cool. Helpful visual checks for doneness.
Storage & Freezing for Classic Pavlova
Fridge storage: Store cooled, unfilled pavlova in an airtight container at room temperature for up to 2 days. If topped with cream or fruit, keep it refrigerated and consume within 24 hours.
Freezer storage: Freeze the baked, unfilled pavlova wrapped tightly in plastic wrap and placed in a freezer bag for up to 1 month. Use a rigid container to prevent crushing.
Thawing: Thaw wrapped pavlova in the fridge for several hours or at room temperature for 30–60 minutes. Avoid condensation by keeping it wrapped until nearly fully thawed.
Reheating: Do not microwave; if you want to crisp the shell, place in a cool oven and warm gently at 200°F for 5–7 minutes, watching carefully to avoid browning.
Variations & Substitutions for Classic Pavlova
Tropical Passionfruit Pavlova
Fold passionfruit pulp into whipped cream topping and garnish with sliced kiwi and toasted coconut. The tart passionfruit cuts the sweetness and adds a bright, tropical aroma.
Chocolate Swirl Pavlova
Fold 1–2 tablespoons of sifted cocoa into the meringue before spooning it onto the parchment and swirl lightly. Expect a deeper color, faint cocoa bitterness, and slightly drier texture.
Lemon & Mascarpone Pavlova
Add lemon zest to the whipped cream and replace part of the cream with mascarpone for a tangy, richer topping. The acidity pairs beautifully with the sweet shell and prevents the topping from weeping quickly.
Nutty Pavlova with Roasted Berries
Top with lightly crushed toasted pistachios or hazelnuts and oven‑roasted berries (roast berries for 10 minutes at 375°F with a sprinkle of sugar). The nuts add crunch contrast and roasted fruit intensifies flavor.
Frequently Asked Questions About Classic Pavlova
Q: Can I make pavlova ahead of time?
A: Yes — bake and cool the pavlova up to 48 hours before serving if left unfilled, stored in an airtight container at room temperature. For longer storage, freeze unfilled pavlova for up to a month. Always add cream and fruit just before serving to keep the shell crisp.
Q: Why did my pavlova weep or become soggy?
A: Weeping usually comes from undissolved sugar, humid conditions, or moist toppings touching the shell too long. Ensure sugar is fully dissolved during whipping, add cornstarch to stabilize, and assemble with toppings only when ready to serve.
Q: How do I know when my pavlova is done baking?
A: The exterior should be pale, dry, and slightly firm to the touch. It won’t brown much. After the timed bake, allow a slow cool in the turned‑off oven; if the center still feels marshmallow-soft but the outside is crisp, it’s perfect.
Q: Can I use caster sugar or superfine sugar instead of granulated?
A: Yes — caster or superfine sugar dissolves more quickly and is ideal for meringue in humid climates. If you only have granulated sugar, add it slowly and test for grittiness between additions.
Q: Why are my egg whites not whipping to peaks?
A: Common reasons include traces of yolk, a greasy bowl, cold whites not brought to room temp, or a dirty whisk. Start with a spotless, dry bowl and separate eggs carefully; let whites rest at room temperature for 15–20 minutes before whipping.
Final Thoughts on Classic Pavlova
Classic Pavlova rewards attention to detail with theatrical texture and a delicate flavor that showcases fruit and cream. If this guide helped, please leave a star rating in the recipe card below and pin the recipe to your Pinterest boards.
Explore more pavlova techniques and step photos in this trusted pavlova recipe with step-by-step photos, read a comprehensive beginner’s guide at this pavlova beginners guide, or compare methods for an authentic version at how to make authentic pavlova cake.