
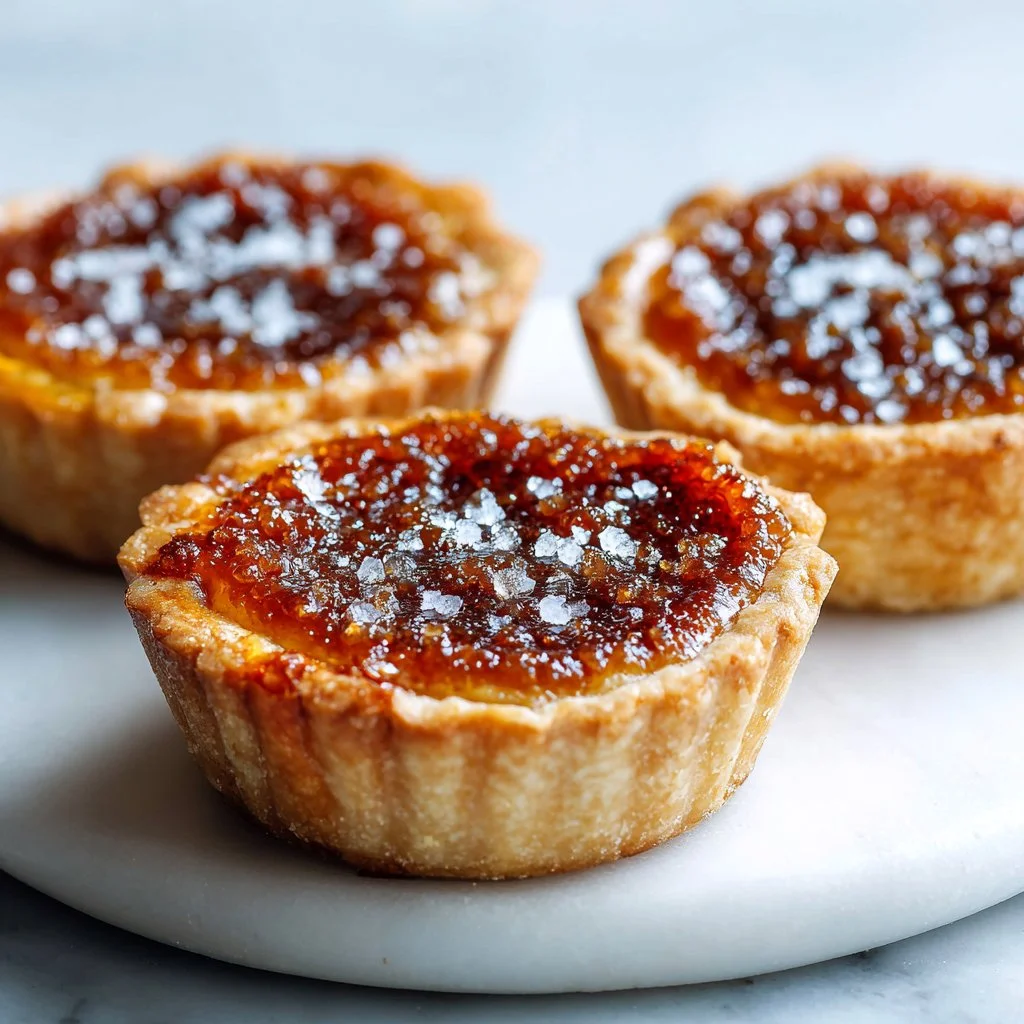
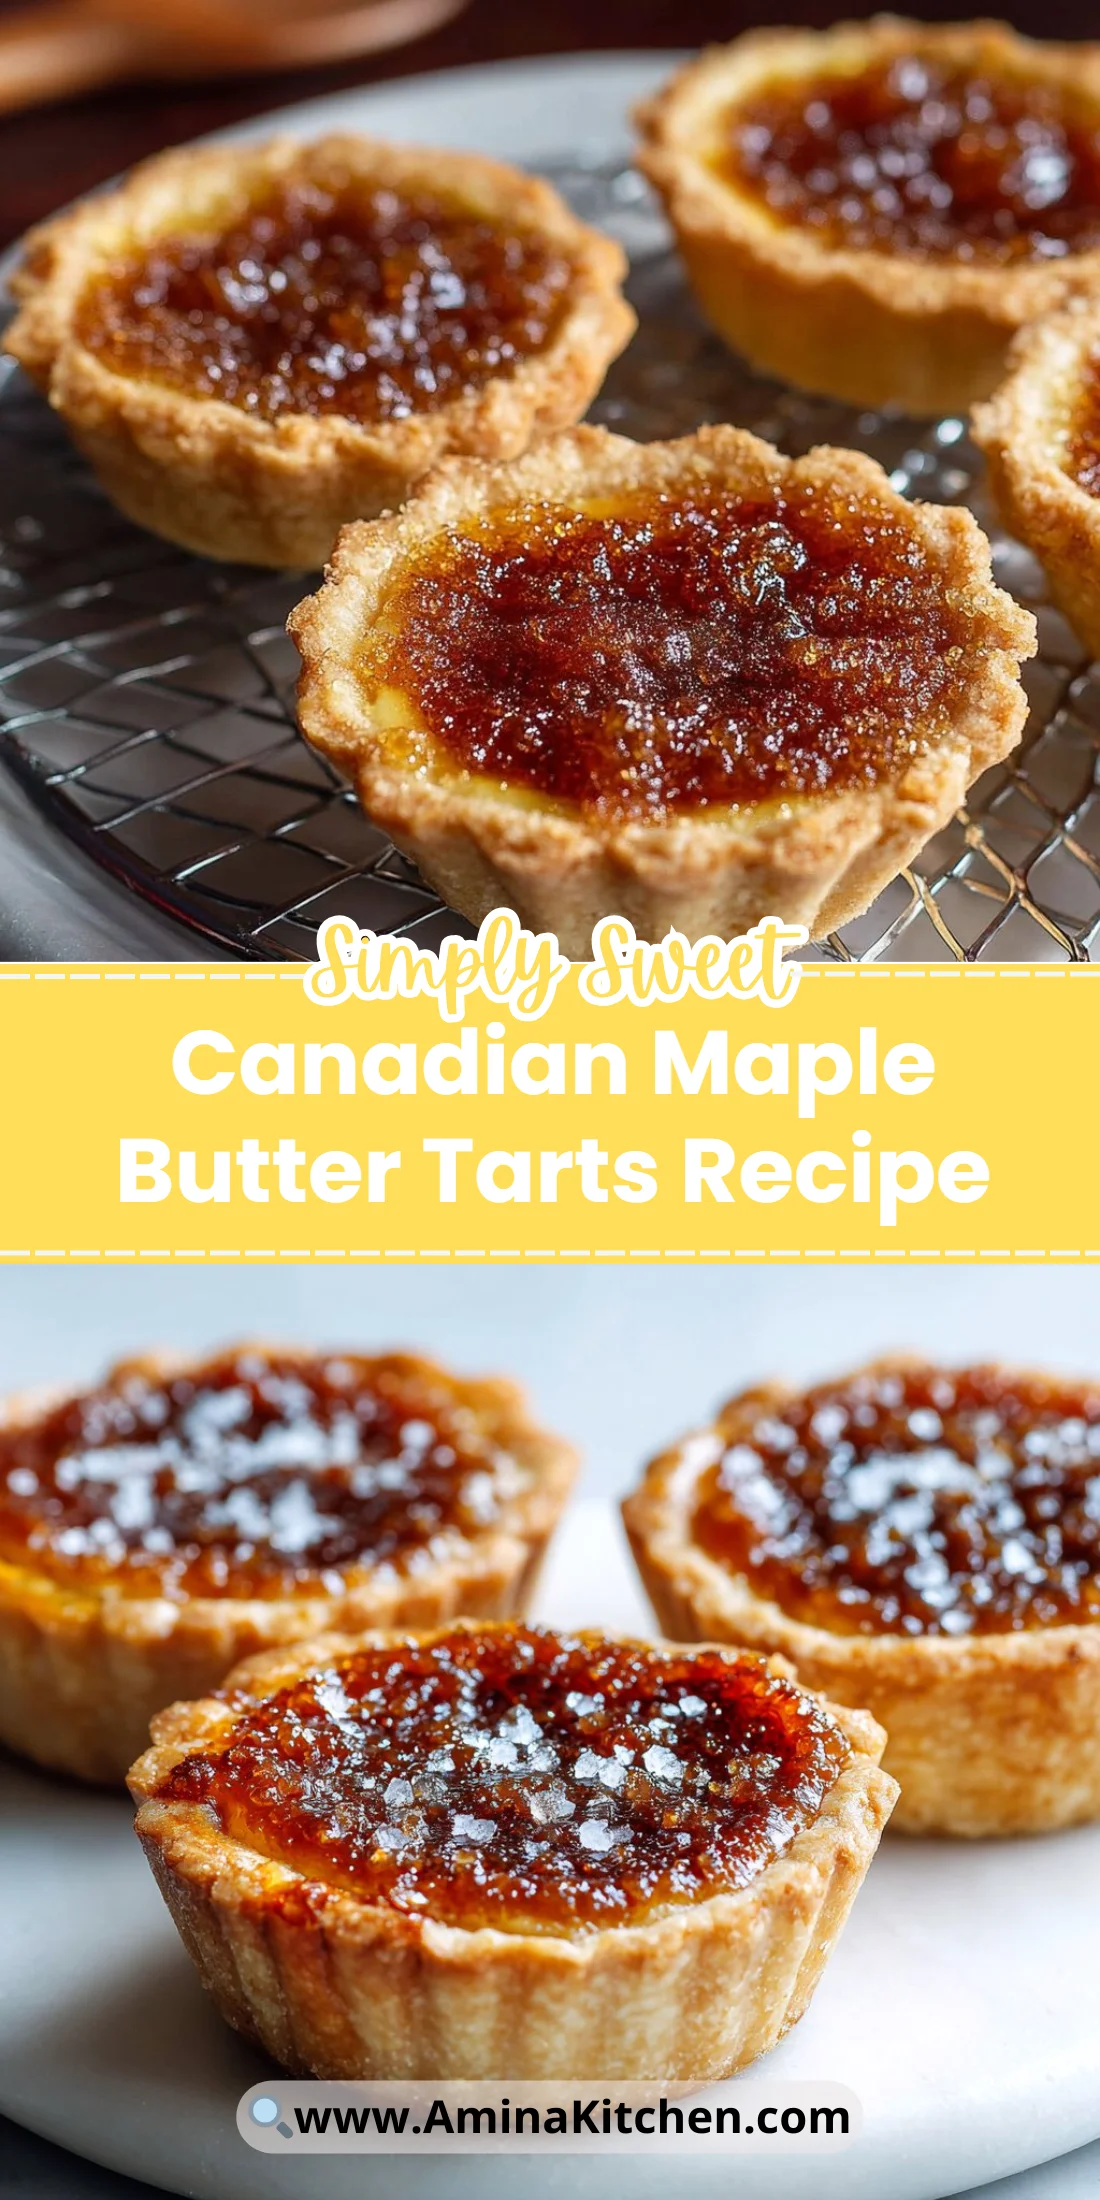
A flaky, buttery shell filled with a glossy, maple-sweet custard — these Canadian maple butter tarts are tiny bites of pure comfort.
They’re quick to assemble, impressive on a dessert tray, and perfect with coffee or tea.
Read on for ingredient science, step-by-step visuals, troubleshooting, and pro tips to bake them like a patisserie at home.
I love pairing these with other small-batch sweets; if you enjoy buttery cookies, try my take on Cadbury Egg Cookies recipe for a seasonal spread.
This recipe is approachable for bakers of all levels and scales well if you need more portions.
Why You’ll Love This Canadian Maple Butter Tarts Recipe
- Classic Canadian flavor with pure maple syrup.
- Buttery, flaky crust that holds a silky, gooey filling.
- Simple pantry ingredients with one standout star: real maple.
- Fast assembly with minimal rolling and fuss.
- Reliable bake time for predictable results.
- Great for make-ahead and freezing.
These tarts balance a tender, crunchy pastry with a custardy, slightly jiggly filling that sets to a glossy, sliceable texture. The maple syrup creates that iconic deep, caramel-like sweetness without being cloying, and the contrast between crisp shell and soft center is what makes each bite sing.
"5 stars — The crust was flaky and the filling was perfectly maple-forward. My guests couldn’t stop asking where I bought them!" — a happy reader
Key Ingredients for Canadian Maple Butter Tarts Recipe
Top ingredients chosen: all-purpose flour, unsalted butter (cold for crust), pure maple syrup, and brown sugar.
All-purpose flour
All-purpose flour provides the right protein to create a tender but stable tart shell. Look for a fresh bag (check the harvest date) and avoid self-rising flour since the added salt and leavening will alter texture. If you substitute with pastry flour you’ll get an even more delicate crust; with bread flour the crust will be tougher and chewier.
Unsalted butter (cold for crust)
Cold, unsalted butter is crucial for flaky layers in the pastry because the solid fat creates pockets of steam during baking. Buy European-style or high-fat butter for richer flavor, and keep it well chilled until pulsing. If you use salted butter, reduce added salt slightly to avoid over-seasoning.
Pure maple syrup (for filling)
Pure maple syrup gives authentic maple flavor and a lighter, complex sweetness that corn syrup cannot replicate. Buy Grade A or the modern labeled varieties (amber/dark) depending on how intense you want the maple notes. If you must substitute, expect a flatter, less nuanced taste with light corn syrup or golden syrup.
Brown sugar (packed)
Packed brown sugar adds molasses notes and helps the filling caramelize and thicken while baking. Use light or dark brown depending on desired depth — dark yields richer flavor. Substituting with white sugar will reduce molasses character and may make the filling less glossy.
Full Ingredient List for Canadian Maple Butter Tarts Recipe
- 2-1/2 cups all-purpose flour
- 1 tablespoon granulated sugar
- 1 teaspoon fine sea salt
- 1 cup unsalted butter, cold and cubed
- 3/4 cup ice-cold water
- 1/4 cup unsalted butter, room temperature
- 1/2 cup packed brown sugar
- 2 large eggs, room temperature
- 1 cup pure maple syrup
- 1/4 teaspoon fine sea salt
- 1 teaspoon pure vanilla extract
Step-by-Step Instructions for Canadian Maple Butter Tarts Recipe
Step 1: Make the pastry dough
Pulse the flour, granulated sugar, and salt in a food processor until evenly mixed. Add the cold, cubed butter and pulse 5–8 times until butter pieces are about the size of peas.
Pro Tip: The mixture should look sandy with pea-sized butter bits; you’ll still see distinct white flecks of butter.
Step 2: Bring the dough together
Stream in the ice-cold water while pulsing just until the dough begins to clump together. Stop as soon as it holds when pinched; overworking warms the butter and yields a tougher crust.
Pro Tip: The dough should feel slightly tacky and hold in loose clumps — not smooth or sticky.
Step 3: Chill the dough
Divide the dough onto two pieces of plastic wrap, shape each into a flat disc, wrap tightly, and refrigerate for at least 1 hour to firm up the butter and relax the gluten.
Pro Tip: The discs should be firm and cold; if they bend when held, chill longer.
Step 4: Roll and cut shells
On a lightly floured surface, roll each disc to about 1/8-inch thickness. Cut 4-inch circles and transfer each to a well-greased muffin pan, gently pressing the dough up the sides to form tart shells. Chill the shells while you prepare the filling.
Pro Tip: The shells should sit snugly in the pan without large air gaps; cold dough will feel firm and slightly resistant when rolled.
Step 5: Preheat the oven
Set the oven to 350°F (177°C) so it’s fully heated by the time the filling goes in.
Pro Tip: The oven should read steady at 350°F on a calibrated thermometer; inconsistent heat makes fillings bubble unevenly.
Step 6: Make the maple filling
Cream the room-temperature butter and packed brown sugar together until smooth. Whisk in the eggs one at a time until fully incorporated, then stir in the maple syrup, fine salt, and vanilla extract until silky.
Pro Tip: The filling should look glossy and pourable, with no visible streaks of egg or butter.
Step 7: Rest and whisk
Let the filling sit for 10 minutes to allow air bubbles to relax, then whisk once more to reincorporate any separated bits. Pour the filling into the chilled pastry shells, filling each about two-thirds full.
Pro Tip: The filling should be uniformly smooth and slightly thickened from the rest.
Step 8: Bake
Bake for about 25 minutes until the pastry is golden and the filling is set but slightly jiggly in the center. Avoid overbaking to keep the custard glossy.
Pro Tip: The tart should have a golden rim and a center that wobbles gently but isn’t liquid — like a soft-set custard.
Step 9: Cool and unmold
Cool the tarts in the pan for 10 minutes, then transfer to a wire rack to finish cooling so the filling firms evenly.
Pro Tip: Edges will firm first; if you try to unmold too hot the filling may spill — wait until it’s just warm.
Pro Tip: When you want a rich brown butter note in other recipes, see this brown butter cookie technique for inspiration: brown butter pecan toffee cookies.
Expert Tips for Canadian Maple Butter Tarts Recipe
- Chill everything: keep butter and water cold and chill dough discs to prevent gluten overdevelopment and to ensure flaky layers.
- Egg temperature matters: use room-temperature eggs for a creamy filling and even emulsification.
- Visual fill cue: fill shells about two-thirds; the filling will rise slightly but not overflow when baked.
- Texture troubleshooting: if filling is too runny after baking, it likely needed a few more minutes; if curdled, eggs were over-whisked or too hot when mixed.
- Equipment tip: use a 12-cup nonstick muffin pan for even heat; a metal pan crisp the edges better than silicone.
- Common mistake: overworking the dough — it results in a tough shell rather than flaky layers.
- Oven calibration: check with an oven thermometer; 350°F should be accurate for reliable results.
- Advanced tip: for a slightly caramelized top, place under the broiler for 20–30 seconds on low after baking, watching closely.
For a textural contrast on your dessert board, pair these tarts with lighter, floral drinks like this butterfly pea boba recipe: strawberry butterfly pea flower boba tea.
Storage & Freezing for Canadian Maple Butter Tarts Recipe
Fridge storage
Store cooled tarts in an airtight container in the refrigerator for up to 4 days. Place parchment between layers to prevent sticking and maintain pastry crispness.
Freezer storage
Freeze on a sheet tray until firm, then transfer to a freezer-safe container or zip-top bag for up to 2 months. Wrap each tart individually in plastic wrap and then foil to prevent freezer burn.
Thawing
Thaw overnight in the refrigerator, then bring to room temperature for 20–30 minutes before serving to return the filling to a silky texture.
Reheating
Reheat in a 325°F oven for 6–8 minutes to refresh the crust and warm the center slightly. Avoid microwaving, which can make the pastry soggy.
Variations & Substitutions for Canadian Maple Butter Tarts Recipe
Maple pecan tarts
Fold 1/2 cup chopped toasted pecans into the maple filling before pouring. The toasted nuts add crunch and a nutty counterpoint to the sweet maple.
Chocolate maple tarts
Add 2 tablespoons unsweetened cocoa powder to the filling and sprinkle mini chocolate chips into the shells before pouring. You’ll get a deep, bittersweet balance to the sweet maple.
Bourbon maple tarts
Replace 1 tablespoon of the maple syrup with 1 tablespoon of bourbon and reduce oven time by 2 minutes for a subtle boozy warmth. The result is an aromatic, adult-friendly tart.
Vegan-friendly version
Use a vegan butter stick cold for the pastry and replace eggs with a silken tofu or aquafaba-based binder (80–100g tofu blended or 6 tbsp aquafaba). Expect a slightly different custard texture — softer and less glossy but still very satisfying.
For a rich spice twist, consider pairing with cookie flavors like Biscoff in other desserts, which complements maple beautifully: biscoff cookie butter cheesecake cookies.
Frequently Asked Questions About Canadian Maple Butter Tarts Recipe
What is the difference between butter tarts and pecan tarts?
Butter tarts are a classic Canadian treat typically filled with a simple syrupy, eggy filling often made with maple or brown sugar and sometimes raisins. Pecan tarts (or pecan pies) usually include a heavier corn syrup or molasses base with a prominent layer of pecans on top, producing a crunchier texture and more nut-forward flavor.
Can I use imitation maple syrup?
Imitation syrups lack the complex flavor and darker caramel notes of real maple syrup and will produce a flatter, sweeter filling without the characteristic maple aroma. For the authentic taste profile, stick with pure maple syrup.
Why did my filling overflow or bubble out?
If shells are overfilled, the filling can bubble up and spill. Also, if your oven temperature is uneven or too hot, the filling may expand too quickly. Fill to two-thirds and ensure even oven heat; reduce temperature by 10–15°F if browning too quickly.
How can I make the crust flakier?
Keep butter very cold, pulse to pea-sized chunks, and avoid overworking the dough. Rest the dough in the fridge for at least an hour so gluten relaxes and the butter firms — this creates those steam pockets that produce flakiness.
How do I know when the filling is done?
Baked filling should be golden at the edges and slightly jiggly in the center, similar to a just-set custard. It will continue to set as it cools, so err on the side of a tiny wobble rather than a firm set.
Final Thoughts on Canadian Maple Butter Tarts Recipe
These tarts are a small, elegant dessert that showcase maple syrup in its best light. If you baked along, please leave a star rating below and pin this recipe to your Pinterest boards.
Conclusion for Canadian Maple Butter Tarts Recipe
For deeper technique notes and a visual guide, I recommend this detailed tutorial on making maple butter tarts from a pastry resource: Maple Butter Tarts – The Pie Academy.
If you want an alternate format, these gooey maple butter tart bars provide a traybake twist you can try next: Gooey Maple Butter Tart Bars – Crumb: A Food Blog.
For another tested home-cook version with user reviews and tips, see this community-submitted recipe: Maple Butter Tarts Recipe – Allrecipes.

Canadian Maple Butter Tarts
Ingredients
Method
- Pulse the flour, granulated sugar, and salt in a food processor until evenly mixed.
- Add the cold, cubed butter and pulse 5–8 times until butter pieces are about the size of peas.
- Stream in the ice-cold water while pulsing just until the dough begins to clump together.
- Stop as soon as it holds when pinched; overworking warms the butter and yields a tougher crust.
- Divide the dough into two pieces, shape into discs, wrap tightly in plastic wrap, and refrigerate for at least 1 hour.
- On a lightly floured surface, roll each disc to about 1/8-inch thickness.
- Cut 4-inch circles and transfer each to a well-greased muffin pan.
- Set the oven to 350°F (177°C) so it’s fully heated by the time the filling goes in.
- Cream the room temperature butter and packed brown sugar together until smooth.
- Whisk in the eggs one at a time, then stir in the maple syrup, fine salt, and vanilla extract until silky.
- Let the filling sit for 10 minutes, then whisk once more to reincorporate any separated bits.
- Pour the filling into the chilled pastry shells, filling each about two-thirds full.
- Bake for about 25 minutes until the pastry is golden and the filling is set but slightly jiggly in the center.
- Cool the tarts in the pan for 10 minutes, then transfer to a wire rack to finish cooling.