
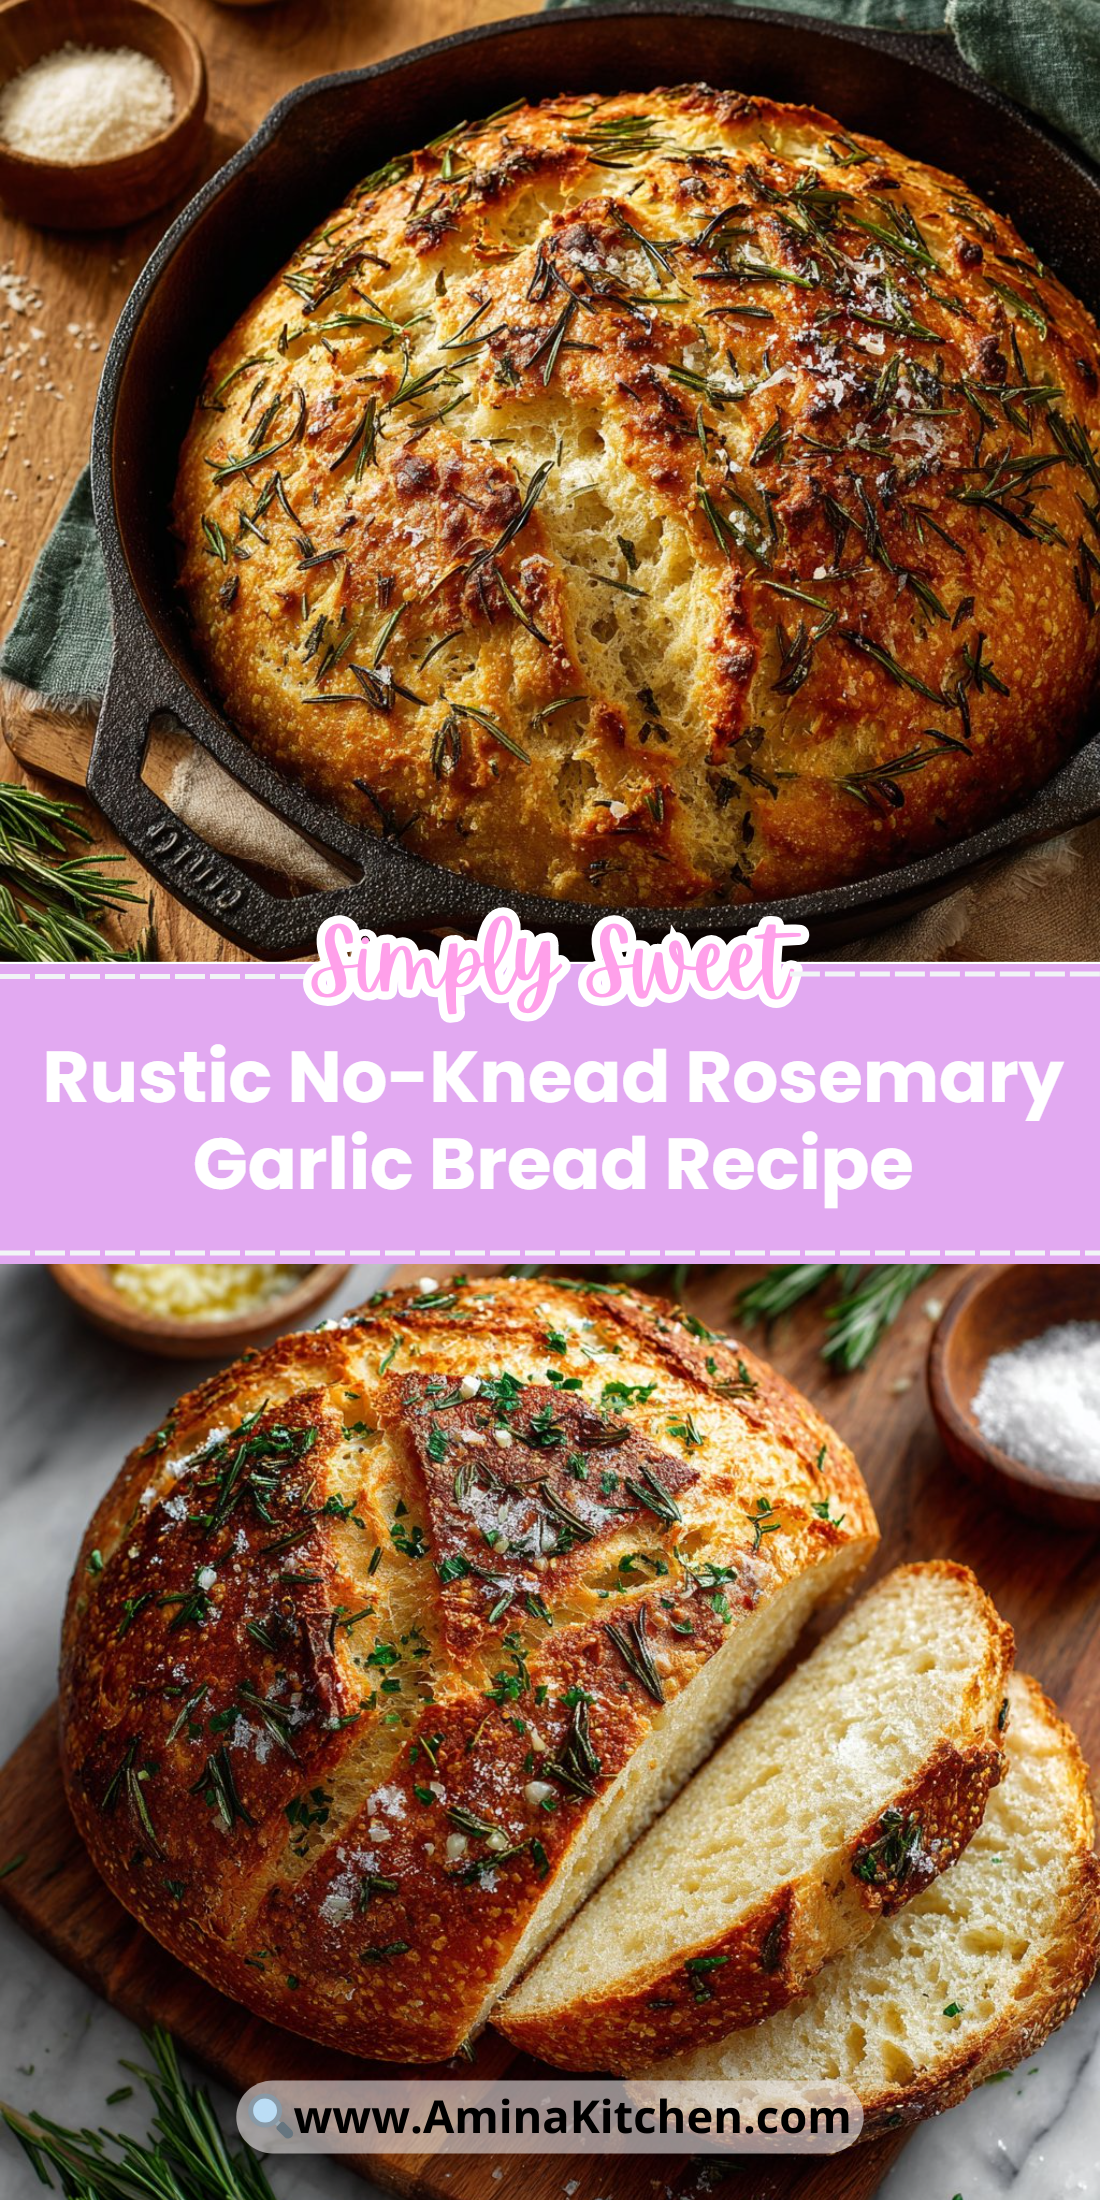
A warm, crusty loaf that takes almost no elbow grease—this Rustic No-Knead Rosemary Garlic Bread Recipe is perfect for busy bakers and dinner-party show-offs alike.
It starts the night before and rewards you with a bakery-style crust and a tender, aromatic crumb by dinnertime.
You’ll love how the long rest replaces kneading and how a cast-iron skillet gives a deep, crackly crust.
Try it with a salad or alongside a bowl of soup, or slice it warm and slather with butter.
Why You’ll Love This Rustic No-Knead Rosemary Garlic Bread Recipe
– Effortless: minimal hands-on time, no kneading required.
– Flavorful: garlic and fresh rosemary infuse the loaf deeply.
– Crusty exterior: cast-iron baking creates a bakery-style crust.
– Soft, open crumb: long fermentation builds gluten slowly.
– Time-smart: most work is passive, great for busy schedules.
– Beginner-friendly: forgiving measurements and visual cues.
– Versatile: pairs with soups, cheese boards, and pasta dishes.
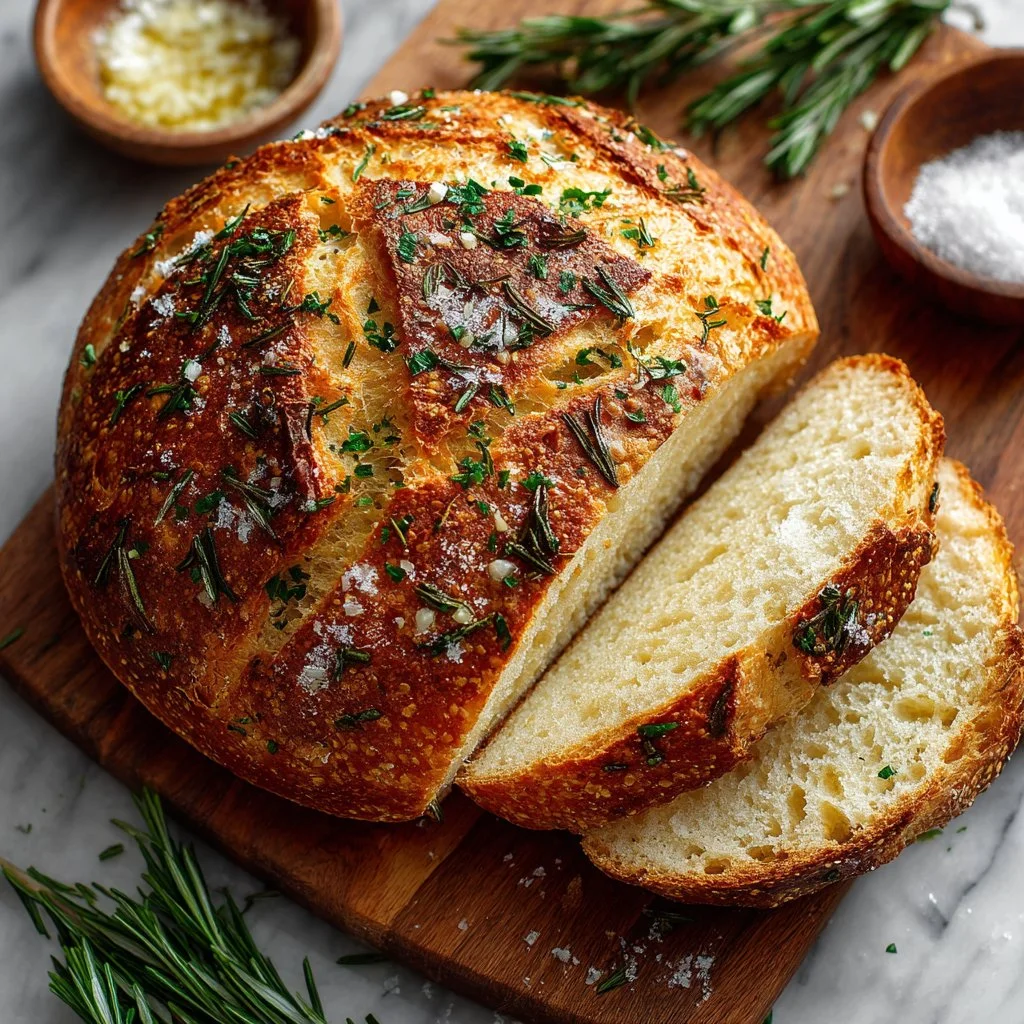
The loaf smells herbaceous and toasty, with garlicky warmth and a peppery lift. The crust is thick and crackly while the interior stays moist, tender, and slightly chewy with irregular holes—exactly what you want in rustic country bread.
"Five stars! I let it proof overnight and the rosemary and garlic came through beautifully. Best no-knead I’ve tried—crispy outside, soft center." — Emma R.
Key Ingredients for Rustic No-Knead Rosemary Garlic Bread Recipe
Fresh rosemary matters because the oils in the needles release during mixing and baking, giving bright aromatic notes. Buy firm, green sprigs from the produce section or farmer’s market. If you substitute dried rosemary use about one-third the amount and crush it to release flavor, though the fresh herb gives the best texture and aroma.
All-purpose flour is the structural base; it has enough protein to form a supportive gluten network during the long rest. Opt for a well-known brand or unbleached flour for predictable results. Swapping to bread flour will yield slightly more chew and larger holes, while whole wheat will make the crumb denser and may need a splash more water.
Instant yeast gives reliable rise with minimal fuss and works straight into dry ingredients. Use ½ teaspoon for a slow, overnight ferment that develops flavor without overproofing. If using active dry yeast, dissolve it in the water first and use slightly more (about ¾ teaspoon).
Water at room temperature hydrates the flour and starts gluten formation slowly. Measure by volume as the recipe is forgiving, but if your flour is very dry you may need a tablespoon more. Using very hot or very cold water will alter fermentation speed and can throw off rise timing.
Full Ingredient List for Rustic No-Knead Rosemary Garlic Bread Recipe
– 3 cups all-purpose flour
– 1 tablespoon finely chopped fresh rosemary (or more, to taste)
– 1 ¼ teaspoons kosher salt
– ¾ teaspoon freshly ground black pepper
– ½ teaspoon instant yeast
– 3 cloves garlic, minced
– 1 ½ cups water, at room temperature
– 2 tablespoons cornmeal
– Lightly oil or nonstick spray for skillet
Step-by-Step Instructions for Rustic No-Knead Rosemary Garlic Bread Recipe
Step 1: Combine the dry ingredients and aromatics
In a large bowl, whisk together the flour, minced garlic, chopped rosemary, kosher salt, ground pepper, and instant yeast so everything is evenly distributed. Make sure the salt and yeast aren’t clumped together; a quick whisk prevents uneven pockets of salt.
Pro Tip: The mixture should look homogeneous with tiny flecks of rosemary and garlic throughout.
Step 2: Add water and form the dough
Pour the room-temperature water into the dry mix and stir with a wooden spoon or clean hand until a wet, sticky dough forms. Stir for about 30 seconds—don’t overwork it; the dough should be shaggy and tacky, not smooth.
Pro Tip: The dough should cling slightly to your spoon and spread slowly when you tilt the bowl.
Step 3: Bulk ferment overnight
Cover the bowl tightly with plastic wrap and leave it at room temperature for 18 to 24 hours. You’re looking for bubbles across the surface and a notable increase in volume—this long rest develops flavor and structure without kneading.
Pro Tip: The surface should be dotted with small to medium bubbles and look slightly domed.
Step 4: Prepare your skillet
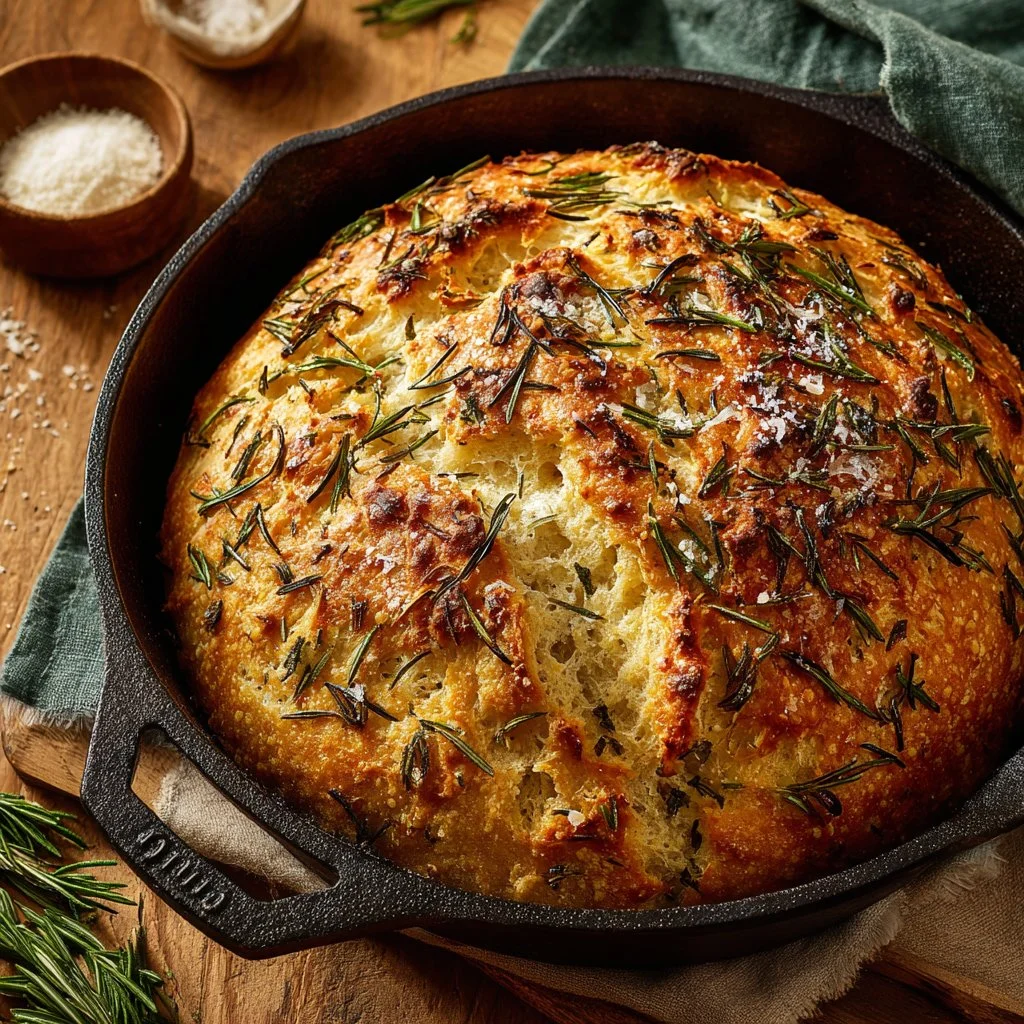
Lightly oil a 10-inch cast-iron skillet or spray with nonstick spray, then evenly sprinkle the bottom with cornmeal to prevent sticking and add a crisp bottom texture. The cornmeal also gives a pleasant mouthfeel when you slice.
Pro Tip: The skillet bottom should have a thin, even dusting of cornmeal with no bare or heavily piled spots.
Step 5: Shape, transfer, and proof
Turn the dough onto a lightly floured surface and gently shape it into a round without deflating it too much. Place the shaped dough into the prepared skillet. Cover with a clean kitchen towel and let it stand at room temperature until it doubles in size and feels slightly springy, about 2 hours.
Pro Tip: When poked gently, the dough should indent and slowly spring back part way—if it snaps back fully, it needs more proofing.
Step 6: Bake until golden
Preheat your oven to 450°F (230°C). Place the skillet with the dough in the oven and bake for 30 to 40 minutes until the top is deep golden brown and the crust is crisp. Rotate once if your oven bakes unevenly.
Pro Tip: The crust should be deeply golden and sound hollow when tapped on the bottom.
Pro Tip: If you’re curious how this hands-off approach compares to quicker versions, try a faster two-hour method for a weekday bake by checking out a compact alternative recipe for quick no-knead ideas like the one I experimented with for a weekend brunch; it’s a different rhythm but still satisfying. My other sticky-bread experiments inspired some timing tweaks here.
Expert Tips for Rustic No-Knead Rosemary Garlic Bread Recipe
– Use a kitchen scale for more consistent results if you bake often; small weight differences in flour change hydration.
– If your kitchen is cold, proof the dough at around 70–75°F for predictable fermentation; a warm oven with the light on works well.
– For a thinner crust, reduce oven temp by 25°F and bake slightly longer; for a thicker crust, keep at 450°F and consider preheating the skillet.
– Texture troubleshooting: dense crumb means underproofed or not enough hydration; increase water by 1 tablespoon next time and extend proof.
– Equipment tip: a 10-inch cast-iron skillet gives the best crust; substitute an oven-safe Dutch oven if you prefer a domed loaf.
– Common mistake: adding too much flour when shaping; gently fold and use minimal flour to preserve airy holes.
– Garlic gets sweeter as it roasts; if you want more pronounced garlic, try roasting cloves beforehand and folding them into the dough.
– If the top browns too fast, tent loosely with foil during the last 10 minutes.
I often link readers to other favorite bakes to show technique overlap; if you love buttery textures and sprinkle-topped bakes, the contrast helps understand hydration and mixing. See my shortbread notes for a different fat and sugar balance that informs handling tips.
Storage & Freezing for Rustic No-Knead Rosemary Garlic Bread Recipe
Room temperature storage: keep the cooled loaf in a paper bag or wrapped loosely in a clean kitchen towel for up to 2 days to preserve the crust. Avoid airtight plastic at room temp—steam will soften the crust quickly.
Refrigerator: refrigerating can dry bread, but wrapped tightly in plastic wrap and placed in an airtight container, the bread will keep for 3–4 days. Reheat in a 350°F oven for 10–12 minutes to refresh the crust.
Freezer: slice the cooled loaf and place parchment between slices, then store in an airtight freezer bag or vacuum-sealed bag for up to 3 months. Freeze flat to save space and to make toasting individual slices simple.
Thawing & reheating: thaw sliced bread at room temperature for 30–60 minutes, then warm in a 350°F oven for 8–10 minutes. For a crisper crust, sprinkle a teaspoon of water over the top before reheating. For long-term meal prep tips, I often combine bread freezing with make-ahead sweet treats for busy weeks—try pairing with a sweet tart for weekend hosting ideas. Maple butter tart pairing ideas
Variations & Substitutions for Rustic No-Knead Rosemary Garlic Bread Recipe
Olive and rosemary: Fold in ½ cup chopped, pitted olives during shaping. The bread takes on a briny, Mediterranean character and stays moist from the olive oil of the pieces.
Cheesy herb: Add ¾ cup grated Parmesan or Pecorino into the dry mix and reduce salt slightly. You’ll get a savory, nutty crumb with golden, cheesy pockets that melt on the tongue.
Roasted garlic swap: Replace raw minced garlic with 2–3 tablespoons roasted garlic purée. The flavor becomes mellow, sweet, and rich, and the crumb is slightly more moist.
Seeded crust: Sprinkle the top with sesame, sunflower, or poppy seeds just before baking. This adds crunch and a toasty flavor to the crust, and looks beautiful on a charcuterie board.
Frequently Asked Questions About Rustic No-Knead Rosemary Garlic Bread Recipe
Q: Can I shorten the fermentation time for this Rustic No-Knead Rosemary Garlic Bread Recipe?
A: Yes—reduce the bulk ferment to 6–8 hours at a slightly warmer temperature (75–80°F), but expect less developed flavor and a tighter crumb. Use active yeast slightly more if you want a faster rise, and watch the dough visually—it should still be bubbly before shaping.
Q: What if my dough never bubbles during the overnight rest?
A: First check your yeast age—expired or inactive yeast is a common culprit. Also ensure your kitchen isn’t too cold; move the bowl to a warmer spot or a turned-off oven with the light on. If still flat, add a pinch of fresh yeast dissolved in warm water and give it a couple more hours.
Q: How do I get a really crispy bottom crust on this Rustic No-Knead Rosemary Garlic Bread Recipe?
A: Preheat the skillet in the oven for 10–15 minutes before placing the dough in it (carefully remove and add the dough). The hot surface creates rapid steam and a crackly bottom. The cornmeal also helps form a textured, crisp base.
Q: Can I make this Rustic No-Knead Rosemary Garlic Bread Recipe gluten-free?
A: Gluten-free no-knead loaves are possible but require a blend of gluten-free flours and binders like xanthan gum. Hydration and proofing times change dramatically; follow a tested gluten-free no-knead recipe rather than substituting directly.
Q: How do I know when the Rustic No-Knead Rosemary Garlic Bread Recipe is fully baked?
A: The loaf should be deep golden brown and sound hollow when tapped on the bottom. An internal temperature of 200–210°F indicates doneness for most hearth breads. If you don’t have a thermometer, visual and auditory cues are reliable.
Final Thoughts on Rustic No-Knead Rosemary Garlic Bread Recipe
This Rustic No-Knead Rosemary Garlic Bread Recipe is a low-effort way to enjoy artisanal bread at home with bright herb and garlic flavors. Leave a star rating in the recipe card below and pin this to your favorite bread board on Pinterest.
Conclusion — Rustic No-Knead Rosemary Garlic Bread Recipe
For additional techniques and variations that complement this loaf, see the faster two-hour approach in Rosemary Garlic No-Knead Bread, the Two Hour Method, a classic long-ferment take at Rosemary Garlic Bread {No-Knead!} – Girl Versus Dough, and a roasted garlic-focused riff at Roasted Garlic & Rosemary No-Knead Artisan Bread.
Rustic No-Knead Rosemary Garlic Bread
Ingredients
Method
- In a large bowl, whisk together the flour, minced garlic, chopped rosemary, kosher salt, ground pepper, and instant yeast.
- Pour the room-temperature water into the dry mix and stir until a wet, sticky dough forms.
- Cover the bowl tightly with plastic wrap and leave it at room temperature for 18 to 24 hours.
- Lightly oil a 10-inch cast-iron skillet or spray with nonstick spray, then sprinkle with cornmeal.
- Turn the dough onto a lightly floured surface and shape it into a round. Place it in the prepared skillet and cover with a towel. Let it stand for about 2 hours.
- Preheat your oven to 450°F (230°C). Bake the dough for 30 to 40 minutes until deeply golden brown.