
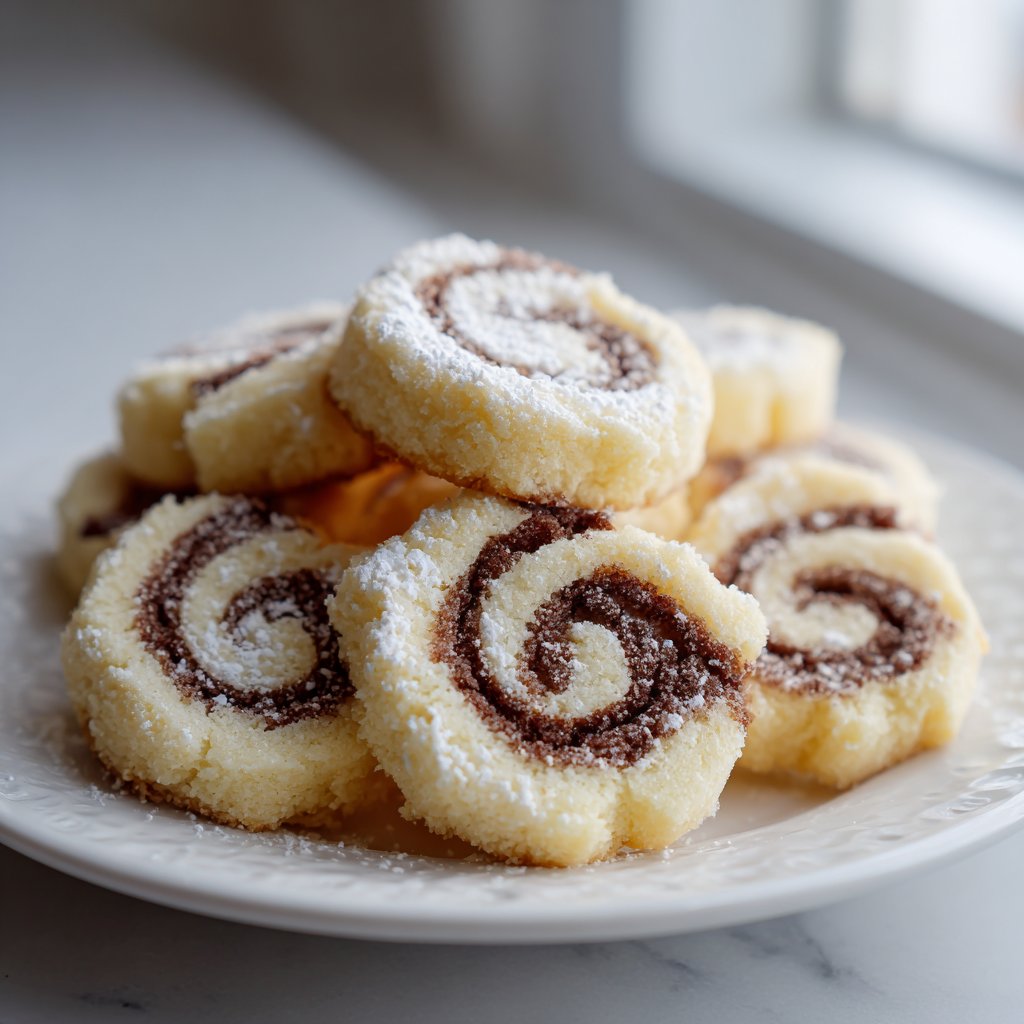
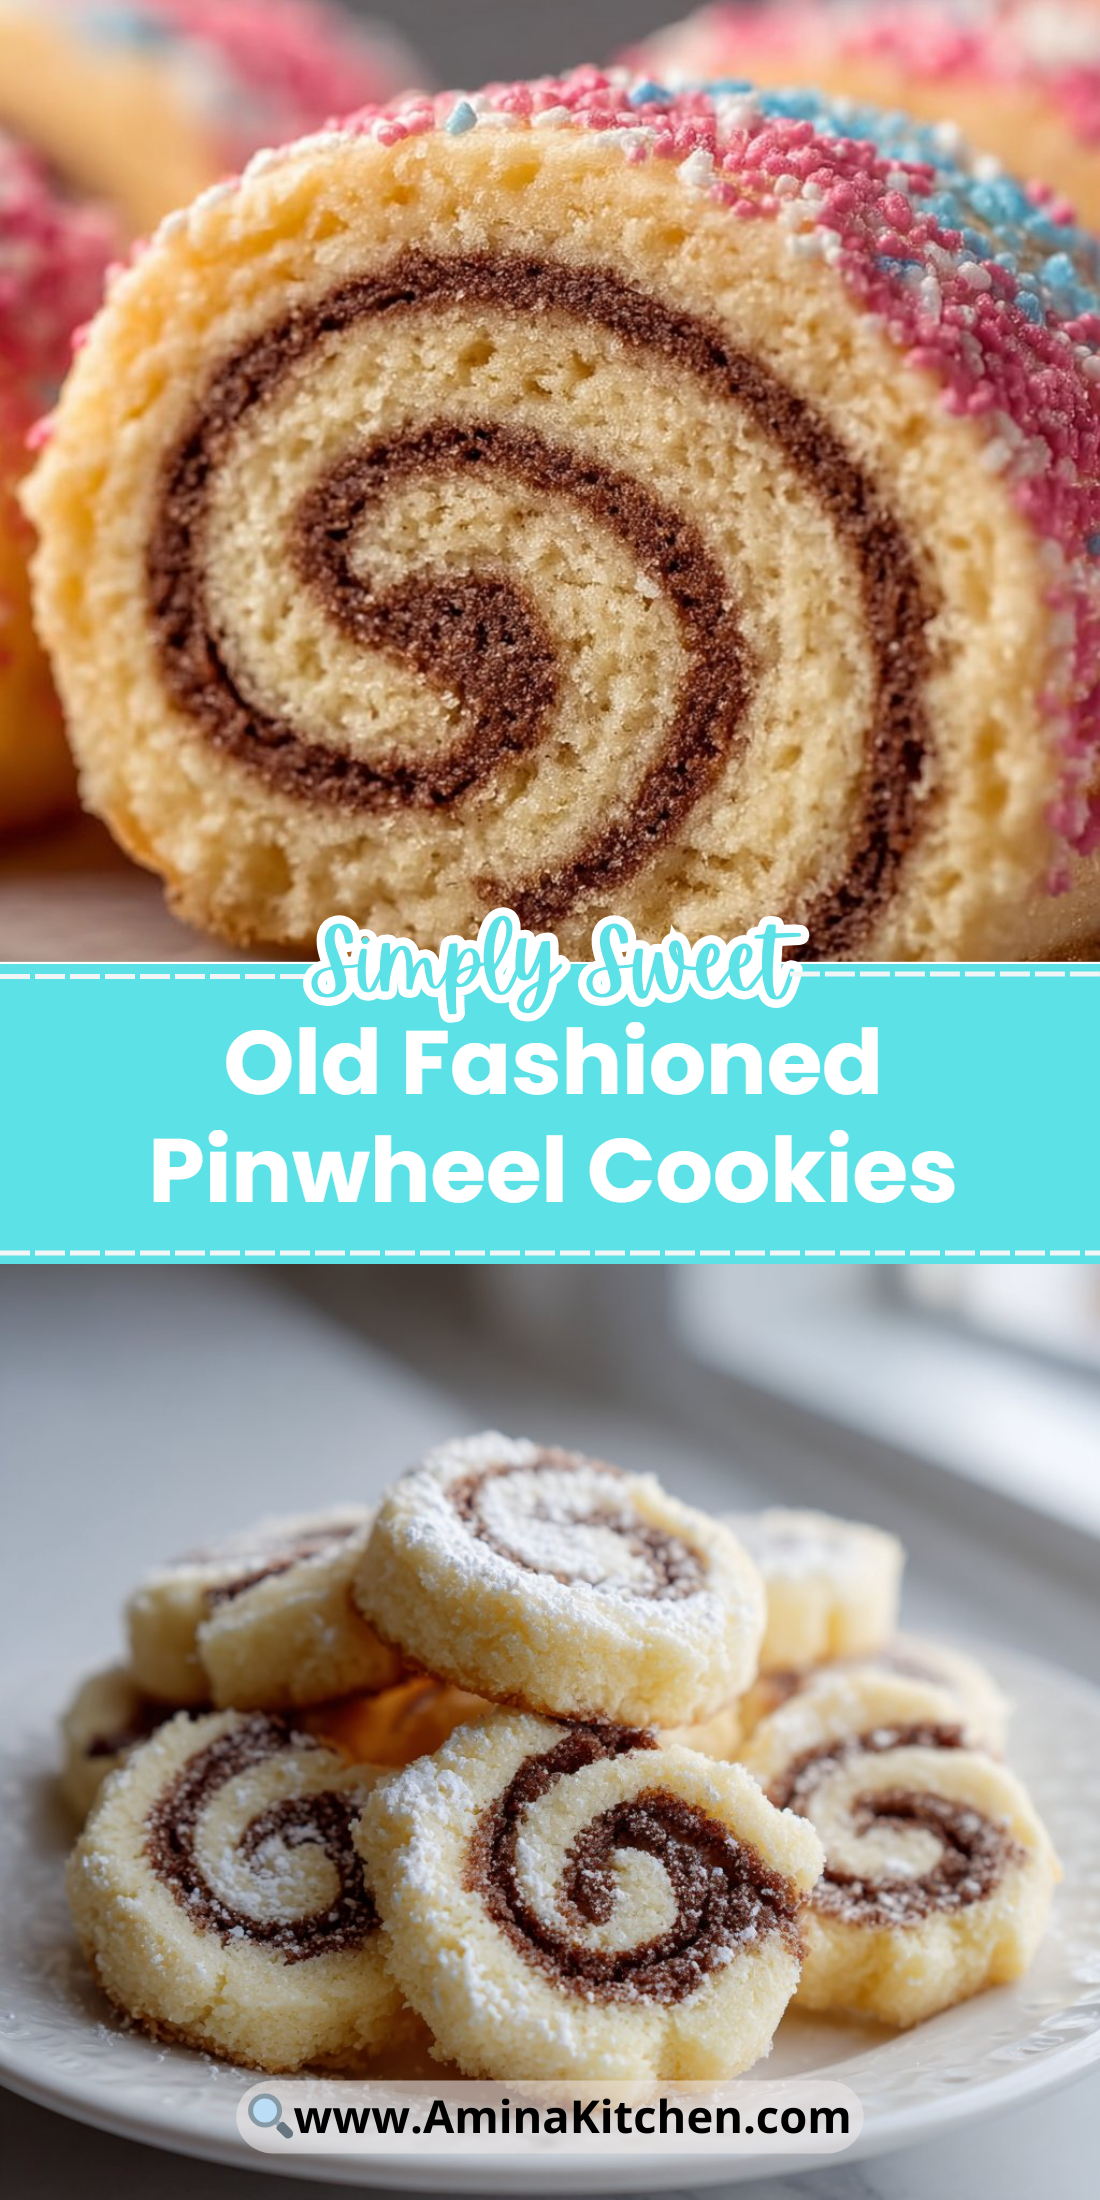
Bright, swirled pinwheels are a tiny bite of nostalgia—crisp edges, soft centers, and a dramatic spiral that makes a simple cookie feel special. These Old Fashioned Pinwheel Cookies are easy to make, impressive to present, and perfect for gift tins or holiday platters.
The dough is straightforward, which means you can focus on rolling neat spirals. Kids love helping with the rolling, and the powdered sugar dusting adds a bakery-finish.
Looking for other classic cookie inspiration while you bake? Try this Biscoff Cookie Butter Cheesecake Cookies for another crowd-pleaser.
Why You’ll Love This Old Fashioned Pinwheel Cookies
– Retro visual appeal that looks fancy without fuss.
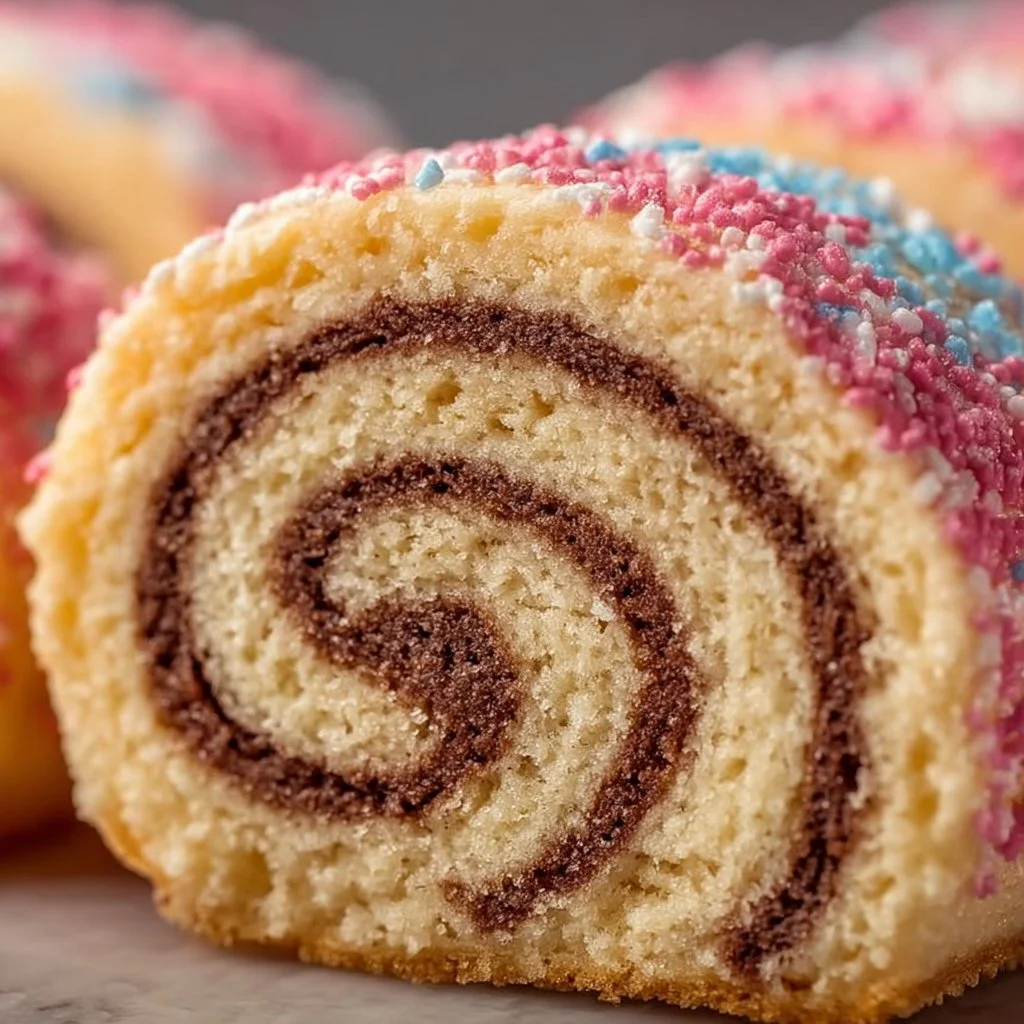
– Buttery, tender vanilla rounds paired with a chocolate spiral.
– Simple pantry ingredients you likely already have.
– Great for make-ahead baking and slice-and-bake convenience.
– Kid-friendly rolling task and excellent for cookie exchanges.
– Dusting of powdered sugar gives a bakery-quality finish.
Old Fashioned Pinwheel Cookies deliver a balanced bite: the vanilla dough is tender and slightly crumbly, while the chocolate spiral adds a deeper cocoa note and a subtle chew at the center. The edges crisp just enough in the oven, creating contrast between a delicate snap and a melt-in-your-mouth interior.
"I made these for holiday tins and everyone asked for the recipe. They tasted like a bakery cookie but were so simple—perfect texture and that pretty swirl!" — 5★ reader review
Key Ingredients for Old Fashioned Pinwheel Cookies
Flour is the backbone of the cookie structure. Use good-quality all-purpose flour for predictable gluten development. If you substitute with a low-protein pastry flour the cookies will spread less and be more tender; with bread flour they’ll be chewier and denser.
Unsalted butter gives flavor complexity and structure. Room temperature butter creams with sugar to trap air for lift and lightness. If you use salted butter, reduce or omit added salt; margarine or spreads contain more water and will change texture and spread.
Granulated sugar is essential for structure and crisping. It dissolves in the creamed butter and creates tiny air pockets that brown in the oven. Swapping some or all for brown sugar adds moisture and chew but will darken both doughs and reduce the classic crisp edge.
Cocoa powder creates the chocolate spiral and controls moisture, not fat. Use Dutch-processed for a deeper, mellow chocolate or natural unsweetened for brighter cocoa notes; either changes acidity slightly and the finished color. If you replace cocoa with melted chocolate, reduce other fats so the dough isn’t too soft.
Full Ingredient List for Old Fashioned Pinwheel Cookies
– 2 cups all-purpose flour
– 1/2 teaspoon baking powder
– 1/4 teaspoon salt
– 1 cup unsalted butter, softened
– 1 cup granulated sugar
– 1 large egg
– 1 teaspoon vanilla extract
– 1/2 cup cocoa powder
– 1/4 cup powdered sugar (for dusting)
Step-by-Step Instructions for Old Fashioned Pinwheel Cookies
Step 1: Combine dry ingredients
In a bowl, whisk together the flour, baking powder, and salt until evenly distributed; set the bowl aside.
Pro Tip: The flour should look uniformly pale with no streaks of salt or powder clumps.
Step 2: Cream butter and sugar
In a separate large bowl, cream the softened butter and granulated sugar with a mixer on medium speed until the mixture is light, pale, and fluffy.
Pro Tip: The butter-sugar mix should appear fluffy and slightly ribbon-like when the beater is lifted.
Step 3: Add egg and vanilla
Beat the large egg and vanilla extract into the creamed butter and sugar until fully incorporated and smooth.
Pro Tip: The batter should shine a bit and smell like vanilla—no visible streaks of egg.
Step 4: Incorporate the flour
Gradually add the dry flour mixture to the wet ingredients, mixing just until the dough comes together and no dry flour patches remain.
Pro Tip: The dough should feel soft but not sticky; it will hold its shape when pressed.
Step 5: Divide and flavor
Divide the dough into two even portions. Stir the cocoa powder into one half until thoroughly blended and a deep brown dough forms.
Pro Tip: The chocolate dough should be evenly colored with no powdery streaks and have a slightly drier feel than the vanilla dough.
Step 6: Roll each dough
Roll each dough between sheets of parchment to about 1/4 inch thickness, working gently to keep the edges even.
Pro Tip: The rolled sheets should be uniform in thickness and large enough to layer without overlapping edges.
Step 7: Layer and roll into a log
Carefully layer the chocolate sheet on top of the vanilla sheet, aligning the edges, then roll tightly into a log starting from one long side to create a spiral. Wrap the log in plastic wrap.
Pro Tip: The roll should be tight enough that you clearly see a spiral but not so tight that the layers compress and squeeze out.
Step 8: Chill the log
Chill the wrapped log in the refrigerator for about 1 hour to firm the dough for easy slicing.
Pro Tip: After chilling, the log should be firm to the touch and slice cleanly without squashing.
Step 9: Preheat the oven
When the log is firm, preheat the oven to 350°F (175°C) and line baking sheets with parchment.
Pro Tip: The oven should be fully heated so the cookies bake evenly and develop a light edge color.
Step 10: Slice the log
Unwrap and slice the chilled log into 1/4 inch rounds using a sharp knife, wiping crumbs between cuts if needed. Arrange rounds on the prepared baking sheet.
Pro Tip: Each slice should show a clear spiral; if slices smear the pattern, chill the log longer.
Step 11: Bake until lightly golden
Bake the slices for 10–12 minutes, or until the edges are lightly golden but centers are still pale. Let cool briefly on the sheet.
Pro Tip: Cookie edges should be just turning color while centers stay slightly soft.
Step 12: Cool and dust
Allow the cookies to cool completely, then dust with powdered sugar before serving.
Pro Tip: Powdered sugar will cling best once the cookies are fully cooled and dry to the touch.
Expert Tips for Old Fashioned Pinwheel Cookies
– Chill is your friend: always firm the log before slicing to keep clean spirals. Slightly under-chilled logs will flatten; over-chilled become hard to slice.
– Temperature tips: bring butter to room temperature (soft but not greasy) for proper creaming; oven must be preheated to 350°F (175°C) for reliable bake times.
– Texture troubleshooting: if cookies are cakey, you likely overbeat the egg or added too much flour; mix just until combined.
– Equipment tips: use a sharp chef’s knife or a bench scraper for clean slices and a silicone baking mat for even browning. Also consider an instant-read oven thermometer for accuracy.
– Common mistake: rolling uneven sheets creates lopsided spirals; aim for uniform thickness when rolling.
– Flavor boost: a pinch of espresso powder in the chocolate dough will deepen the cocoa without adding coffee taste.
– Dough handling: if the dough becomes sticky while rolling, chill the sheets briefly between attempts.
– Time-saver: make logs in advance and freeze for quick slice-and-bake cookies on short notice.
Need a sturdier cookie base for sandwiching or stamping shapes? This technique is similar to my Cadbury Egg Cookies recipe where chilling is essential to maintain shape.
Storage & Freezing for Old Fashioned Pinwheel Cookies
For short-term storage, keep cookies in an airtight container at room temperature for up to 5 days. Layer parchment between stacks to prevent sticking and crushing.
In the refrigerator, place biscuits in a single layer or with parchment between layers inside an airtight container for up to 2 weeks. Chilling will firm the butter but can dry edges slightly—bring to room temperature before serving.
To freeze dough logs: wrap tightly in plastic and then foil, freezing for up to 3 months. Thaw in the refrigerator overnight, then slice and bake as directed. For baked cookies, freeze in a single layer on a sheet until firm, then transfer to a freezer-safe container for up to 3 months.
Thaw frozen baked cookies at room temperature for 30–60 minutes. For a fresh-baked warmth, reheat in a 300°F oven for 5–7 minutes to revive crispness and re-melt the butter slightly.
If you want a seasonal twist, test storage methods on a small batch and compare texture after thawing to ensure you preserve the classic bite—this mirrors the make-ahead strategies used for other filled cookies like Chocolate Chip Peep Stuffed Easter Cookies.
Variations & Substitutions for Old Fashioned Pinwheel Cookies
Chocolate-peanut butter pinwheels: Replace half of the vanilla dough with 2–3 tablespoons creamy peanut butter folded into the dough. The result is a nutty swirl that stays tender and pairs beautifully with cocoa.
Spiced ginger pinwheels: Add 1 teaspoon ground ginger and 1/2 teaspoon cinnamon to the vanilla dough, and swap cocoa for a molasses-infused chocolate dough. Expect a warm, holiday-forward cookie that’s slightly chewier.
Lemon-blueberry swirl: Omit cocoa and flavor one dough with 1 tablespoon lemon zest plus 1–2 teaspoons lemon juice, and fold in freeze-dried blueberry powder for color. The cookie becomes bright, tangy, and visually striking.
Date or fruit-filled pinwheels: Mix a thin paste of finely chopped dates or fruit preserves into one dough layer before rolling for a sticky, jammy spiral. This yields a softer center and a rustic, old-fashioned profile inspired by recipes like Chewy Pumpkin Streusel Cookies in concept—dense, flavorful, and chewy.
Frequently Asked Questions About Old Fashioned Pinwheel Cookies
Q: Why did my pinwheel spiral lose definition while baking?
A: The most common cause is slicing a log that wasn’t chilled enough; the dough relaxes and the spiral can smear. Ensure the log is firm and slice with a very sharp knife. Also avoid overworking the dough during assembly which can cause layers to blend.
Q: Can I use a stand mixer instead of hand mixing?
A: Yes, a stand mixer with the paddle attachment is ideal for creaming butter and sugar evenly. Use low speed when incorporating flour to avoid over-developing gluten.
Q: How do I get perfectly even slices from the log?
A: Chill the log until firm but not rock-hard, then measure and mark slices every 1/4 inch with the knife tip before cutting. Wipe the blade between cuts for cleaner edges.
Q: Are these cookies suitable for mailing?
A: Yes—these hold up well in tins when layered with parchment. For long-distance shipping, cushion with tissue and place in a rigid box to prevent crushing; cookies stay fresh about 5 days at room temperature in an airtight tin.
Q: Can I make the dough ahead of time and freeze it?
A: Absolutely. Freeze wrapped logs for up to 3 months. Thaw in the fridge overnight, then slice and bake. This is ideal for holiday baking and reduces day-of work.
Final Thoughts on Old Fashioned Pinwheel Cookies
If you enjoyed this classic cookie, please leave a star rating in the recipe card below and pin it to Pinterest for later. For a historical take on similar date-filled pinwheels, see Grandma’s Old-Fashioned Date Pinwheels – Frugal Hausfrau for inspiration. For another operator’s tested variation, check out Old Fashioned Date Pinwheels – Chef Lindsey Farr. For technique variations and step photos, this guide is helpful: How to Make Pinwheel Cookies – Sally’s Baking Addiction.
Old Fashioned Pinwheel Cookies
Ingredients
Method
- In a bowl, whisk together the flour, baking powder, and salt until evenly distributed; set the bowl aside.
- In a separate large bowl, cream the softened butter and granulated sugar with a mixer on medium speed until the mixture is light, pale, and fluffy.
- Beat the large egg and vanilla extract into the creamed butter and sugar until fully incorporated and smooth.
- Gradually add the dry flour mixture to the wet ingredients, mixing just until the dough comes together and no dry flour patches remain.
- Divide the dough into two even portions. Stir the cocoa powder into one half until thoroughly blended and a deep brown dough forms.
- Roll each dough between sheets of parchment to about 1/4 inch thickness.
- Carefully layer the chocolate sheet on top of the vanilla sheet, aligning the edges, then roll tightly into a log starting from one long side to create a spiral.
- Chill the wrapped log in the refrigerator for about 1 hour to firm the dough for easy slicing.
- Preheat the oven to 350°F (175°C) and line baking sheets with parchment.
- Unwrap and slice the chilled log into 1/4 inch rounds using a sharp knife, wiping crumbs between cuts if needed. Arrange rounds on the prepared baking sheet.
- Bake the slices for 10–12 minutes, or until the edges are lightly golden but centers are still pale. Let cool briefly on the sheet.
- Allow the cookies to cool completely, then dust with powdered sugar before serving.