
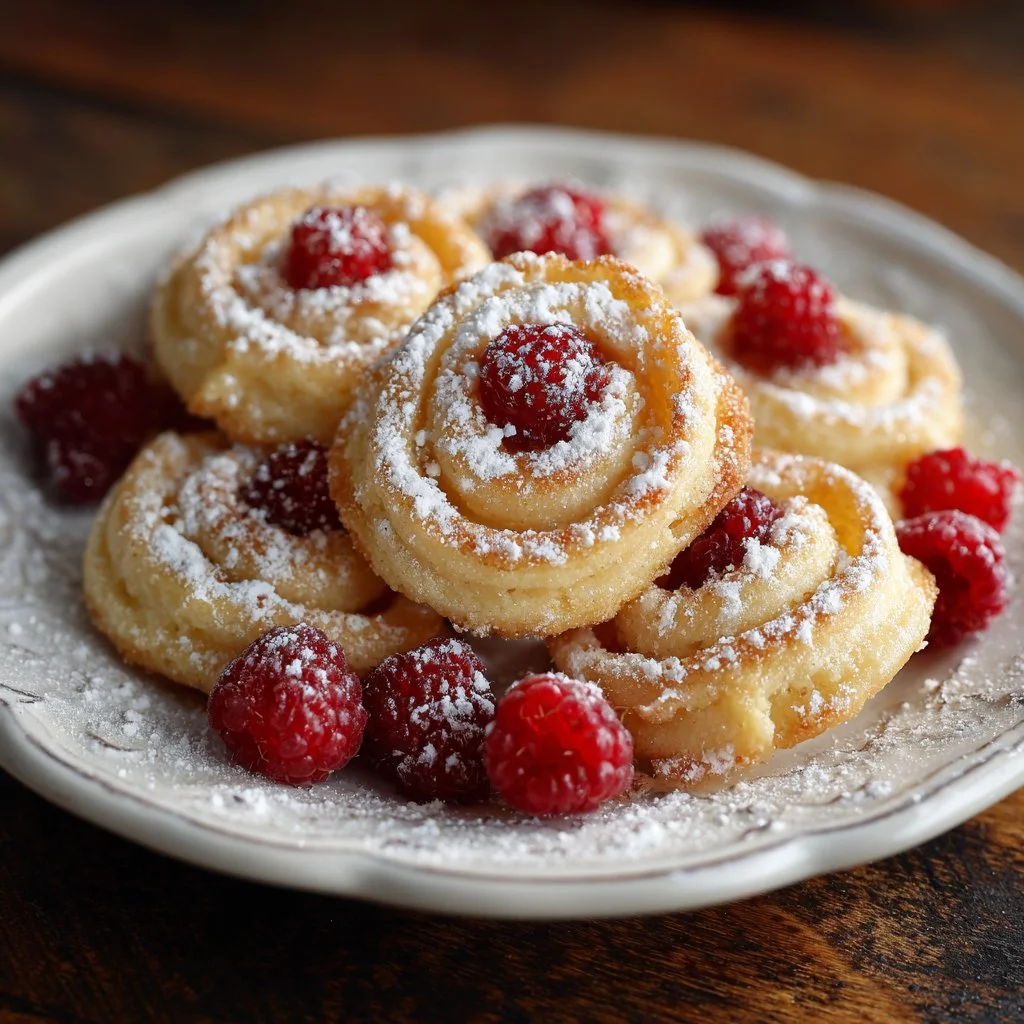
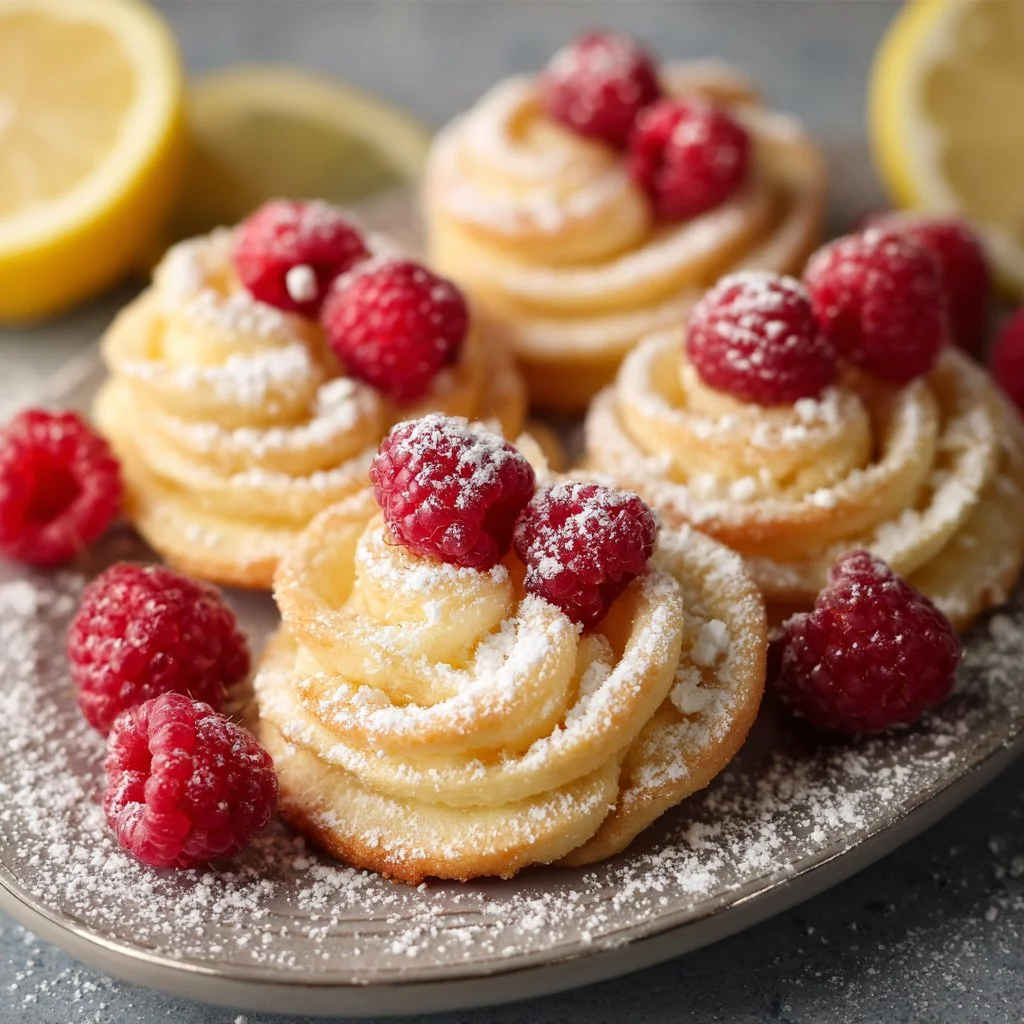
Bright citrus meets jewel-toned raspberries in a playful, easy-to-make dessert that looks fancy but comes together quickly.
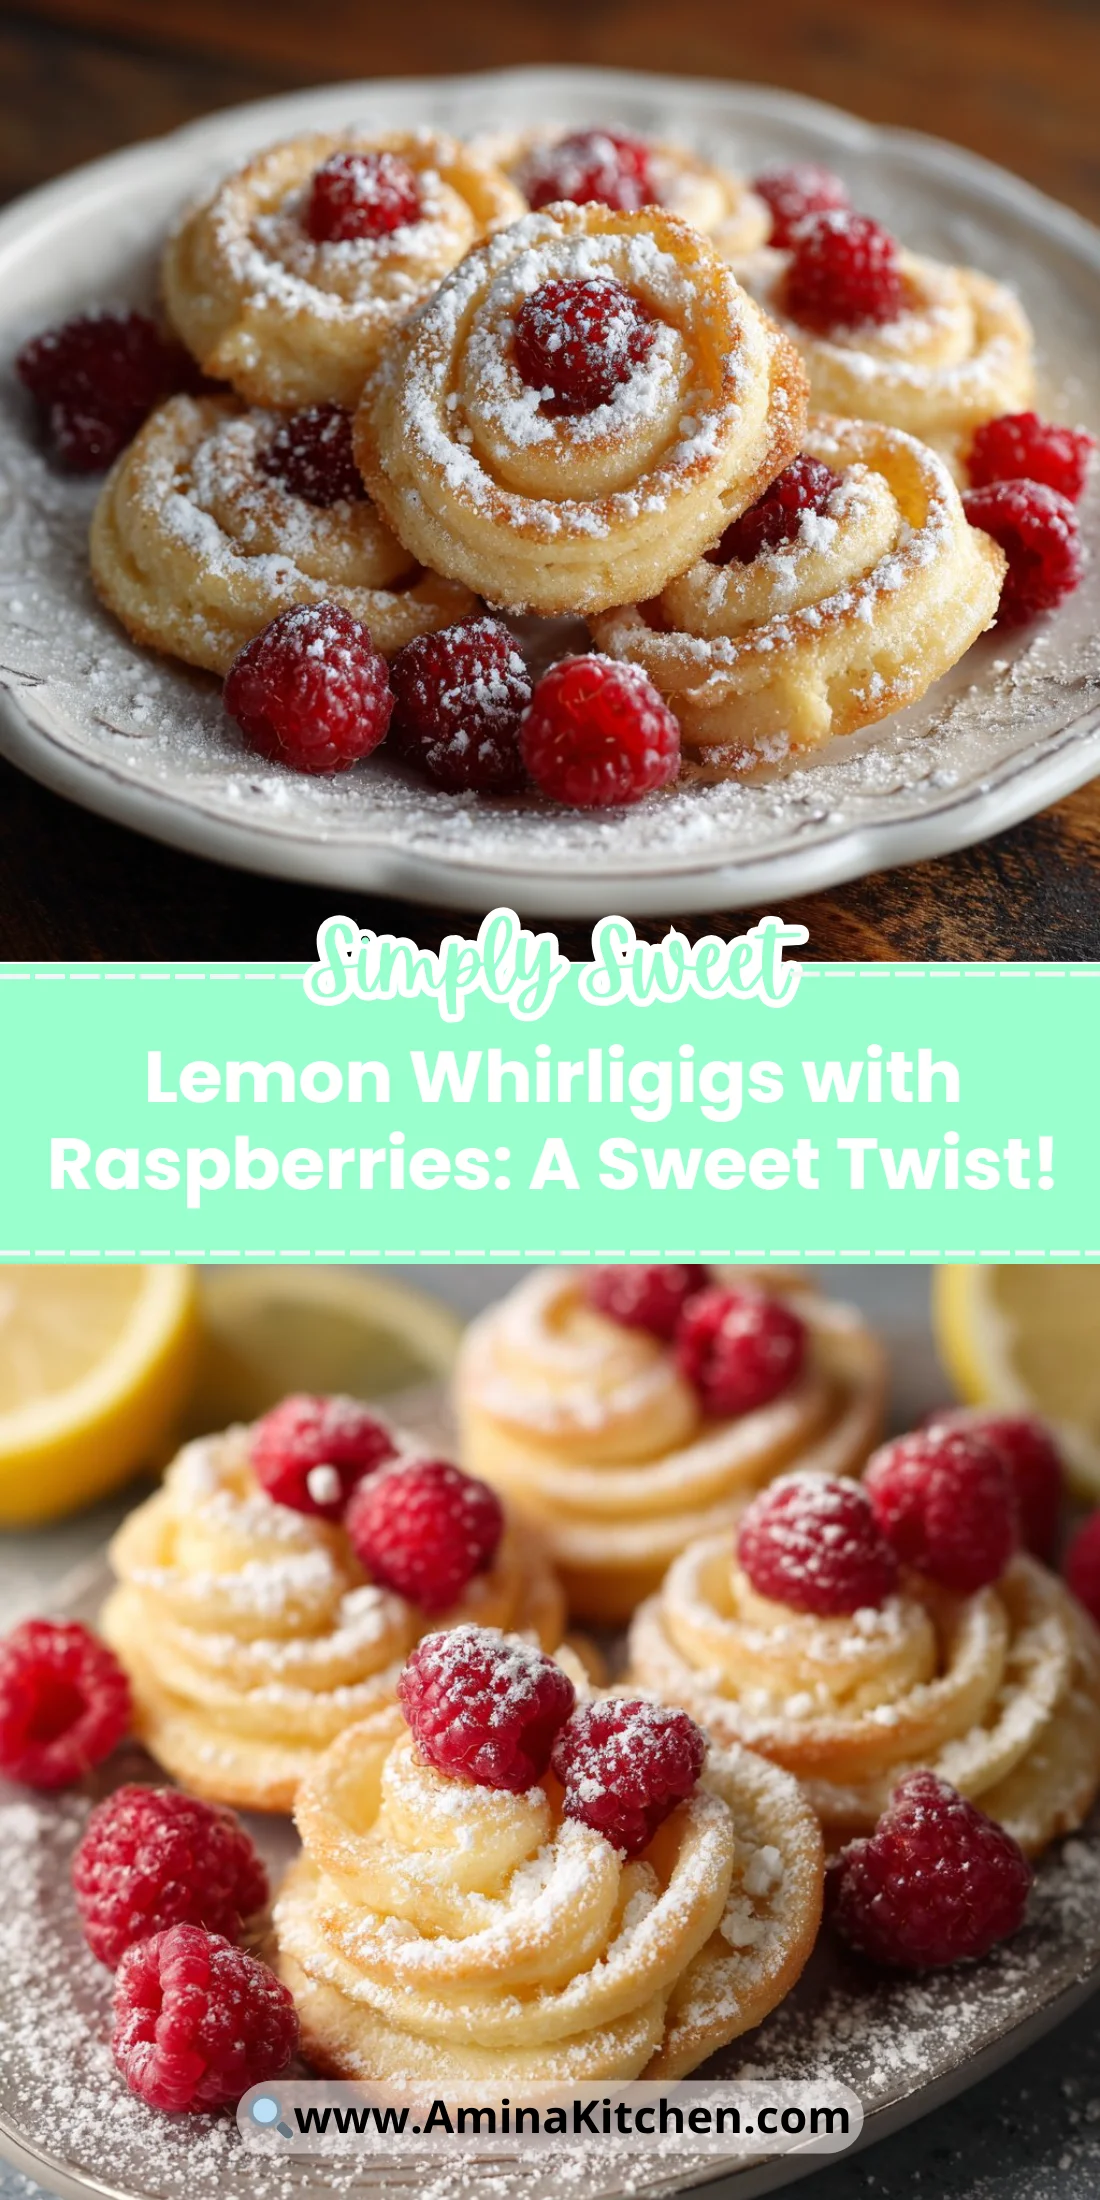
These Lemon Whirligigs with Raspberries: A Sweet Twist! are ideal for brunch, afternoon tea, or a light dessert after dinner.
They’re bright, tender, and slightly tart with a ribbon of raspberry sweetness.
If you love simple baking with big impact, you’ll want to save this one to your favorites and pin it for later using a visual platform like Pinterest or browse similar treats like chocolate-dipped Oreos for party ideas: chocolate-dipped Oreos.
Why You’ll Love This Lemon Whirligigs with Raspberries: A Sweet Twist!
- Bright lemon aroma that cuts through the sweetness.
- Fresh-tasting raspberries add natural acidity and color.
- Soft, tender crumb with a moist interior.
- Easy pantry-friendly ingredients.
- Customizable sugar level for different tastes.
- Quick to assemble and forgiving for novice bakers.
The finished Lemon Whirligigs with Raspberries: A Sweet Twist! have a delicate, tender cake-like base punctuated by bursts of raspberry and a citrus lift from lemon zest. The texture is moist but not heavy, with a lightly browned exterior and a moist interior that soaks up a spoonful of whipped cream or a dusting of powdered sugar.
"Stunning flavor and so simple — I took these to a picnic and everyone asked for the recipe. Perfect balance of lemon and raspberry." — 5 stars
Key Ingredients for Lemon Whirligigs with Raspberries: A Sweet Twist!
Cornstarch (2 tablespoons)
Cornstarch is the thickener that turns the raspberry and water into a glossy, spoonable jam that swirls through the batter. Buy a small can for freshness; if you substitute arrowroot, the raspberry gel will be slightly clearer and set at a lower temperature, which can help with a silkier texture.
Fresh Raspberries (2 cups)
Fresh berries provide bright acidity, natural pectin, and a texture that breaks down into vibrant streaks of red. Choose firm, fragrant berries without mold for the best flavor. If you use blackberries as a variation, expect a darker color and a slightly earthier flavor.
All-Purpose Flour (2 cups)
This is the structural backbone of the batter for Lemon Whirligigs with Raspberries: A Sweet Twist!. Use unbleached all-purpose flour for more consistent results. If you swap a gluten-free flour blend, seek one labeled 1:1 for baking to avoid gritty or crumbly textures.
Shortening (1/2 cup)
Shortening gives a neutral-flavored, tender crumb and helps the whirligigs hold shape without over-browning. If you use butter instead, expect a richer flavor and a slightly more golden exterior; reduce oven temperature by 10–15°F if browning too fast.
Full Ingredient List for Lemon Whirligigs with Raspberries: A Sweet Twist!
- 1 cup Sugar (Use less sugar for a less sweet dessert if desired.)
- 2 tablespoons Cornstarch (Can substitute with arrowroot if unavailable.)
- 1 teaspoon Ground Cinnamon (Optional; can omit if preferred.)
- 1/2 teaspoon Ground Nutmeg (Use fresh nutmeg for better aroma.)
- 1/4 teaspoon Salt (Use sea salt or kosher salt.)
- 2 cups Water (Tap water is sufficient.)
- 2 cups Fresh Raspberries (Can use blackberries for a variation.)
- 2 cups All-Purpose Flour (Can be replaced with a gluten-free flour blend.)
- 1 tablespoon Baking Powder (Ensure it’s fresh for optimal results.)
- 1/2 cup Shortening (Substitute with butter for a richer flavor.)
- 1 large Egg (Room temperature eggs incorporate better.)
- 1/2 cup Half-and-half Cream (Substitute with milk or a dairy alternative.)
- 1/4 cup Butter (melted) (Can use non-dairy margarine if needed.)
- 1 tablespoon Grated Lemon Zest (Optional; can increase for a more pronounced taste.)
- 1 cup Heavy Whipping Cream (Optional) (Can use whipped coconut cream for a non-dairy version.)
Step-by-Step Instructions for Lemon Whirligigs with Raspberries: A Sweet Twist!
Step 1: Make the raspberry swirl
Combine 1 cup sugar, 2 tablespoons cornstarch, 2 cups water, 1/4 teaspoon salt, and optional spices in a medium saucepan. Stir over medium heat until the sugar dissolves and the mixture begins to steam.
Add 2 cups fresh raspberries and gently crush with a wooden spoon. Continue to simmer until the mixture thickens to a saucy jam consistency, about 6–8 minutes.
Remove from heat and let cool slightly; this prevents the heat from cooking the batter when the swirl is added.
Pro Tip: The swirl should be glossy and flow slowly off a spoon, with visible broken raspberry bits and a deep red color.
Step 2: Prepare the dry mix
Whisk together 2 cups all-purpose flour, 1 tablespoon baking powder, and a pinch of cinnamon and nutmeg if using. This ensures even distribution of leavening so the Lemon Whirligigs with Raspberries: A Sweet Twist! rise evenly.
Sift if you prefer a finer crumb.
Pro Tip: The dry mix should look uniform and pale, with no clumps of baking powder; it should feel light when you lift the bowl.
Step 3: Cream the fat and incorporate wet ingredients
In a separate bowl, beat 1/2 cup shortening with 1/2 cup half-and-half, 1 large room-temperature egg, 1/4 cup melted butter, and 1 tablespoon grated lemon zest until smooth. Add 1 cup sugar gradually if not already mixed with the cornstarch step.
Fold the wet mixture into the dry ingredients until mostly combined; a few small streaks of flour are okay.
Pro Tip: The batter should be thick but pourable—like soft cookie dough. When smoothed, it should hold gentle peaks but still spread slowly.
Step 4: Assemble the whirligigs
Spoon half the batter into a prepared pan or portion onto a lined baking sheet. Drop spoonfuls of the raspberry swirl over the batter, then spoon the remaining batter on top. Use a skewer or the tip of a knife to create whirled patterns through both layers.
This swirling creates the visual "whirligig" effect and pockets of concentrated raspberry flavor.
Pro Tip: The swirls should be visible on the surface; when swirled correctly you’ll see ribboned red streaks and pockets of jam that will caramelize slightly while baking.
Step 5: Bake and finish
Bake in a preheated oven at 350°F (175°C) for 18–25 minutes, depending on pan depth, until the top is golden and a toothpick inserted into the edge (not the jam) comes out clean.
Let cool on a rack for 10–15 minutes before slicing or topping with whipped cream.
Pro Tip: The edges should be lightly browned and the interior springy to the touch; if the center jiggled like loose jelly, bake 2–4 minutes longer.
Step 6: Optional whipped cream and serving
If using heavy whipping cream, whip 1 cup to soft peaks and sweeten lightly. Dollop or pipe the cream alongside slices of Lemon Whirligigs with Raspberries: A Sweet Twist! for added contrast.
Garnish with extra lemon zest or a few fresh raspberries.
Pro Tip: Whipped cream should hold soft peaks and be glossy; over-whipped cream will have a granular look and will weep quickly.
Expert Tips for Lemon Whirligigs with Raspberries: A Sweet Twist!
- Temperature tip: Use room-temperature egg and half-and-half so the batter emulsifies smoothly; cold ingredients can lead to a lumpy batter.
- Baking temperature tip: If you notice excessive browning before the center sets, lower the oven by 10–15°F and extend baking time slightly.
- Texture troubleshooting: If the interior is gummy, your flour could be under-measured; spoon and level the flour next time.
- Equipment tip: Use a silicone spatula and a shallow pan for even cooking; a thin metal pan will brown faster.
- Mixing tip: Do not overmix after adding flour; overworked batter develops gluten and yields a tougher crumb.
- Common mistake: Swirling too aggressively will deflate the batter and create dense pockets—use gentle figure-eight motions.
- Visual cue tip: Look for golden edges and a springy center; if the center is still glossy and wet, it needs 2–3 more minutes.
- Serving tip: Chill for 15 minutes to firm the swirl for cleaner slices when plating.
For more notes on oven calibration and oven-friendly techniques, I often compare texture ideas across recipes like this green velvet cake to refine temperature and crumb expectations: green velvet cake.
Storage & Freezing for Lemon Whirligigs with Raspberries: A Sweet Twist!
Fridge storage: Store slices in an airtight container for up to 4 days. Place parchment between layers to prevent sticking.
Freezer storage: Freeze individual slices on a tray until firm, then transfer to a freezer bag for up to 3 months. Wrap tightly to avoid freezer burn.
Thawing: Thaw overnight in the refrigerator or at room temperature for 30–60 minutes. Reheat gently in a 300°F oven for 6–8 minutes if you want a warm serving.
Reheating: Warm slices should be covered loosely with foil to prevent drying. Add fresh whipped cream after reheating rather than before, to keep the cream stable.
Variations & Substitutions for Lemon Whirligigs with Raspberries: A Sweet Twist!
Berry swap variation: Substitute blackberries or blueberries for raspberries and adjust sugar down by 1–2 tablespoons for very sweet berries. The texture will be slightly less tart and more jammy, with deeper color.
Citrus-forward variation: Increase lemon zest to 2 tablespoons and add 1 tablespoon fresh lemon juice for a brighter, tangier profile. The whirligigs will have a more pronounced citrus bite and pair well with lightly sweetened cream.
Dairy-free variation: Replace half-and-half with a full-fat oat or almond milk and use melted non-dairy margarine instead of butter; whip coconut cream as a topping. Expect a slightly looser crumb and a different mouthfeel, but the flavor will remain delightful.
Cheesy twist variation: Fold in 1/2 cup soft cream cheese sweetened slightly for a cheesecake-style ripple when combined with the raspberry swirl. This creates a richer, creamier texture reminiscent of a cross between cake and cheesecake and pairs beautifully with a short cup of coffee or tea, similar to indulgent profiles in a peppermint bark cheesecake: peppermint bark cheesecake.
Frequently Asked Questions About Lemon Whirligigs with Raspberries: A Sweet Twist!
Q: Can I make the raspberry swirl ahead of time?
A: Yes. Make the swirl up to 48 hours ahead and refrigerate in an airtight container. Rewarm gently before assembling so it spreads more easily; if it thickens too much in the fridge, stir in 1–2 teaspoons warm water to loosen.
Q: How can I prevent the raspberries from bleeding too much into the batter?
A: Cook the raspberry mixture to a thick jam consistency and let it cool slightly before adding to the batter. Drop dollops rather than pouring; this creates defined streaks rather than complete blending.
Q: My whirligigs came out dense. What went wrong?
A: Density usually means overmixing or too much flour. Ensure you measure flour by spooning it into the measuring cup and leveling, and stop mixing when the batter is just combined. Also check that baking powder is fresh.
Q: Can I halve the recipe or bake in a different pan?
A: You can halve the recipe easily and bake in an 8-inch square pan; reduce baking time slightly and test for doneness earlier. Shallow pans bake quicker, so monitor at the 15-minute mark for the smaller batch.
Q: How do I get clean slices with the swirl intact?
A: Chill slices briefly for 15–20 minutes or refrigerate to firm the swirl before slicing. Use a sharp knife warmed in hot water and wiped dry between cuts for the cleanest edges.
Final Thoughts on Lemon Whirligigs with Raspberries: A Sweet Twist!
Try this recipe for a bright, approachable dessert that keeps well and performs beautifully at gatherings. If you enjoyed it, please leave a star rating in the recipe card below and pin this to Pinterest for later inspiration.
For more raspberry ideas and pairing inspiration, explore the collection of fresh raspberry recipes at 68 Sweet and Tasty Fresh Raspberry Recipes.
If you like historic or unusual recipe notes and want a nostalgic riff on mixes and baking shortcuts, check the very old Bisquick notes at Very old Bisquick recipe – Ellen’s Kitchen.
For outdoor-baking and cast-iron inspiration around seasonal cooking, this dutch-oven project archive is a fun read: The 1st Year – Dutch Oven Madness!