
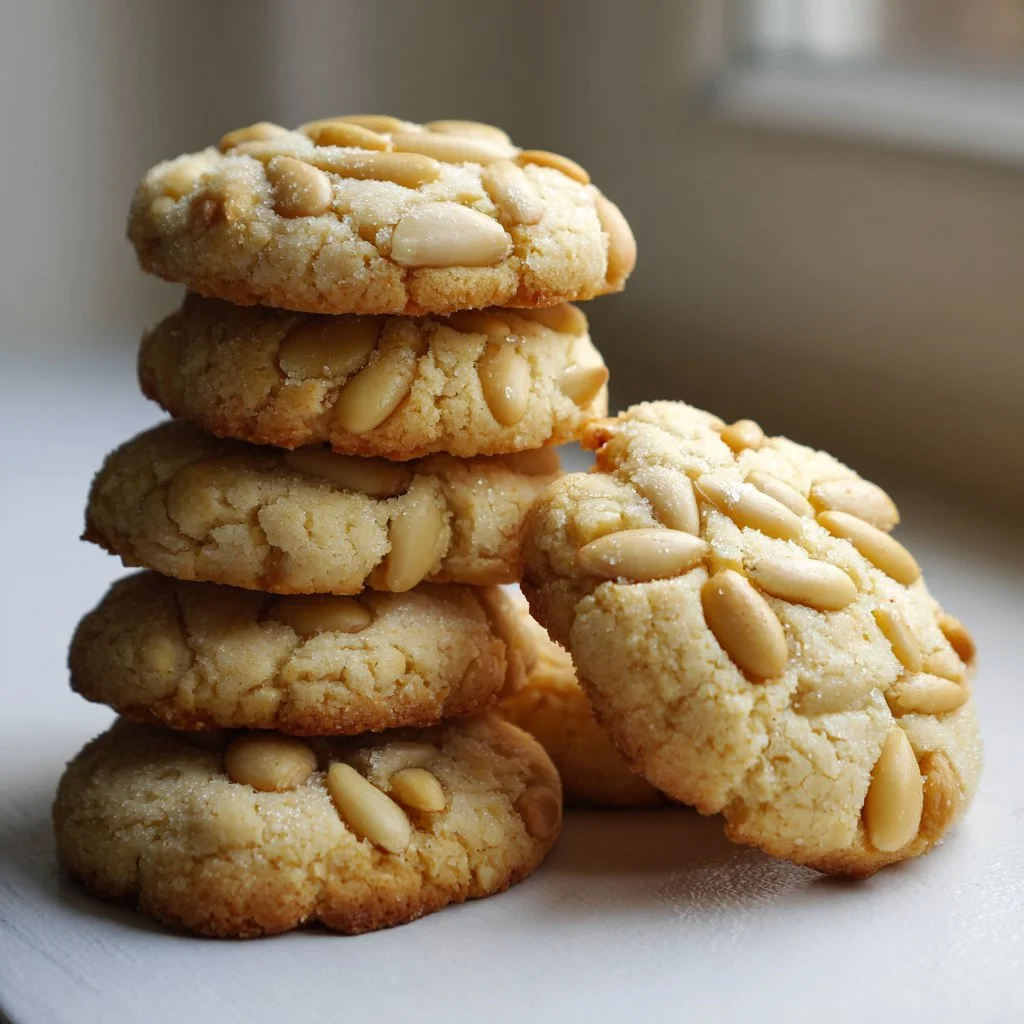
A bite of nutty, chewy Italian Pine Nut Cookies feels like sunshine on the tongue.
They’re simple to make but elegantly flavored, perfect for gifting or an afternoon coffee.
This recipe needs only four ingredients and a food processor or mixer.
Expect golden pine nut crusts and a tender almond interior.
Why You’ll Love This Italian Pine Nut Cookies
– Only four ingredients for an impressive, bakery-quality cookie.
– Naturally gluten-free when made with pure almond paste.
– Quick to mix—no chilling required.
– Crowd-pleasing texture: crisp on the outside, soft inside.
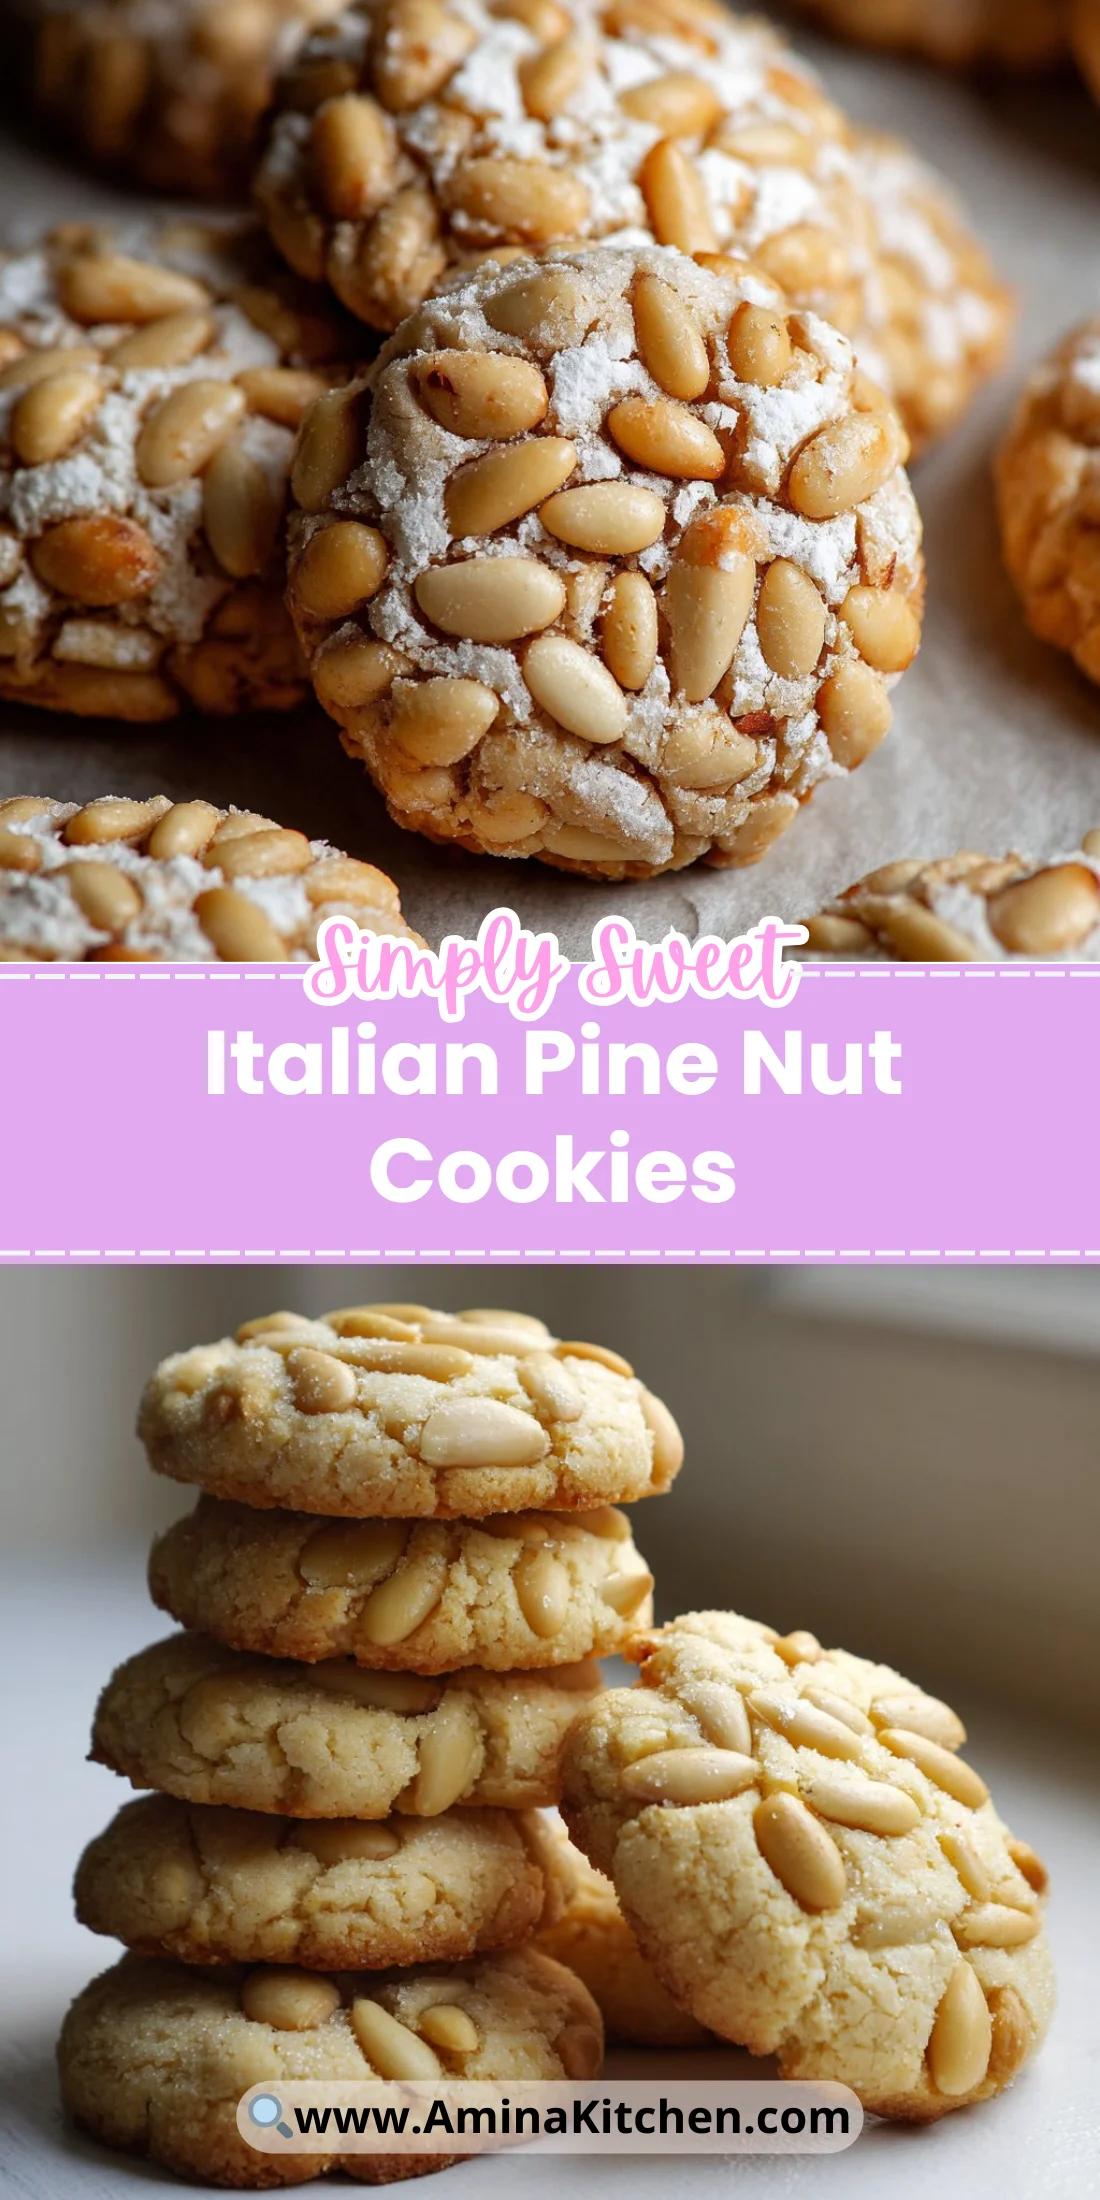
– Visually stunning: golden pine nut crust makes a beautiful presentation.
– Great for gifting and holidays because they travel well.
– Low equipment needs: food processor or stand mixer and a baking sheet.
These Italian Pine Nut Cookies have a delicate chew from the almond paste and a toasted, buttery crunch from the pine nuts. The sugar and egg white hold everything together while letting the almond flavor shine. The result is lightly sweet, richly nutty cookies with a glossy, golden pine-nut exterior.
★★★★★ “These cookies disappeared at my dinner party—crisp edges, soft centers, and the pignoli coating made them look like they belonged in a pastry shop. Easy and addictive!” — Elena, home baker
Key Ingredients for Italian Pine Nut Cookies
Almond paste – 7 ounces
Almond paste is the backbone of these Italian Pine Nut Cookies. Choose a quality almond paste (not marzipan that’s very sweet) for a pure almond flavor and the right oil content. If you substitute with equal parts finely ground blanched almonds plus a touch of almond extract, the texture may be drier and require a tiny extra egg white.
Granulated sugar – 1/2 cup
Granulated sugar sweetens and helps create structure in the Italian Pine Nut Cookies without weighing them down. Use fine granulated sugar for smoother integration into the almond paste; sanding or raw sugars will change the mouthfeel. Reducing sugar will make cookies less golden and slightly more fragile.
Egg white – 1 large
The egg white binds the almond paste and sugar into a slightly sticky dough for Italian Pine Nut Cookies. It also helps give the exterior a subtle sheen under the pine nuts. If you use a pasteurized egg white or a small amount of aquafaba, expect slightly different lift and browning—egg white gives the best chew and set.
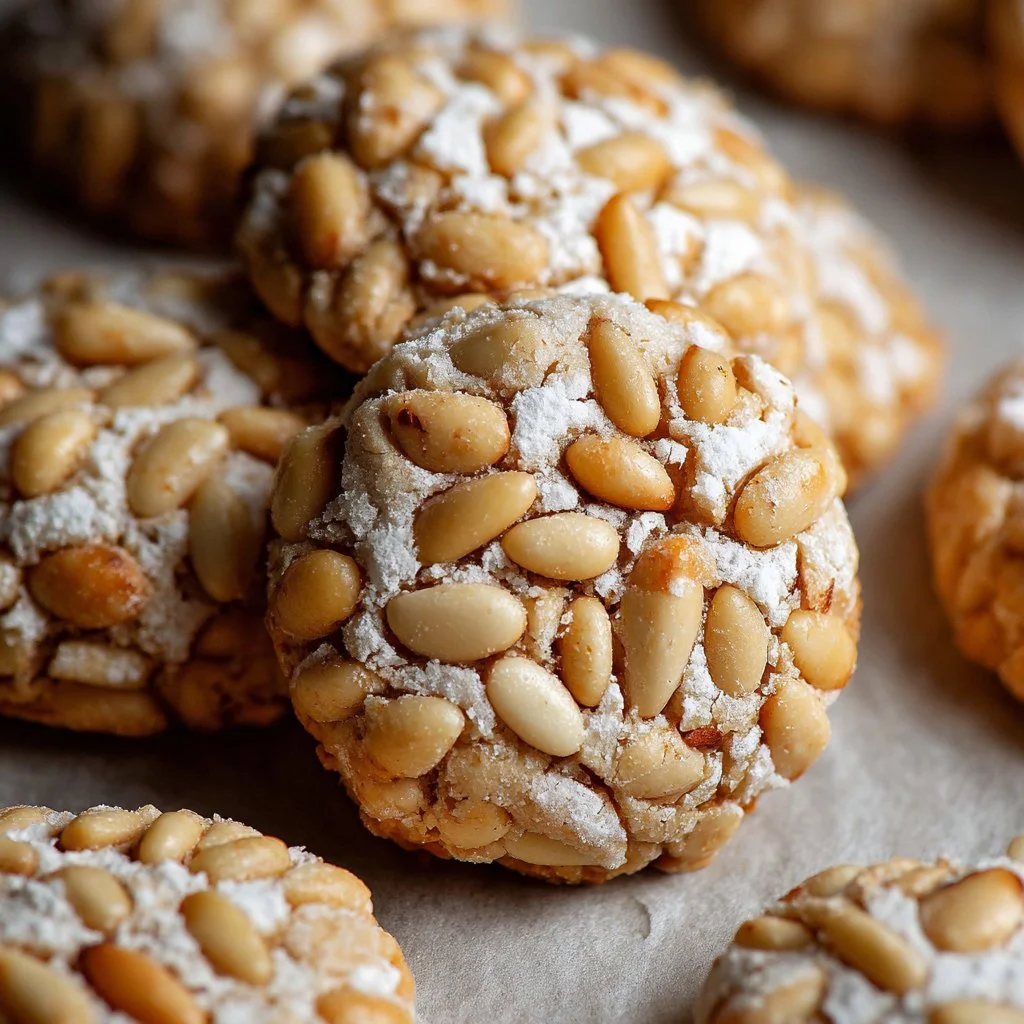
Pine nuts (pignoli) – 1 cup
Pine nuts are classic for Italian Pine Nut Cookies; they toast beautifully and provide a tender crunch and buttery flavor. Buy fresh pine nuts in a sealed bag or refrigerated section to prevent rancidity. Substituting chopped almonds changes the signature look and flavor but can work in a pinch; the texture will be firmer and less melt-in-your-mouth.
Full Ingredient List for Italian Pine Nut Cookies
– 7 ounces almond paste
– 1/2 cup granulated sugar
– 1 large egg white
– 1 cup pine nuts (pignoli)
Step-by-Step Instructions for Italian Pine Nut Cookies
Step 1: Preheat oven and prepare baking sheet
Preheat your oven to 350°F (175°C). Line a large baking sheet with parchment paper or a silicone baking mat so cookies don’t stick and the pine nuts can brown evenly.
Pro Tip: The oven should smell neutral and be fully preheated; a correctly preheated oven gives even browning and a golden pine nut crust.
Step 2: Break almond paste and add sugar
Break the almond paste into small chunks. Place the chunks and granulated sugar into a food processor or stand mixer bowl fitted with the paddle attachment.
Pro Tip: The paste should break into pieces easily; if it’s too firm, let it sit at room temperature 10 minutes so it softens for smoother processing.
Step 3: Pulse or beat to fine crumbs
Pulse the processor or beat on medium until the mixture reaches the consistency of fine, uniform crumbs. Stop and scrape down the bowl so no large pieces remain.
Pro Tip: It should look like coarse sand—no visible chunks. If you see clumps, pulse a few more times until uniform.
Step 4: Add the egg white and make dough
Add the egg white to the mixture. Process or beat on medium speed until a smooth, thick, and slightly sticky dough forms. The dough should hold together when pressed.
Pro Tip: The dough should feel slightly tacky, not wet. If it’s too loose, chill 5–10 minutes; if too dry, add a tiny drop of egg white and mix.
Step 5: Prep pine nuts and shape dough
Place the pine nuts in a shallow bowl or plate. Scoop approximately 1 tablespoon of dough at a time and roll between your palms to form a ball.
Pro Tip: The balls should be smooth and compact with no fissures; if cracks appear, the dough needs a touch more moisture or a quick press to seal.
Step 6: Coat balls in pine nuts and arrange
Roll each dough ball in the pine nuts, pressing gently so the nuts adhere and cover the entire surface. Arrange the balls on the prepared baking sheet, spaced 2 inches apart.
Pro Tip: The pine nuts should cling in a tight, even layer. If nuts fall off, press them firmly but gently so the entire surface is covered.
Step 7: Bake until golden
Bake for 15 to 18 minutes, or until the pine nuts are golden brown and the edges are set. Watch closely in the final minutes to avoid scorching.
Pro Tip: The pine nuts will turn a warm golden and emit a toasty aroma when ready; the cookie edges will look set but the centers remain slightly tender.
Step 8: Cool the cookies
Allow the cookies to cool on the pan for 5–10 minutes before transferring them to a wire rack to cool completely. Cooling on the sheet helps them finish setting without crumbling.
Pro Tip: After 5–10 minutes, the cookies will lift cleanly with a thin, golden base; if they stick, chill the pan 3–5 minutes and try again.
Expert Tips for Italian Pine Nut Cookies
– Temperature tip: Always preheat the oven fully to 350°F (175°C). A lower temp gives pale nuts; a hotter oven risks burning the pine nuts before the interior sets.
– Dough texture troubleshooting: If the dough is crumbly, add a scant teaspoon of egg white or press firmly until it binds. If too sticky, chill briefly.
– Pine nut freshness: Buy pine nuts in small quantities and store them refrigerated. Stale pine nuts taste bitter and won’t brown well.
– Equipment tip: A food processor gives the smoothest dough; a stand mixer with paddle works but may need more scraping.
– Rolling tip: Use lightly moistened palms if the dough sticks too much; dry hands will crack the balls.
– Baking sheet tip: Use light-colored baking sheets to avoid over-browning the pine nuts; dark pans speed up color change.
– Common mistake: Over-processing almond paste until it turns oily; stop when it’s crumbly but not greasy.
– Visual cue tip: Look for an even golden-brown shell of pine nuts; that indicates proper baking and toasty flavor.
Storage & Freezing for Italian Pine Nut Cookies
Fridge storage: Store cooled Italian Pine Nut Cookies in an airtight container in the refrigerator for up to 7 days. Use parchment between layers to prevent sticking.
Freezer storage: Freeze cookies in a single layer on a tray until firm, then stack in a freezer-safe container with parchment separators for up to 3 months. Vacuum-seal bags also work well to prevent freezer burn.
Thawing: Thaw frozen Italian Pine Nut Cookies at room temperature for 30–60 minutes before serving. For crisper nut texture, refresh in a 300°F (150°C) oven for 5 minutes.
Reheating: Warm cookies in a 300°F (150°C) oven for 4–6 minutes to revive freshness. Avoid the microwave, which can make them rubbery.
Best containers: Use airtight tins or glass containers with tight lids for fridge storage and heavy-duty freezer bags or rigid plastic containers for freezing.
Variations & Substitutions for Italian Pine Nut Cookies
Almond-chocolate pignoli: Fold in 1/4 cup finely chopped dark chocolate or mini chocolate chips to the dough before shaping. The result is a bittersweet contrast to the sweet almond interior and toasty pine nuts.
Citrus-scented pignoli: Add 1 teaspoon finely grated lemon or orange zest to the dough. This brings a bright, aromatic lift that pairs beautifully with the nutty base.
Coconut-pignoli twist: Replace 1/4 cup of the almond paste with unsweetened shredded coconut blended fine. Expect a slightly drier, chewier cookie with tropical notes and a different texture under the pine nuts.
Nut swap for allergies: Substitute chopped toasted sunflower seeds or finely chopped pistachios for pine nuts. The flavor profile will shift, and sunflower seeds add an earthy note while pistachios add color and richness.
Frequently Asked Questions About Italian Pine Nut Cookies
Q: Are Italian Pine Nut Cookies gluten-free?
A: Yes, when made with almond paste, granulated sugar, egg white, and pine nuts, these Italian Pine Nut Cookies are naturally gluten-free. Always check labels on almond paste and packaged pine nuts to ensure no cross-contamination if you need strict gluten-free certification.
Q: Can I make the dough ahead of time?
A: You can prepare the dough and refrigerate it for up to 24 hours wrapped tightly in plastic. Bring it to room temperature for 10–15 minutes before shaping so it rolls smoothly. If refrigerated, you may need an extra minute in the oven.
Q: Why are my cookies spreading or flattening?
A: Spreading usually means the dough was too warm or the oven temperature too low. Chill the shaped balls 5–10 minutes before baking and ensure the oven is fully preheated to 350°F (175°C). Using a light baking sheet also prevents extra heat transfer that causes spreading.
Q: How can I prevent the pine nuts from burning?
A: Use a moderate oven temperature and light-colored baking sheets, and monitor closely in the last 3–5 minutes. If nuts brown too fast, tent loosely with foil for the final minutes or lower oven temp by 10–15°F and extend bake time slightly.
Q: Can I use marzipan instead of almond paste?
A: Marzipan is much sweeter and smoother than traditional almond paste; it will yield a sweeter, denser cookie and may need less added sugar. If you use marzipan, reduce granulated sugar slightly and watch baking time as it browns faster.
Final Thoughts on Italian Pine Nut Cookies
These Italian Pine Nut Cookies are a simple, elegant cookie that delivers big flavor with minimal effort. If you love nut-forward pastries, this recipe is an essential one to master.
For a deeper how-to with step-by-step photos, see a detailed guide from The Clever Carrot that complements these tips.
If you prefer a video walkthrough, check out this easy pignoli cookies recipe with video to watch shaping and rolling techniques.
For a classic, tested family version, compare methods in Lidia’s Italian pignoli cookies to refine your preferred texture.
Please leave a star rating in the recipe card below and pin this Italian Pine Nut Cookies recipe to your favorite Pinterest board.
Italian Pine Nut Cookies
Ingredients
Method
- Preheat oven to 350°F (175°C) and line a baking sheet with parchment paper.
- Break almond paste into small chunks and add to a food processor with the granulated sugar.
- Pulse until the mixture resembles fine crumbs, scraping down the bowl as needed.
- Add egg white and blend until a smooth, thick dough forms.
- Prepare pine nuts in a shallow bowl.
- Form dough into balls, approximately 1 tablespoon each.
- Roll each ball in pine nuts, then arrange on the prepared baking sheet, spaced 2 inches apart.
- Bake for 15 to 18 minutes until golden brown, monitoring closely.
- Cool on the pan for 5–10 minutes before transferring to a wire rack.