
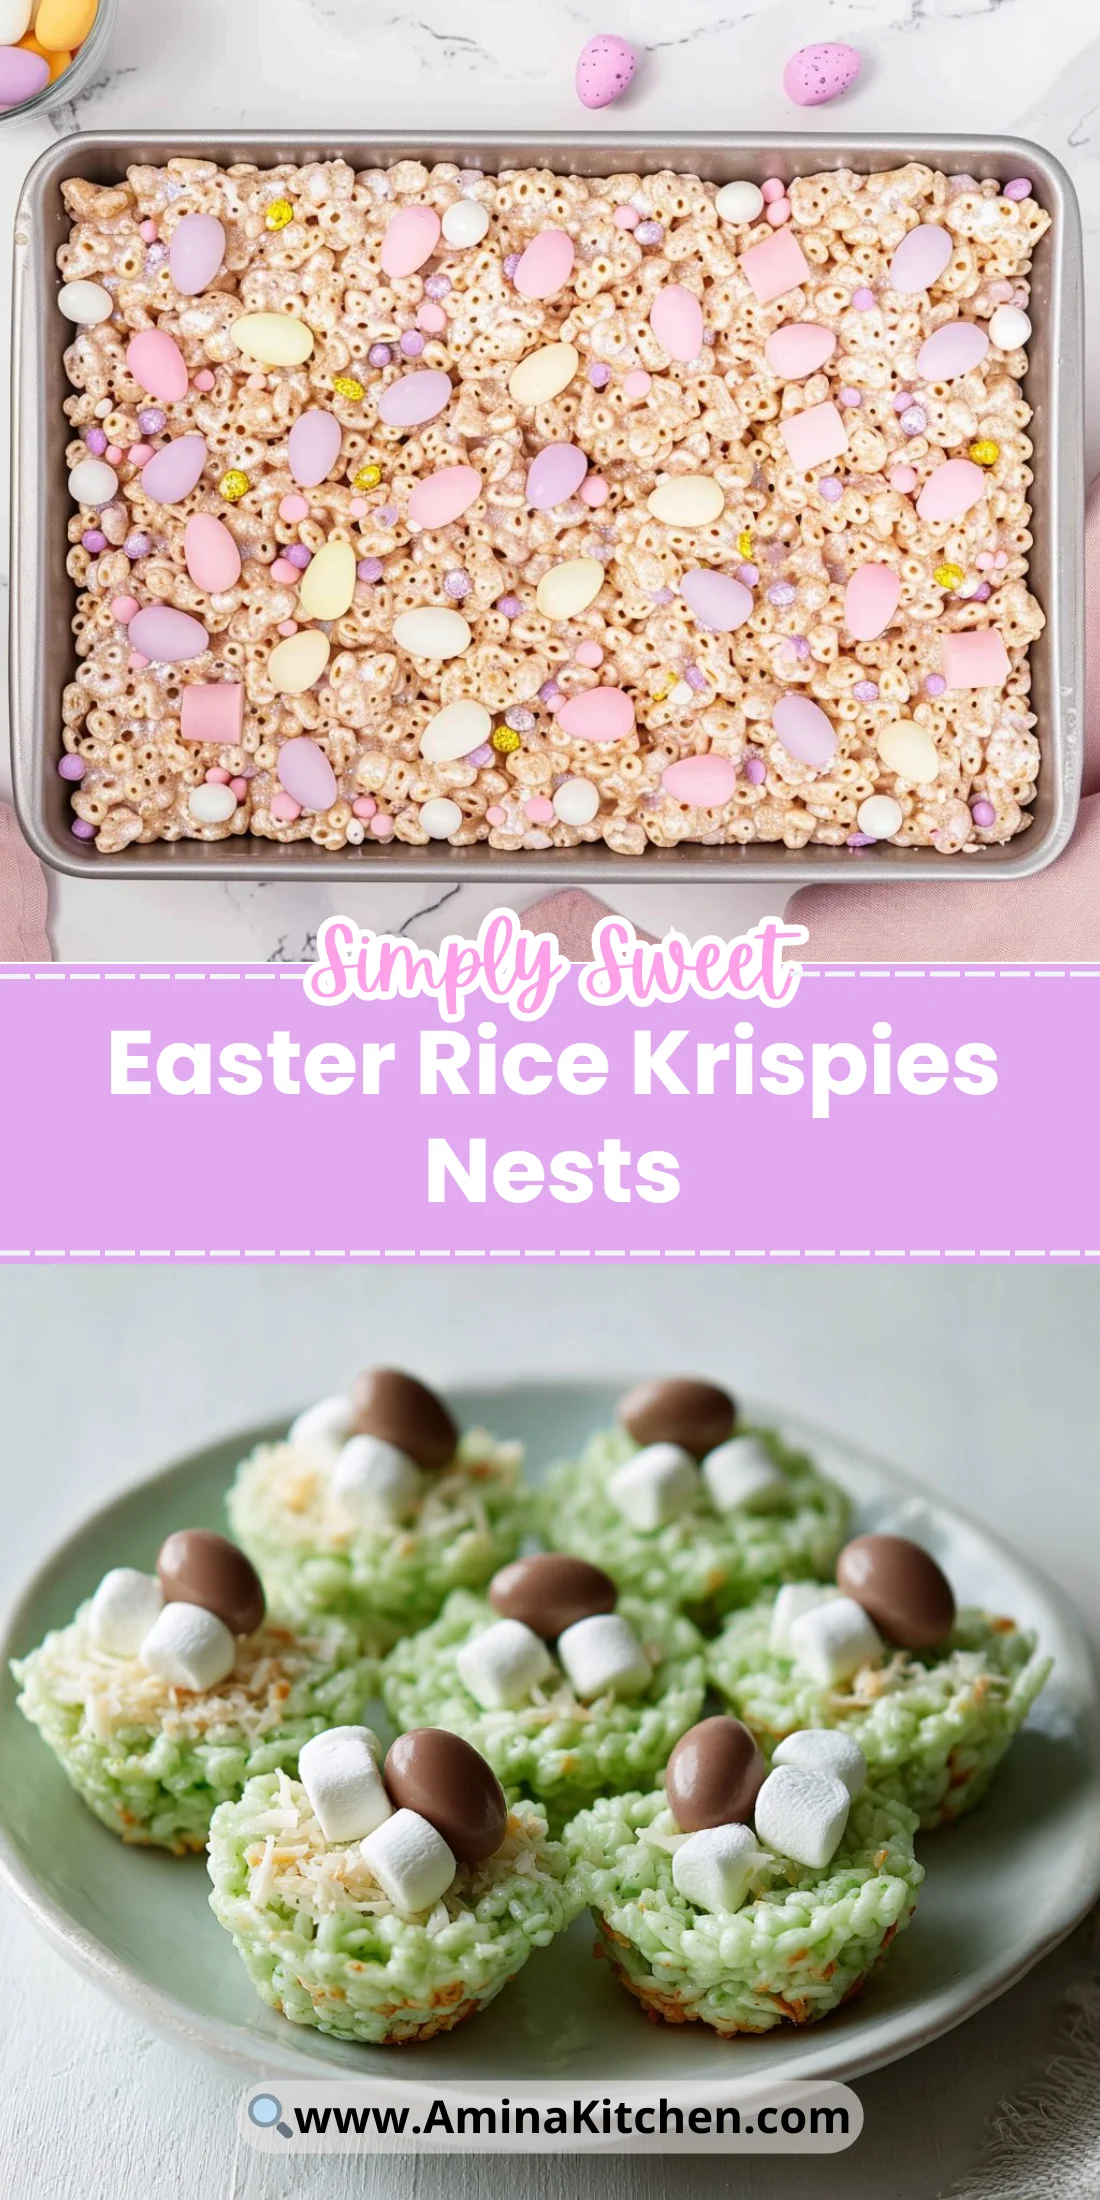
Bright, crunchy, and endlessly fun, these Easter Rice Krispies Nests are a nostalgic no-bake treat that comes together in minutes.
They’re perfect for kids’ parties, last-minute hostess gifts, or a simple holiday centerpiece.
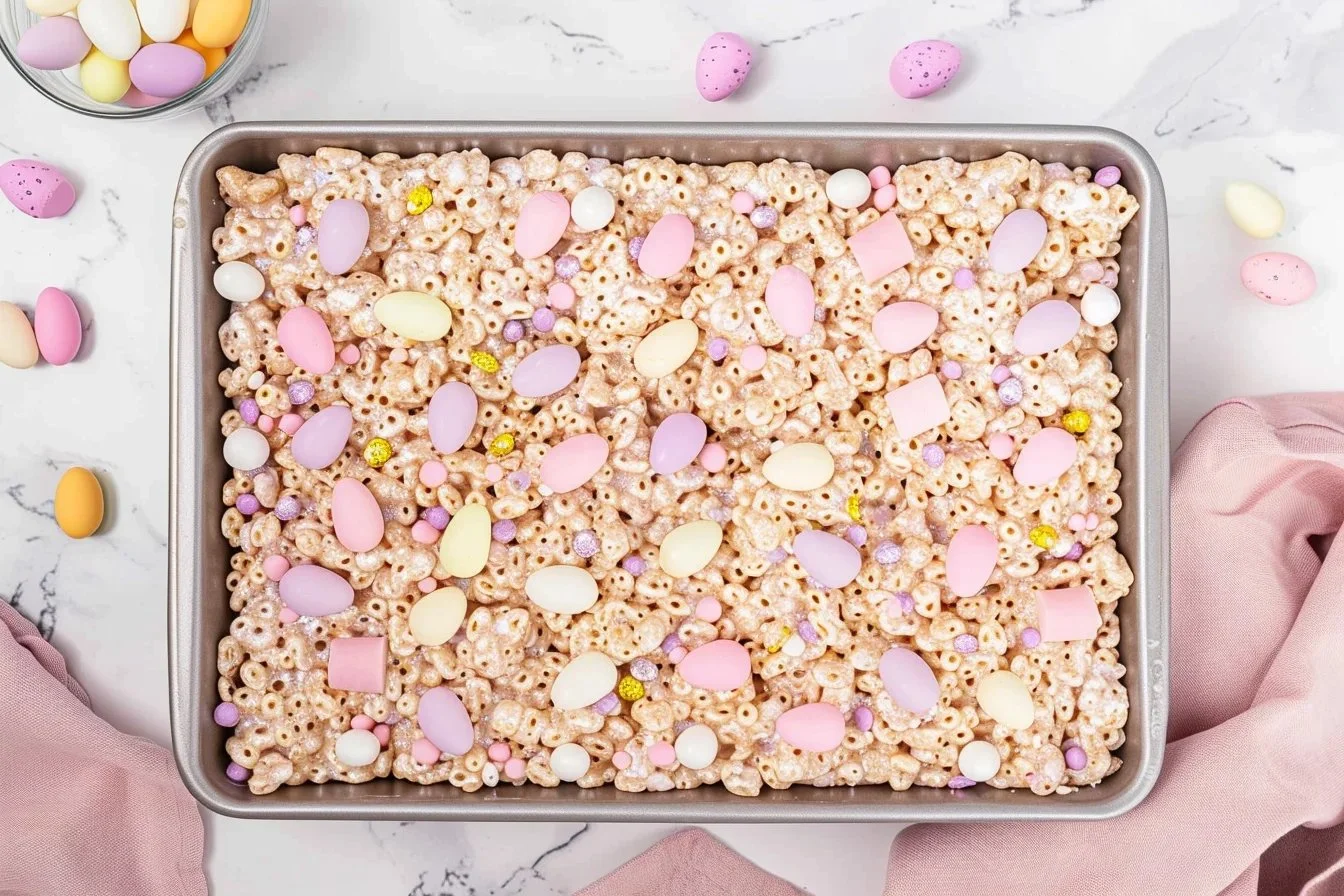
You only need a few pantry staples and a cupcake tin to shape charming edible nests.
Keep your hands greased and the marshmallow warm for the best results.
Why You’ll Love This Easter Rice Krispies Nests
- Quick no-bake recipe ready in under 30 minutes.
- Kid-friendly assembly that doubles as a craft activity.
- Portable, mess-free individual servings.
- Customizable decorations to suit any Easter theme.
- Uses pantry staples you likely already have.
- Great make-ahead option for parties and classrooms.
These nests deliver a contrast of textures: the toasted chew of Rice Krispies, the glossy stretch of melted marshmallows, and the dry, slightly crunchy bite of tinted coconut “grass.” Sweetness is balanced by the lightness of the cereal and the toasted butter flavor, while the mini eggs and jelly beans add a candy crunch and bursts of color.
"Absolutely adorable and so easy. My kids loved making them and the nests held together perfectly. Five stars for a stress-free Easter treat!"
Key Ingredients for Easter Rice Krispies Nests
Butter (unsalted) — 3 tablespoons.
Butter provides fat that melts with marshmallows to coat the cereal and keep nests pliable. Buy fresh unsalted butter for a clean, sweet flavor; salted butter can make the nests taste slightly savory. If you substitute margarine, expect a softer set and less depth of flavor.
Marshmallows (regular or 4 cups mini) — 10 ounces.
Marshmallows are the binder and the source of that glossy, sticky texture. Use fresh, full-sized marshmallows or an equal volume of mini marshmallows; stale marshmallows won’t melt smoothly and can result in clumps. If you use marshmallow fluff, you’ll need to adjust heat and may lose some structure.
Rice Krispies cereal — 6 cups.
This cereal gives the nests their signature crisp-tender texture and structure. Choose the original Rice Krispies for the best consistency; puffed rice alternatives can make the nests too airy or crumbly. Over-toasting cereal (if you attempt it) will make nests hard rather than pleasantly crisp.
Flaked coconut — 1/2 cup (tinted green).
Tinted coconut turns plain nests into grassy-looking bases for the eggs. Buy unsweetened flaked coconut if you prefer less sweetness, though sweetened coconut gives a more candy-like finish. If you skip the coconut and just use green-dyed sugar, the texture will be crunchier and less natural-looking.
Full Ingredient List for Easter Rice Krispies Nests
- Water – 1/4 teaspoon
- Green food coloring – 2 to 4 drops
- Flaked coconut – 1/2 cup
- Unsalted butter – 3 tablespoons
- Regular marshmallows (or 4 cups mini) – 10 ounces
- Rice Krispies cereal – 6 cups
- Miniature marshmallows (for garnish) – 1/4 cup
- Small jelly beans (for garnish) – 1/4 cup
- Chocolate eggs (for garnish) – 1/2 cup
Step-by-Step Instructions for Easter Rice Krispies Nests
Step 1: Prep the cupcake tin and coconut
Coat 16 cupcake tin cups with non-stick cooking spray so the nests release easily when cooled.
In a small bowl, mix 1/4 teaspoon water and 2–4 drops green food coloring, then stir in 1/2 cup flaked coconut until evenly tinted. Spread the tinted coconut in a thin layer on a baking sheet to dry while you make the cereal base.
Pro Tip: The coconut should look uniformly green and slightly fluffy, not wet or clumped together.
Step 2: Melt the butter and marshmallows
Melt 3 tablespoons unsalted butter in a large saucepan over low heat. Add 10 ounces of marshmallows and stir continuously until completely melted and glossy. Remove the pan from heat before adding cereal.
Pro Tip: The mixture should be smooth, shiny, and have a light marshmallow aroma; no white chunks should remain.
Step 3: Combine cereal with marshmallow mixture
Add 6 cups Rice Krispies cereal to the melted marshmallow in the pan and fold gently until every flake is evenly coated. Work quickly—the mixture sets fast as it cools.
Pro Tip: The cereal should be evenly glossy and slightly warm to the touch, not gooey or overly dry.
Step 4: Shape nests in the cupcake tin
Grease your hands with non-stick spray or butter. Divide the warm Rice Krispies mixture into the 16 prepared cups, pressing against the sides to create a bowl-shaped nest with a hollow center for filling. Smooth the top edges for a clean look.
Pro Tip: The nest walls should be about 1/4 inch thick and spring back slightly when pressed; if they crumble, the mixture cooled too much.
Step 5: Cool and remove from tin
Let the nests cool completely in the tin at room temperature, about 20–30 minutes, before gently lifting them out. Cooling fully ensures they hold their shape.
Pro Tip: When ready, the nests will feel firm, not tacky, and will pop out cleanly with a slight tug.
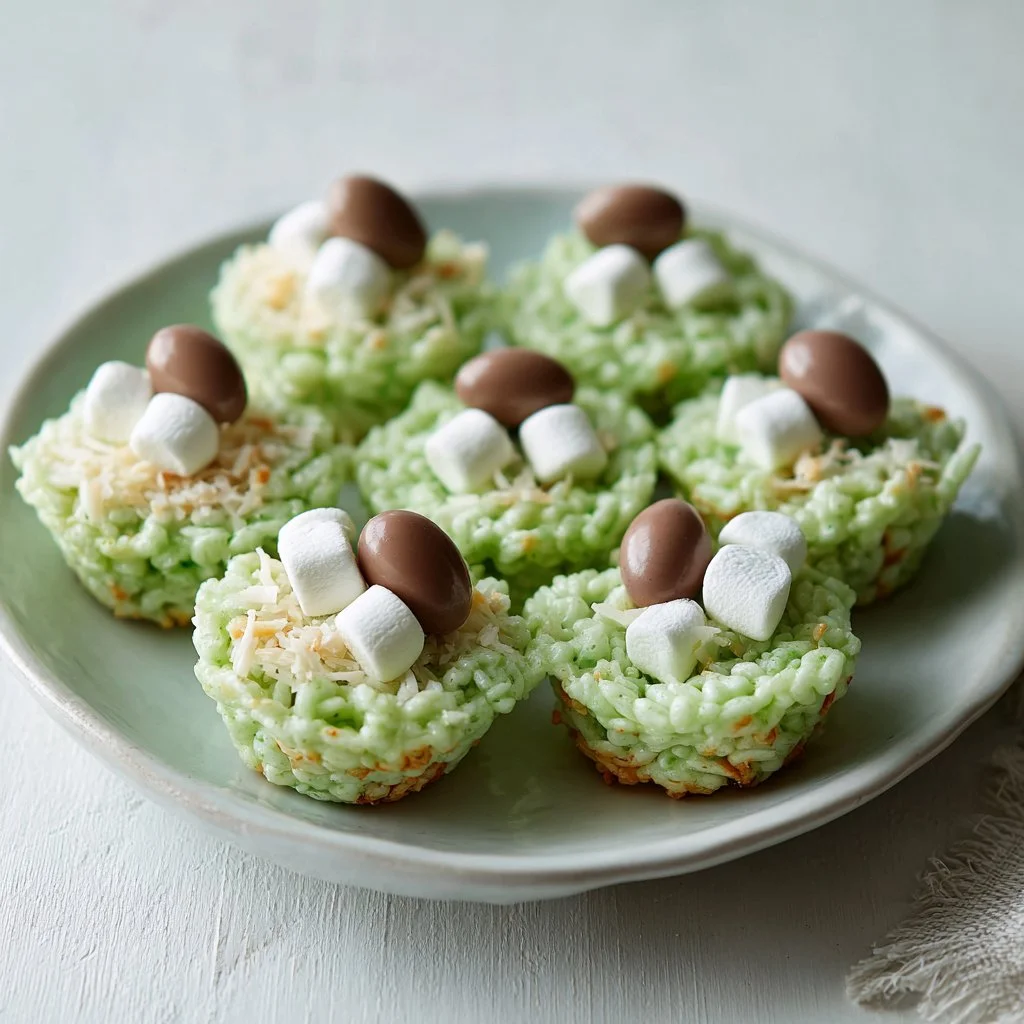
Step 6: Fill the nests and garnish
Fill each nest with a spoonful of the green coconut grass. Top with miniature marshmallows, small jelly beans, and chocolate eggs—about a tablespoon of mixed candies per nest. Serve immediately or store as directed below.
Pro Tip: The finished nests should look filled but not overflowing; the coconut adds a soft, grassy texture that contrasts with the candy eggs.
Expert Tips for Easter Rice Krispies Nests
- Work quickly while the marshmallow mixture is warm; once it cools it becomes difficult to shape.
- Keep heat low when melting; high heat scorches marshmallows and creates grainy texture.
- Grease your hands and the spatula to prevent sticking and to get smoother nest walls.
- If nests are crumbly, add an extra 1–2 tablespoons melted marshmallow for more binding power.
- For firmer nests, press mixture firmly into the tin and allow extra cooling time.
- Use a 16-cup cupcake tin for uniform nest size; silicone molds can make removal easier.
- Avoid adding too many mix-ins (nuts, pretzels) into the base or the nests will not hold the hollow shape.
- Watch the coconut moisture; if it’s wet, dry it longer to avoid soggy grass that makes nests heavy.
Storage & Freezing for Easter Rice Krispies Nests
Room temperature storage works best for up to 2 days in an airtight container. Place nests in a single layer with parchment between layers to prevent sticking.
For longer storage, freeze nests unfilled for up to 1 month. Arrange them on a baking sheet to flash-freeze until firm, then transfer to a freezer-safe container or bag.
Thaw frozen nests at room temperature for 30–60 minutes before filling so the texture returns to tender crispness. Avoid microwaving thawed nests; that makes them chewy and gummy.
To refresh slightly stale nests, pop them in a 300°F oven for 3–4 minutes to crisp, then cool completely before filling. Use airtight containers or resealable freezer bags for best results.
Variations & Substitutions for Easter Rice Krispies Nests
Coconut-Free Nests:
Omit the flaked coconut and use green-colored shredded wheat cereal or tinted shredded coconut substitutes like dyed coconut-flavored chips. The resulting nests will be crunchier and less chewy in the filling area.
Peanut Butter Rice Krispies Nests:
Stir 2 tablespoons creamy peanut butter into the melted marshmallow before adding cereal. This adds nutty depth and helps the nests set firmer, but avoid if serving to nut-free classrooms.
Chocolate-Dipped Edges:
After nests cool, dip the rims in melted semi-sweet chocolate and let set. Chocolate adds richness and stability to the edge, making the nests look more finished and less likely to crumble.
Mini-Nest Party Bites:
Use a mini muffin tin for bite-sized nests and reduce cereal to about 3 cups with proportionally less marshmallow (5 ounces). These are perfect for platters and give a crispier, smaller texture.
Frequently Asked Questions About Easter Rice Krispies Nests
How long do Easter Rice Krispies Nests last?
Stored airtight at room temperature, these nests keep best for 1–2 days before texture begins to decline. If filled with chocolate eggs or marshmallows, consume within 24–48 hours for peak freshness. For longer life, freeze unfilled nests up to one month and fill after thawing.
Can I make these nests ahead of time?
Yes. Make and cool the nests up to 48 hours ahead and store unf illed in an airtight container. If freezing, flash-freeze on a sheet first, then pack in freezer bags for up to a month. Fill only after thawing to keep coconut and candies from absorbing moisture.
Why did my nests turn out too hard or too soft?
If they’re too hard, you likely overcooked or compacted the marshmallow mixture too aggressively, reducing air and making them dense. If too soft or crumbly, there wasn’t enough melted marshmallow or they cooled before shaping. Adjust by adding a tablespoon of extra melted marshmallow for binding or molding while warmer.
Can I use another cereal instead of Rice Krispies?
You can, but expect textural changes. Puffed rice alternatives will be lighter and may not hold a nest shape as well, while crispier cereals like cornflakes will give a crunchier, stiffer result. Test small batches before making a full recipe swap.
How should I color the coconut evenly without making it wet?
Mix two drops of food coloring with 1/4 teaspoon water and toss the coconut quickly until evenly coated, then spread thinly on parchment to air-dry for 10–15 minutes. Use minimal liquid to prevent clumping; gel food coloring works even better as it adds color with less moisture.
Final Thoughts on Easter Rice Krispies Nests
These Easter Rice Krispies Nests are fast, festive, and irresistibly shareable.
If you make them, please leave a star rating in the recipe card below and pin this post to Pinterest for later.
Conclusion — Easter Rice Krispies Nests
For additional inspiration, check a classic tutorial on making Rice Krispie nests at Rice Krispie Nests (Easter Treats) – Crafty Morning.
If you want a slightly different approach with step photos and tips, see Easter Rice Krispies Nests – Salt & Sweet for ideas.
For a quick, kid-friendly take with alternate fillings, try the simple version at Rice Krispie Nests: a quick and easy no-bake Easter treat!.

Easter Rice Krispies Nests
Ingredients
Method
- Coat 16 cupcake tin cups with non-stick cooking spray for easy release.
- In a small bowl, mix 1/4 teaspoon water with 2–4 drops green food coloring, then fold in the flaked coconut until evenly coated.
- Spread the tinted coconut on a baking sheet to dry while preparing the cereal base.
- Melt the butter in a large saucepan over low heat. Add the marshmallows and stir until completely melted and glossy.
- Remove from heat and add the Rice Krispies cereal, folding gently until evenly coated.
- Grease your hands and divide the warm mixture into the prepared cups, pressing to shape nests.
- Ensure walls are about 1/4 inch thick and hold their shape.
- Allow nests to cool at room temperature for 20-30 minutes before removing them.
- Fill each nest with a spoonful of tinted coconut, and top with miniature marshmallows, jelly beans, and chocolate eggs.
- Serve immediately or store as directed.